Chapter 19: Plug-Ins 157
Software Screen
The software screen can also be used to patch, route, or
re-route plug-ins during a performance, even while in Show
mode.
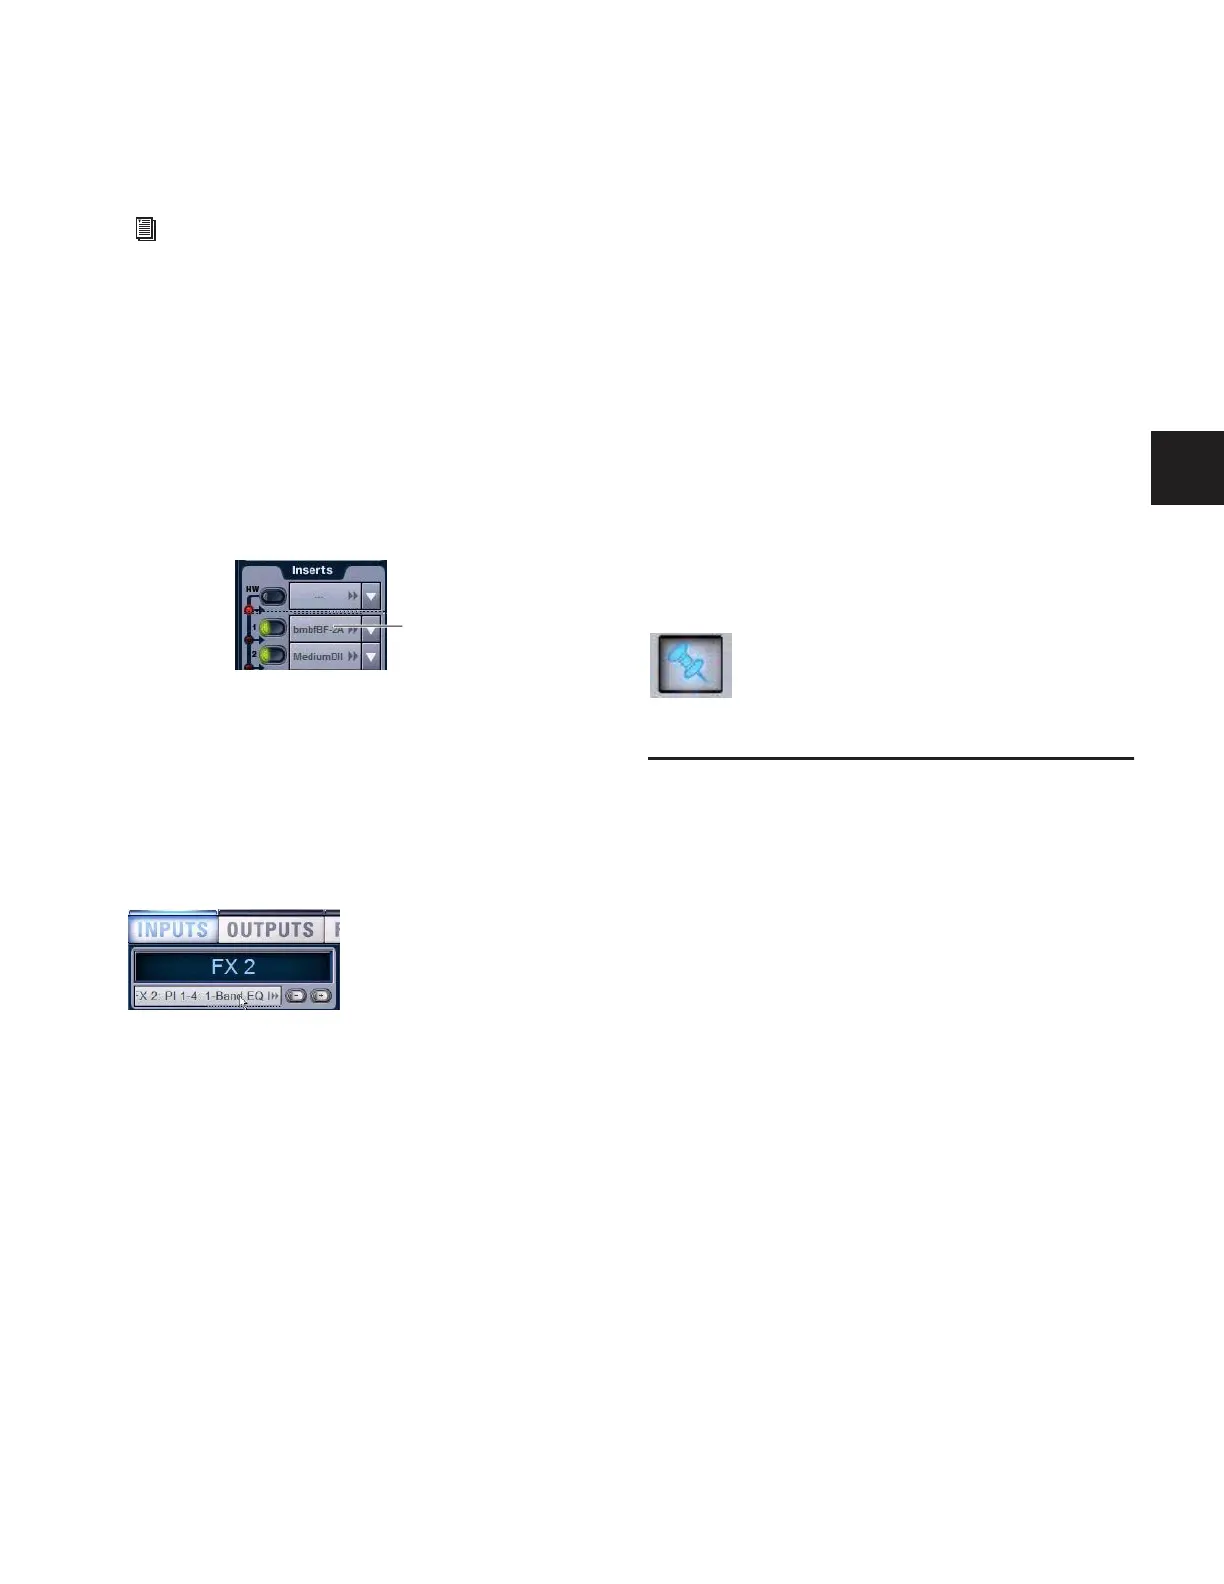
“Jump To” Plug-Ins
The Input and Output screens let you “jump to” a specific
plug-in insert to adjust it on-screen.
To jump to a plug-in insert from the Inputs or Outputs screen:
1 Select a channel to display it in the Inputs or Outputs
screen.
2 Click the plug-in name shown in the channel Insert section.
To jump to a plug-in on a bus:
1 Bank to the FX Return or other channel type assigned as the
plug-in output, or bank to the output feeding the plug-in.
2 Select the channel to display it in the Inputs or Outputs
screen.
3 Click the routing displayed beneath the Channel Name.
Plug-Ins Screens and Channel Selection
When jumping to a plug-in, display depends on the type of
plug-in routing, as follows:
Channel Inserts If the Plug-Ins screen is in Zoom view while
you select a channel, the last selected plug-in for that channel
is automatically selected and displayed in the Plug-Ins screen.
Bus-Fed Plug-Ins If no plug-ins are inserted on a channel (such
as when returning a bus-fed plug-in to an FX Return) the
plug-in feeding that FX Return is displayed.
Pinning a Plug-In View
It is possible to decouple the plug-in view from the console for
consistent and constant access to a single plug-in on-screen,
while still being able to select and adjust other plug-ins from
the console. This capability is useful any time you want to al-
ways display an important plug-in (such as an analysis plug-in
or primary EQ).
To pin a plug-in view:
1 Bring the desired plug-in into the main plug-in view (use
the channel Select and Insert Mode switches, or double-click
the desired plug-in in the rack).
2 Click the Push-Pin icon in the upper-right of the screen (the
icon is located just to the left of the Presets and View Toggle
icons.
• When enabled, the Push-Pin icon appears lit. This indi-
cates that the current plug-in will remain on-screen and
will not lose focus, even if another channel is targeted.
• When not enabled, the Push-Pin icon appears unlit.
Plug-in view follows control surface selections.
Adjusting EQ and Dynamics Plug-Ins
from the ACS
Many D-Show compatible EQ and Dynamics plug-ins map to
the dedicated EQ and Dynamics controls in the ACS. Parame-
ters map identically to those for the built-in EQ and dynamics,
providing consistent location and control of these critical ef-
fects.
Plug-Ins that do not map to the ACS can be adjusted using the
Assignable Output Encoders, as explained in “Adjusting
Plug-Ins” on page 155.
Adjusting EQ Plug-Ins
To adjust an EQ plug-in using the ACS EQ section:
1 Target the channel with the plug-in by pressing the channel
Select switch.
2 Press the plug-in Select switch (located at the top of the ACS
EQ section).
3 Adjust plug-in parameters by pressing or turning the corre-
sponding ACS EQ encoders.
4 Toggle the plug-in in and out using by pressing the EQ In
switch.
Plug-Ins must already be installed on the D-Show system,
and assigned to a rack slot, to be available while mixing.
See “Assigning Plug-Ins to Rack Slots” on page 152.
Jumping to a plug-in on a channel insert
Jumping to a plug-in on an FX Return
Click
Push-Pin plug-in view icon