D-Show Profile Guide116
Adjusting Monitoring Level
Output levels for the near-field monitors and the headphones
are controlled by the corresponding volume knobs in the
Monitoring section.
Adjusting Monitor Delay
You can apply an adjustable delay to the monitor outputs and
headphone outputs to match the acoustic delay from the
main speaker system.
To adjust monitor output delay:
1 Go to the Options > Busses tab.
2 Adjust the Delay setting in the Solo and Monitor Operations
section. Be sure to click the In button beneath the on-screen
encoder to enable Delay. When lit, the Delay setting is applied
to the monitor output.
Talkback, 2-Track and Oscillator
Controls
You can route D-Show Talkback microphone input, Intercom
microphone input, or 2-Track source input to any Input
Channel or FX Return from the Patchbay.
In addition, you can route Talkback microphone input,
2-Track source input and built-in Oscillator output directly to
any output busses from the D-show control surface.
You can also route any Output bus or Direct Output to the
2-Track output on the FOH rack.
Talkback, 2-Track and Oscillator States When
Loading Shows
When you load a Show file, Talkback, 2-Track and Oscillator
are controls are set to off (deactivated), regardless of their state
when the Show was last saved.
Using Talkback
The Talkback input on the top panel of the D-Show console
can accept signal from any dynamic or condenser micro-
phone.
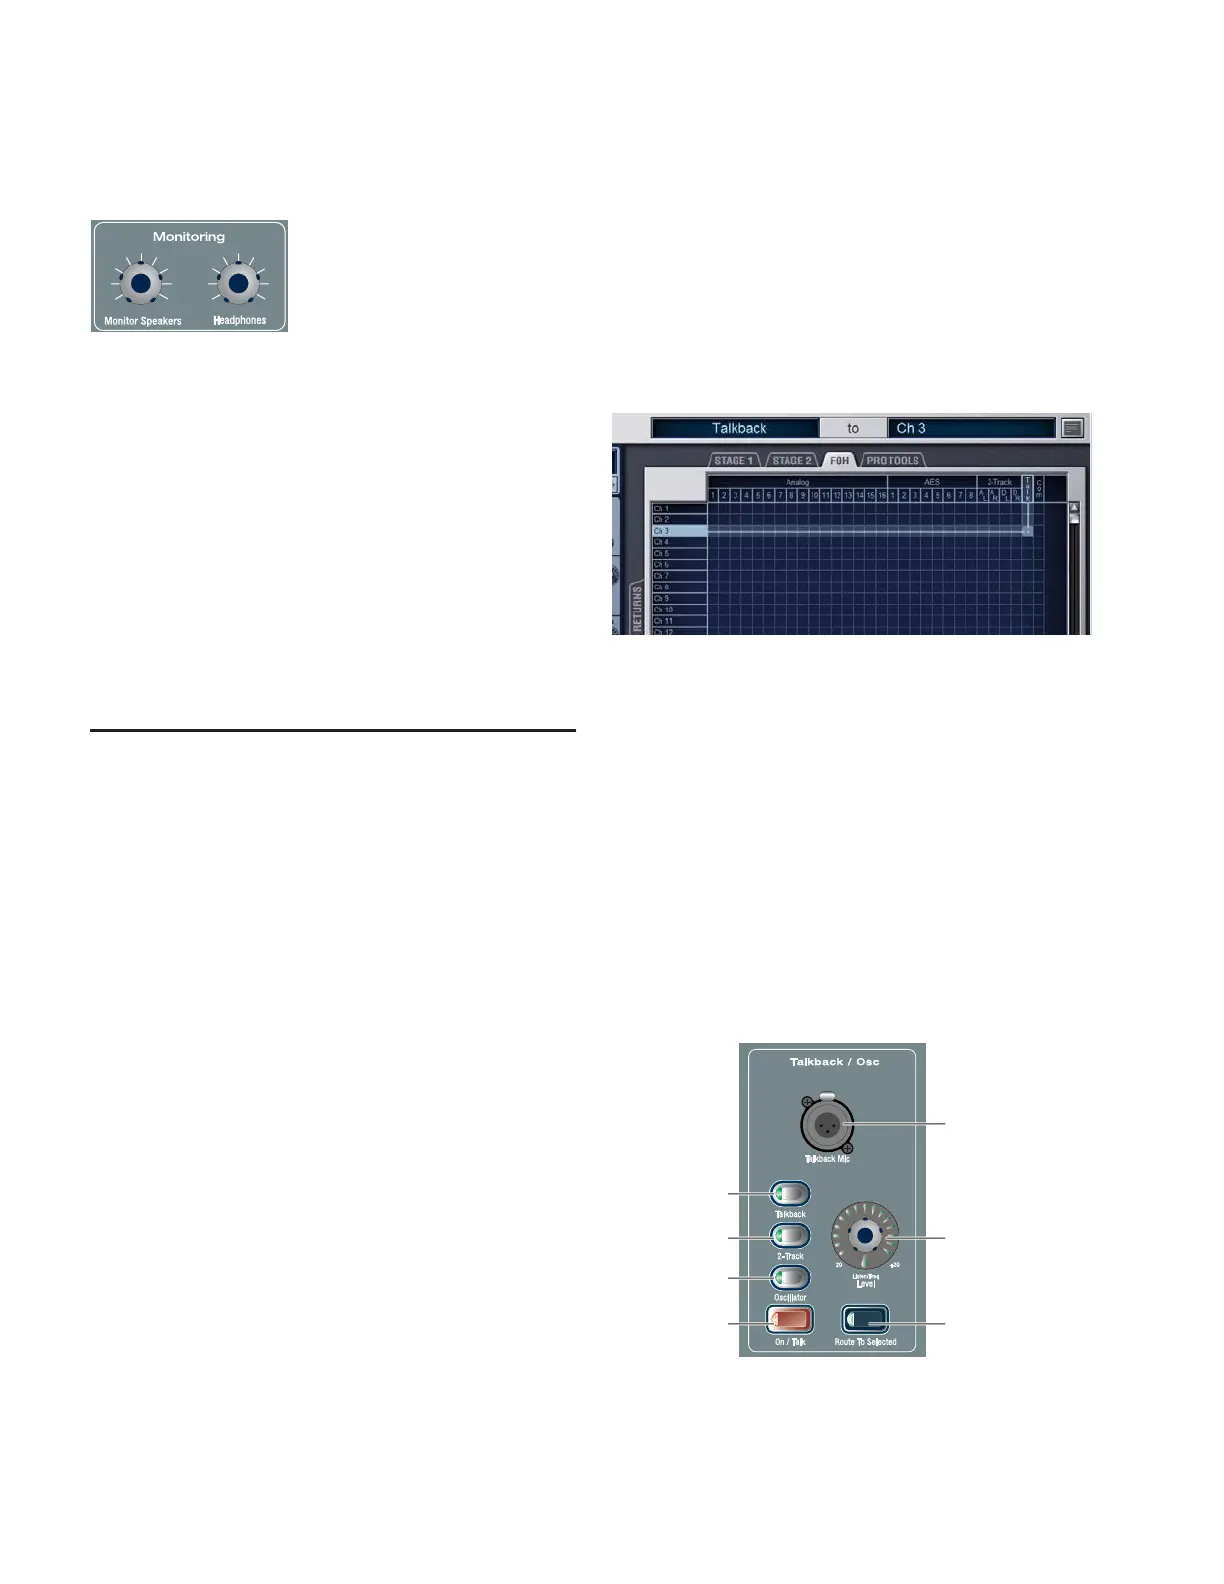
Routing Talkback Microphone Input
To route Talkback microphone input to any D-Show Input Channel
or FX Return:
1 Go to the Patchbay and click the Inputs tab.
2 To the left of the channel grid, click the Channels tab or the
FX Returns tab.
3 At the top of the channel grid, click the FOH tab.
4 Click in the channel grid to assign the “Talk” input source
(at the top right of the grid) to an Input Channel or FX Return
(listed on the left).
To route Talkback microphone input to any D-Show output bus:
1 Press the Talkback switch in the Talkback/Osc section so
that it is lit.
2 Press the Route to Selected switch. The switch flashes to in-
dicate Route to Selected mode.
3 Press the Select switch on each of the output busses (Auxes.
Groups, PQs, Matrixes, or Mains) where you want to route
Talkback signal. The Select switches flash to indicate Talkback
assignment.
4 Press the flashing Route to Selected switch to confirm the as-
signment, or press the Cancel switch to cancel the assign-
ment.
Monitoring controls
Routing Talkback input in the Patchbay
Talkback controls in the Talkback/Osc section
Talkback Mic
Talkback
Level control
On/Talk
Route To Selected
connector
switch
switch
Oscillator
2-Track