D-Show Profile Guide106
Inserts and Routing in the Patchbay
Hardware inserts are available on all D-Show channels to in-
corporate external hardware processing. D-Show inserts can
only be routed to and from the FOH Rack.
Inserts patching uses the same techniques as other Patchbay
routing.
To use a hardware insert on a D-Show channel:
1 Connect the hardware device to D-Show FOH Rack Insert
connectors.
2 In the Patchbay, route the channel to the FOH Rack I/O to
which the hardware device is connected.
Warning when Stealing Inputs or
Outputs in the Patchbay
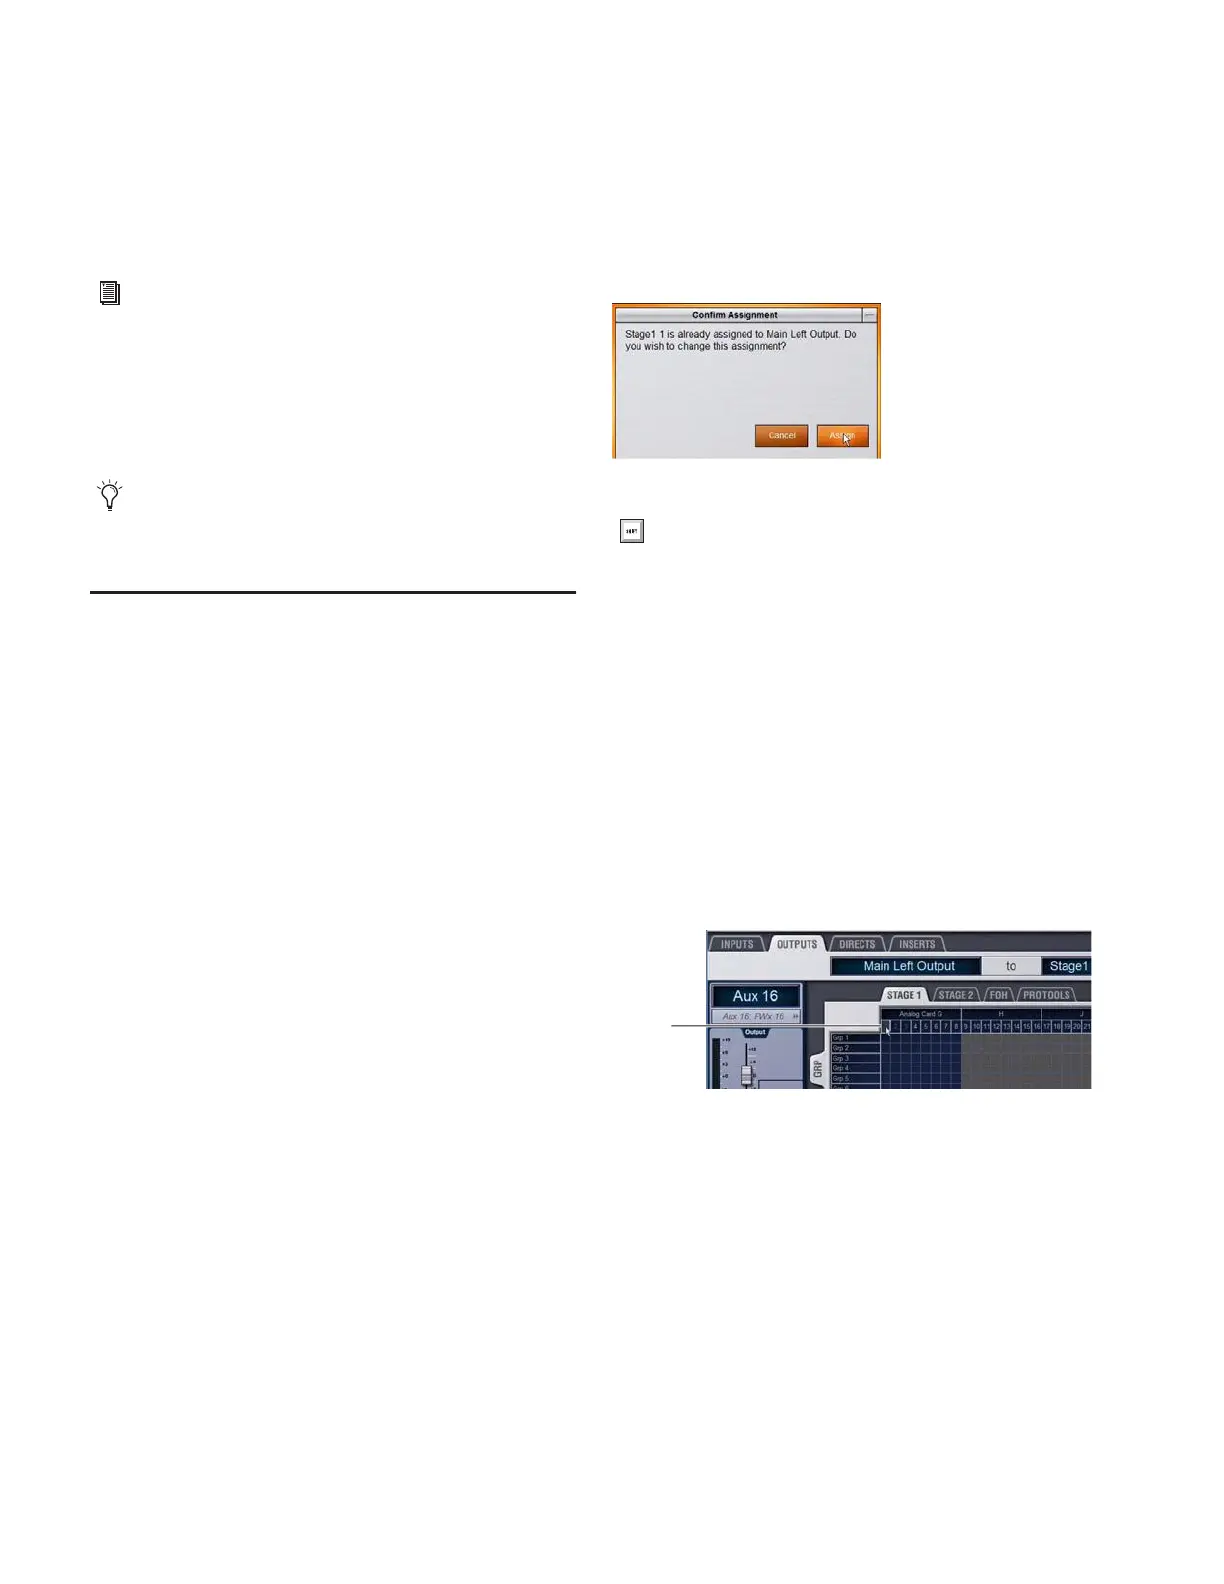
The Patchbay indicates hardware outputs that are already in
use by dimming the column number for that physical output.
In addition, a dialog is shown if the patch will steal a hardware
input or output that is already in use, asking you to confirm or
cancel the reassignment.
To confirm a reassignment, do one of the following:
■ Click Assign when prompted to confirm the reassignment.
– or –
■ Click again on the same patch point.
To cancel a reassignment:
■ Click Cancel to cancel the reassignment and leave the
patchpoint unchanged.
– or –
■ Click any other point in the grid (the Patchbay grid remains
active, even when the Confirm Assignment dialog is open
on-screen).
Shortcut for Locating Assignments
Before reassigning in the Patchbay, you may want to dou-
ble-check the existing assignment to the desired hardware
output. This can be done quickly from within the Patchbay, as
follows:
To identify the bus or channels currently assigned to a hardware
output:
■ Click on any dimmed (already assigned) column number at
the top of the Patchbay. The Outputs tab containing the as-
signment is automatically revealed.
See Chapter 18, “Hardware Inserts.”
Input and Output routing can be stored and recalled using
Snapshots. For more information, see Chapter 21, “Snap-
shots.”
Warning when reassigning an output that is already in use
To suppress the reassignment warning dialog, hold Default
(on the control surface) or Alt (on the computer keyboard)
while clicking in the patch grid to change the assignment.
Column numbers to “go to” the current assignment
Click