(4) Remove the brake pedal holder (Fig. 20).
(5) Bleed the affected brake line. (Refer to 5 -
BRAKES - STANDARD PROCEDURE).
(6) Road test the vehicle to ensure proper opera-
tion of the brakes.
SHOES-PARKING BRAKE
REMOVAL
NOTE: Before proceeding with this procedure,
(Refer to 5 - BRAKES - WARNING).
NOTE: This procedure applies to vehicles with rear
disc brakes only.
(1) Raise the vehicle. (Refer to LUBRICATION &
MAINTENANCE/HOISTING - STANDARD PROCE-
DURE).
(2) Remove the rear tire and wheel assembly.(Re-
fer to 22 - TIRES/WHEELS - REMOVAL)
(3) Remove the rear disc brake caliper assembly
from the brake rotor and store it out of the way.(Re-
fer to 5 - BRAKES/HYDRAULIC/MECHANICAL/
BRAKE PADS/SHOES - REMOVAL).
(4) Remove rear brake rotor (Refer to 5 - BRAKES/
HYDRAULIC/MECHANICAL/ROTORS - REMOV-
AL).
(5) Remove the dust cap from the rear hub and
bearing.
(6) Remove the rear hub and bearing assembly
retaining nut and washer.
(7) Remove the rear hub and bearing assembly
from the rear spindle.
(8) Remove the rear brake shoe assembly hold-
down clip (Fig. 22).
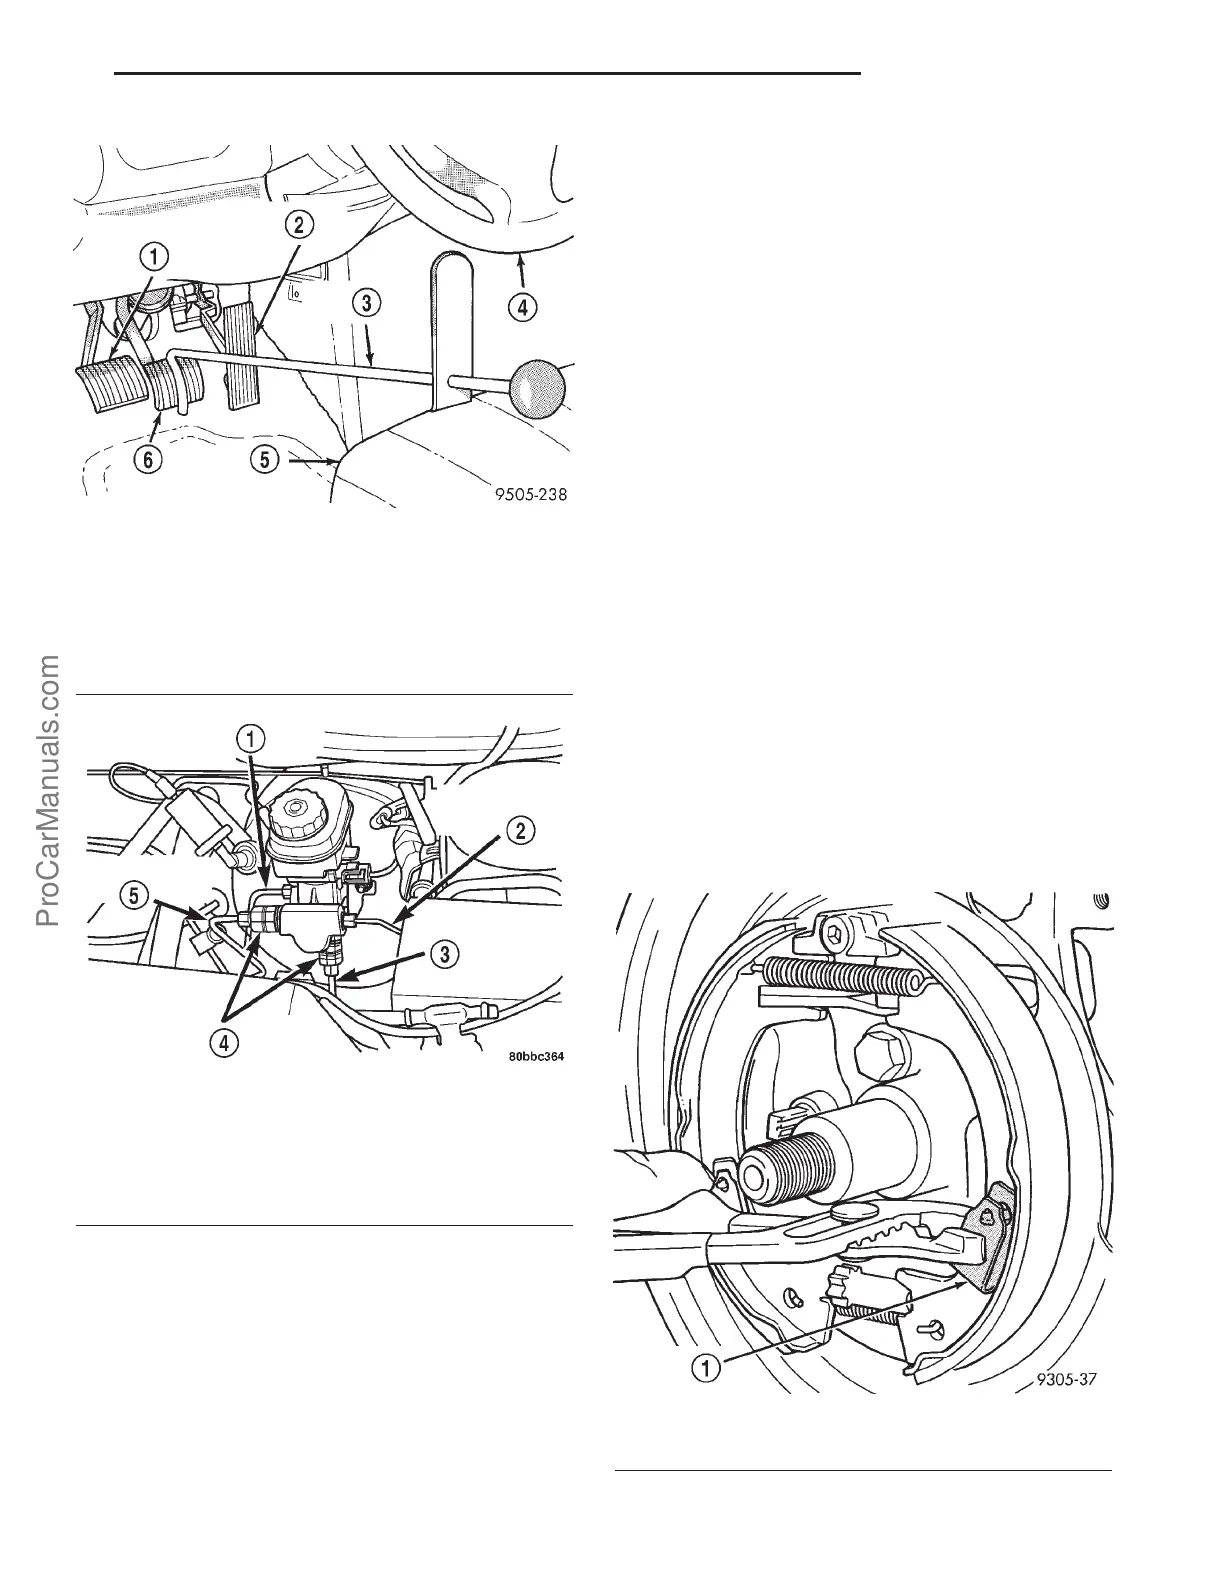
Fig. 20 Brake Pedal Holder
1 - CLUTCH PEDAL (IF EQUIPPED WITH MANUAL TRANSAXLE)
2 - THROTTLE PEDAL
3 - BRAKE PEDAL HOLDING TOOL
4 - STEERING WHEEL
5 - DRIVER’S SEAT
6 - BRAKE PEDAL
Fig. 21 Proportioning Valves On
1 - RIGHT FRONT BRAKE TUBE
2 - LEFT FRONT BRAKE TUBE
3 - LEFT REAR BRAKE TUBE
4 - REAR PROPORTIONING VALVES
5 - RIGHT REAR BRAKE TUBE
Fig. 22 Rear Brake Shoe Hold-Down Clip
1 - HOLD DOWN CLIP
PL BRAKES-BASE 5s - 19
PROPORTIONING VALVE (Continued)
ProCarManuals.com