(13) Remove the timing belt from sprockets.
CAUTION: Do not rotate the camshaft once the tim-
ing belt has been removed or damage to valve com-
ponents may occur.
(14) For timing belt tensioner pulley assembly
removal (Refer to 9 - ENGINE/VALVE TIMING/TIM-
ING BELT/CHAIN TENSIONER & PULLEY -
REMOVAL).
INSTALLATION
(1) Set crankshaft sprocket to TDC by aligning the
sprocket with the arrow on the oil pump housing,
then back off to 3 notches before TDC (Fig. 23).
(2) Set camshaft to TDC by aligning mark on
sprocket with the arrow on the rear of timing belt
cover (Fig. 24).
(3) Move crankshaft to 1/2 mark before TDC (Fig.
25)for belt installation.
(4) Install the timing belt. Starting at the crank-
shaft, go around the water pump sprocket and then
around the camshaft sprocket.
(5) Move crankshaft sprocket to TDC to take up
belt slack.
(6) Re-set the hydraulic tensioner by placing ten-
sioner body in a vise equipped with soft jaws (Fig.
26). Slowly compress the plunger.
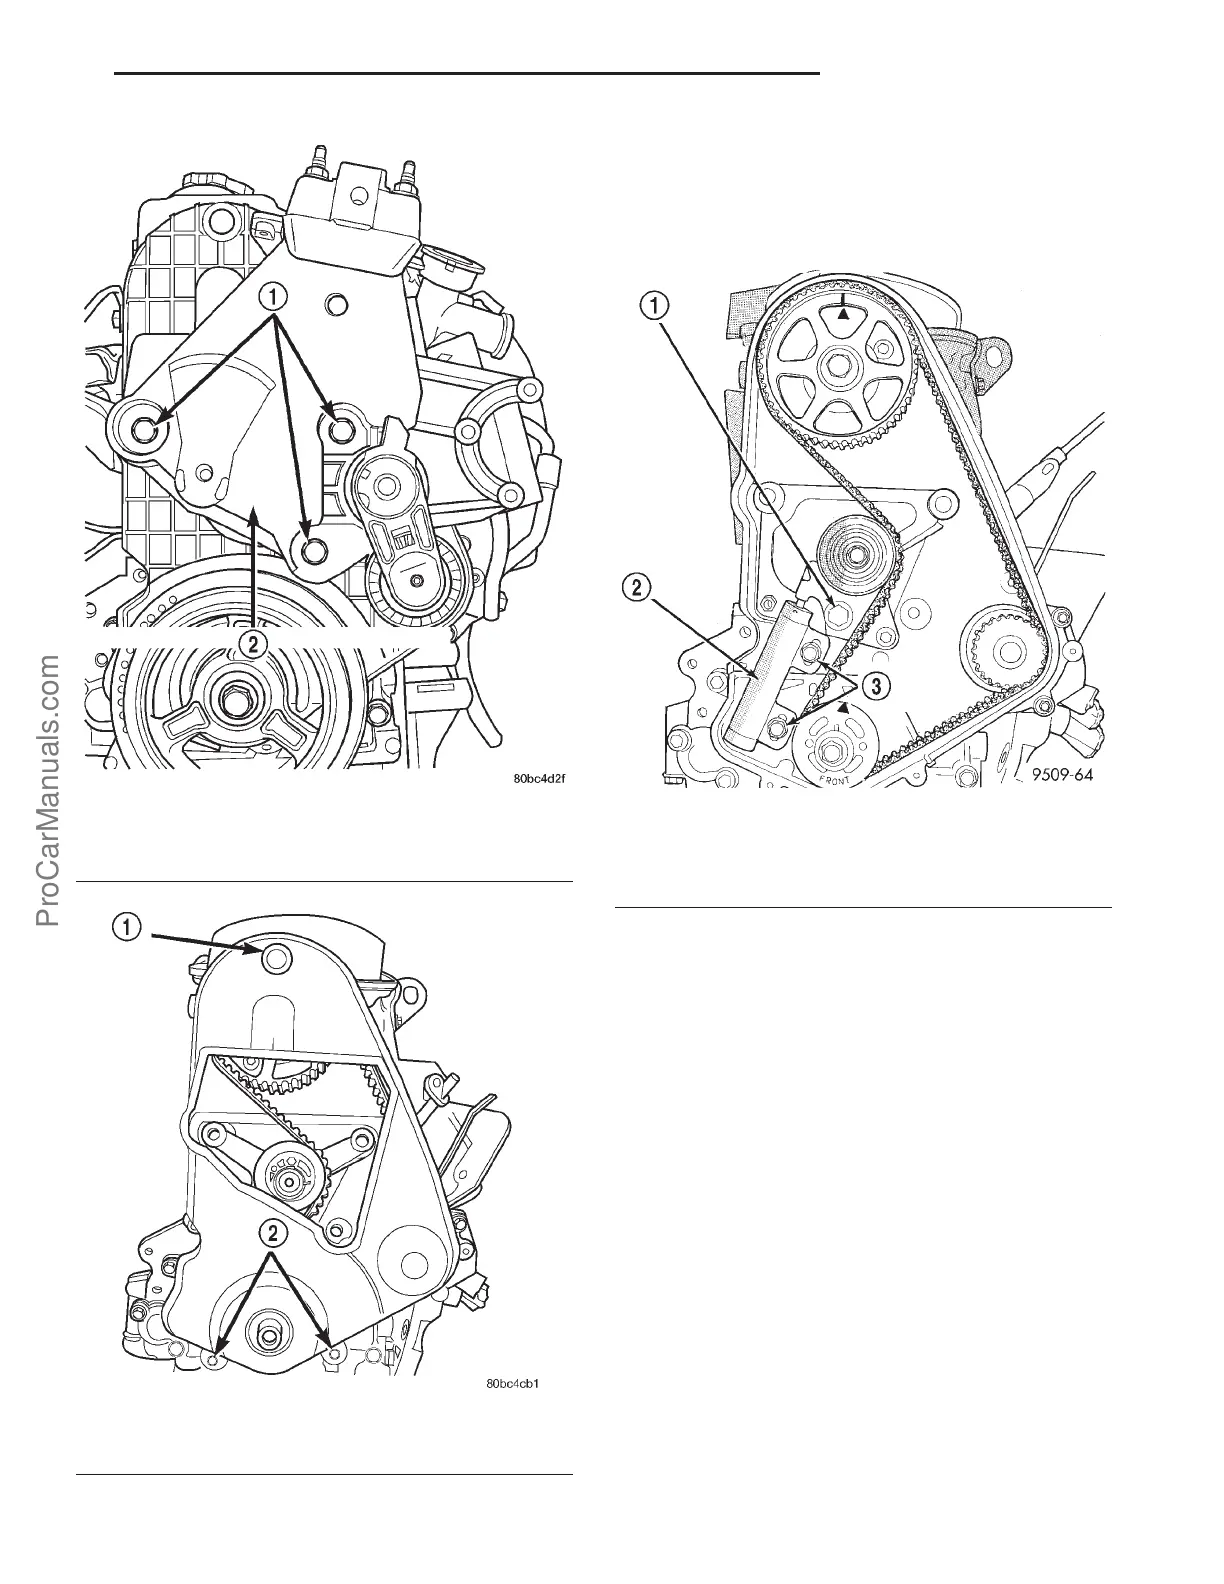
Fig. 19 Engine Mount Bracket Assembly
1 - BOLTS
2 - ENGINE MOUNT BRACKET ASSEMBLY
Fig. 20 Front Timing Belt Cover
1 - ACCESS PLUG
2 - BOLTS
Fig. 21 TIMING BELT REMOVAL
1 - TENSIONER PULLEY ASSEMBLY
2 - HYDRAULIC TENSIONER
3 - BOLTS - TENSIONER
PL ENGINE-2.0L SOHC 9s - 9
TIMING BELT AND SPROCKETS (Continued)
ProCarManuals.com