(17) Connect shift crossover and selector cables to
shift lever. Install cables to bracket and install
retaining clips (Fig. 23).
(18) Connect the master cylinder hydraulic line to
the slave cylinder hydraulic line. An audible click
should be heard. Verify the connection by pulling out-
ward on the master cylinder line.
(19) Connect back-up lamp switch connector.
(20) Connect ground strap to transaxle upper
mount bracket.
(21) Install battery lower tray and battery, and
tighten battery hold down clamp to secure battery.
(22) Install the air cleaner/throttle body assy. as
follows:
(a) Connect the accelerator and speed control (if
equipped) cables to the air cleaner/throttle body
assy.
(b) Install assembly into position, making sure
the air cleaner locating slot is engaged to the bat-
tery bracket tab, and tighten fasteners to 14 N·m
(120 in. lbs.) torque.
(c) Verify throttle body duct is fully seated to
intake manifold and tighten clamp to 5 N·m (40 in.
lbs.) torque.
(d) Connect the Throttle Position Sensor (TPS)
and Idle Air Control (IAC) connectors.
(e) Connect proportional purge solenoid (PPS)
and crankcase vent hose from throttle body.
(23) Connect the battery cables.
(24) Road test vehicle and inspect for leaks.
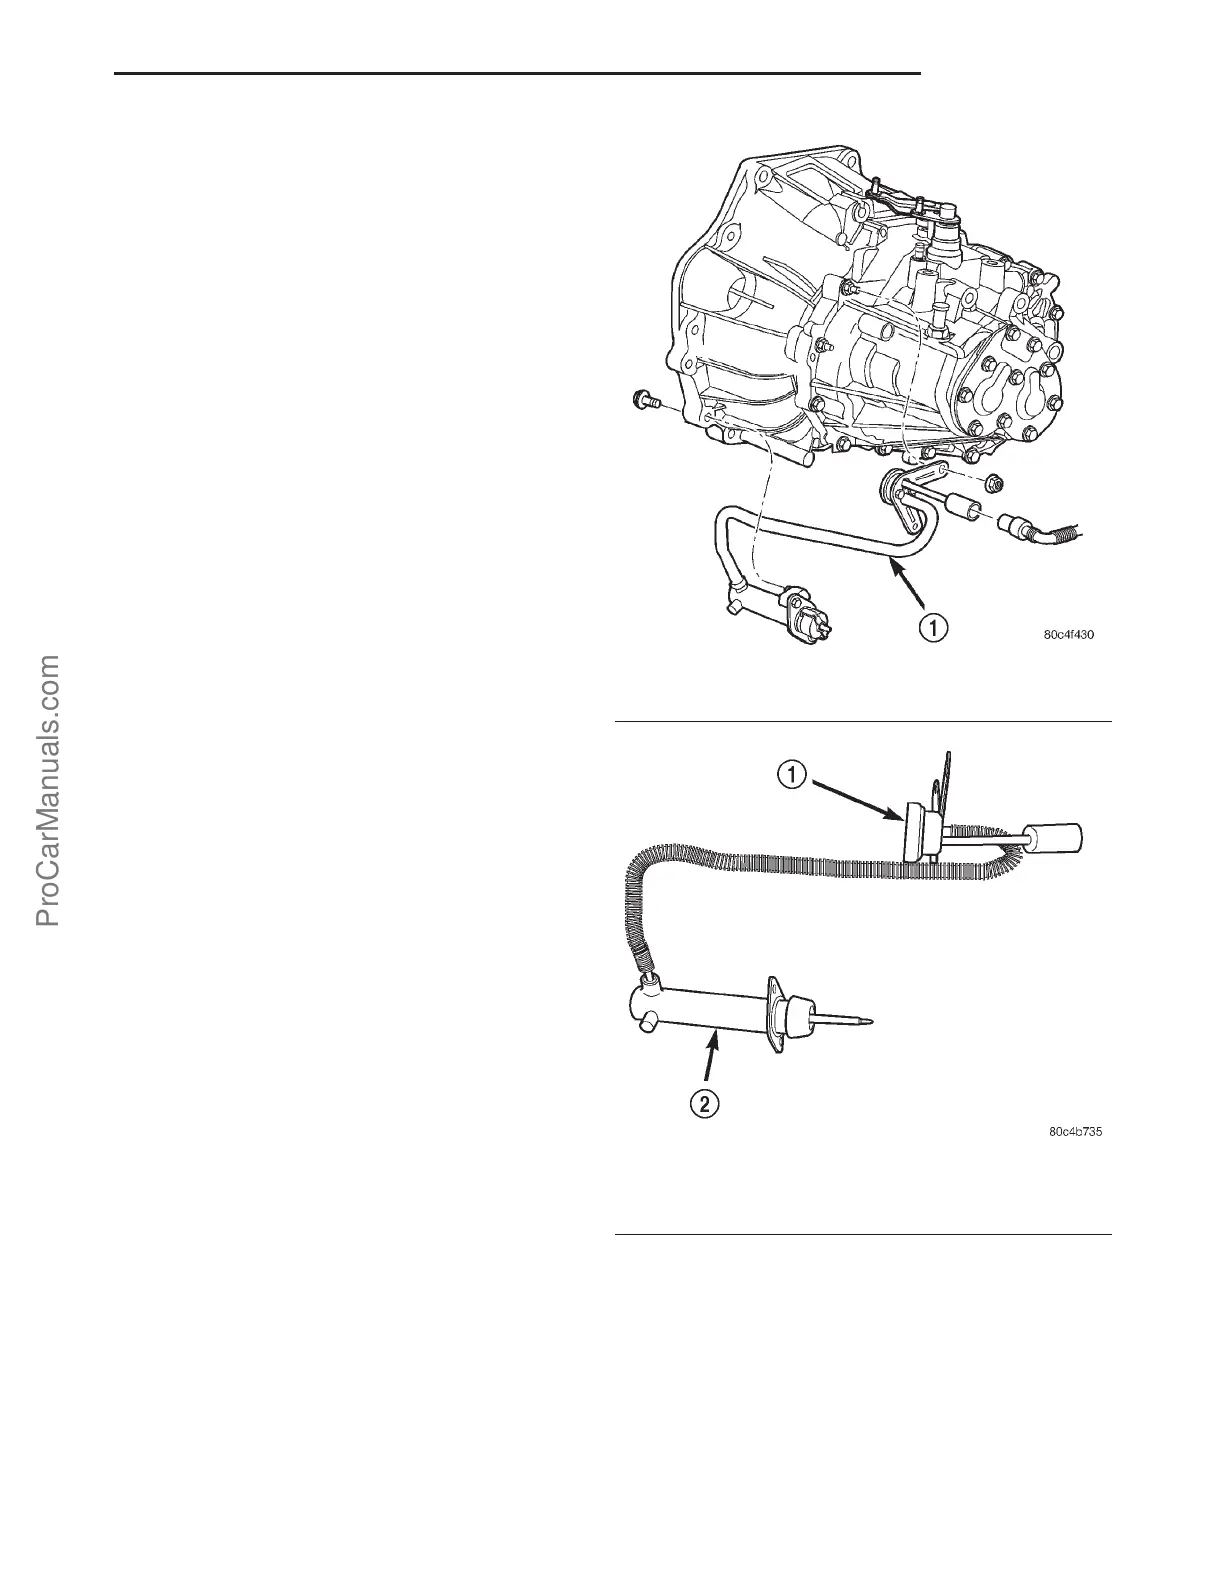
SLAVE CYLINDER
DESCRIPTION
The clutch slave cylinder is fastened to transaxle
bellhousing (Fig. 30), and consists of a hydraulic pis-
ton and cylinder, seal, return spring, and integral
fluid damper and line (Fig. 31).
OPERATION
When the clutch pedal is depressed, fluid pressur-
ized by the clutch master cylinder pushes the slave
cylinder piston, extending the push rod and operat-
ing the clutch release fork and bearing. The integral
damper (Fig. 31) absorbs vibration and noise gener-
ated in the clutch release system, preventing it from
being transmitted into the passenger compartment
via the hydraulic circuit.
Fig. 30 Slave Cylinder Mounting
1 - SLAVE CYLINDER
Fig. 31 Clutch Slave Cylinder
1 - DAMPER
2 - SLAVE CYLINDER
PL CLUTCH 6s - 15
MODULAR CLUTCH (Continued)
ProCarManuals.com