5.10.4. D12/A12 LCD Stand and Rotating Arm Assembly
Installing LCD Cables
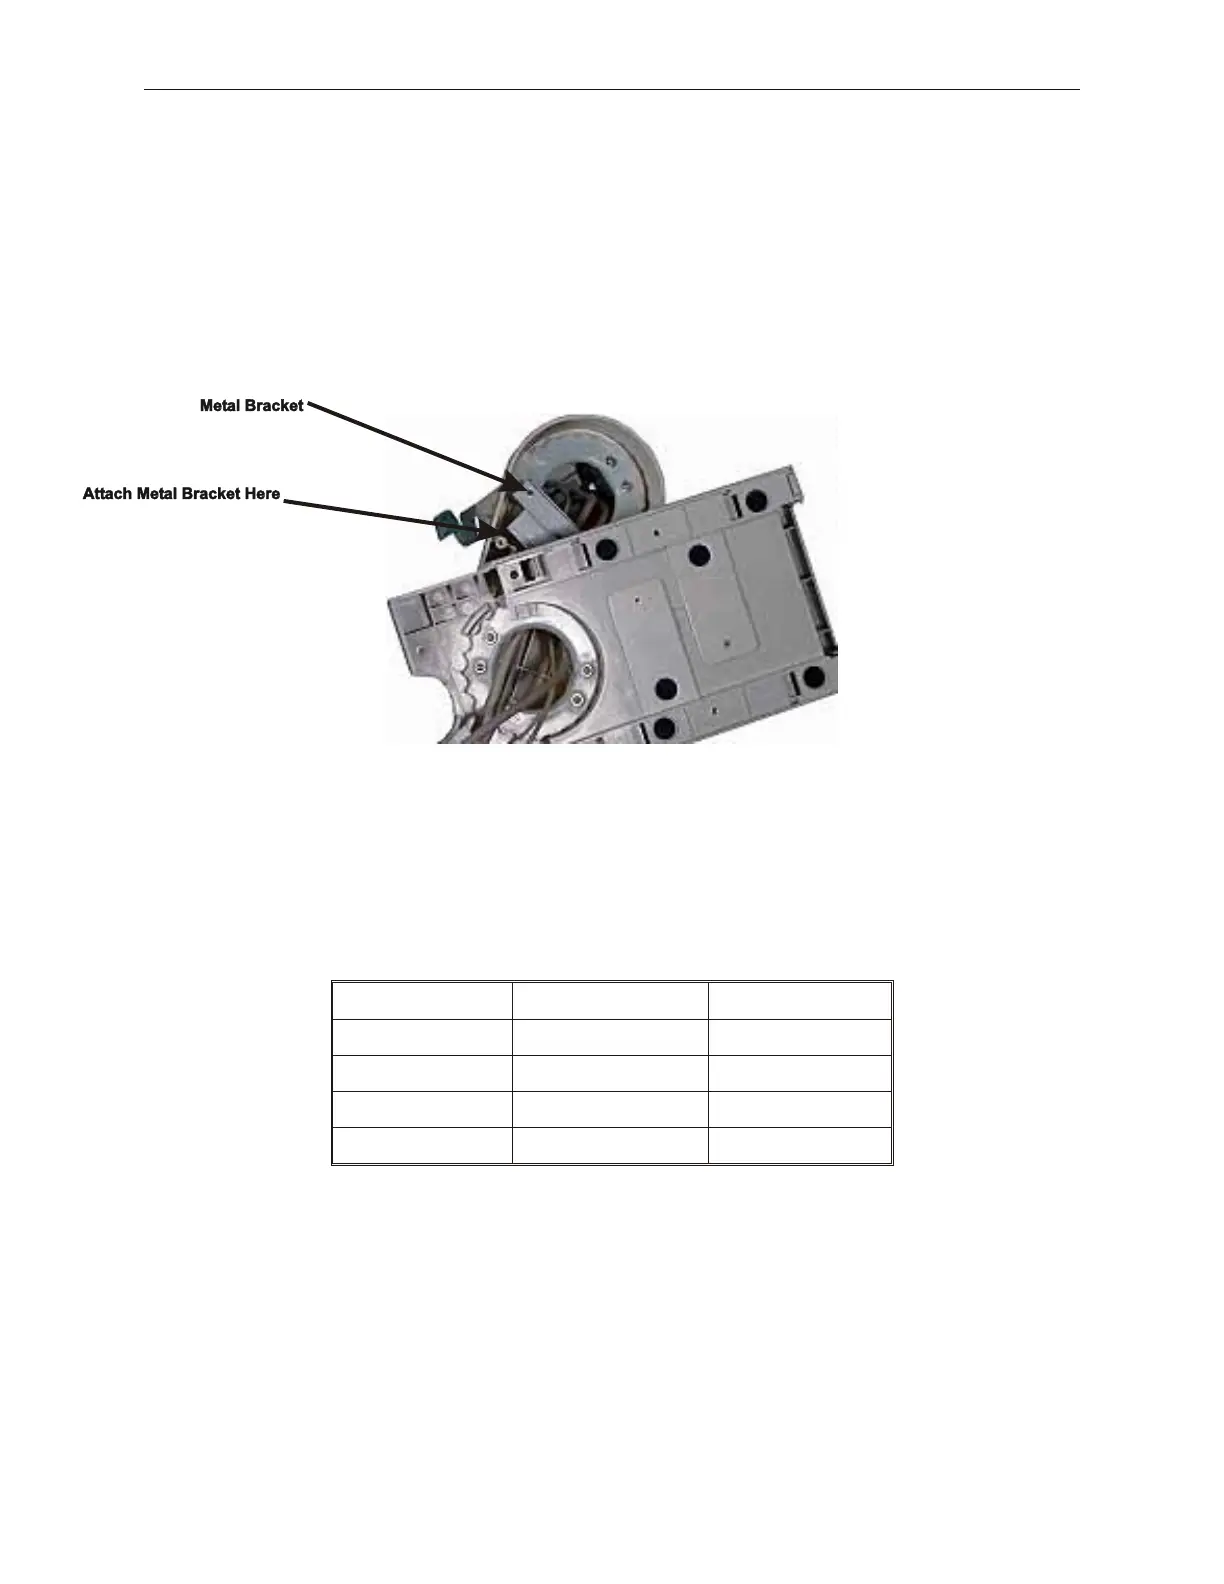
1. Rotate arm completely to one side in order to feed the cables into the stand. This
picture shows the metal bracket repositioned to allow for easier routing. To do this a
screws is removed from one side only.
2. Install the speakers, if required, to the bottom of the LCD unit by using the two screws
provided with the speaker.
3. Feed cables in from the bottom of the display assembly and through the arm, until the
cable connectors are exposed at the LCD end. Check to make sure there is a cable for
each feature.
Cable Function Digital LCD Analog LCD
Power Cable Mini-din connector Mini-din connector
Data Cable Custom cable 15-pin VGA
Touch (optional) 9-pin RS232 9-pin RS232
Sound (optional) Sound Connector Not available
4. After all cables are routed, install metal bracket using two screws. Installing the second
screw requires rotating arm to the other side.
90000291 Rev 3.0 5-61
TeamPoS 2000 MAINTENANCE MANUAL