7.7 HDD Kit Replacement
1. Remove the front cover (see section 5.1.1).
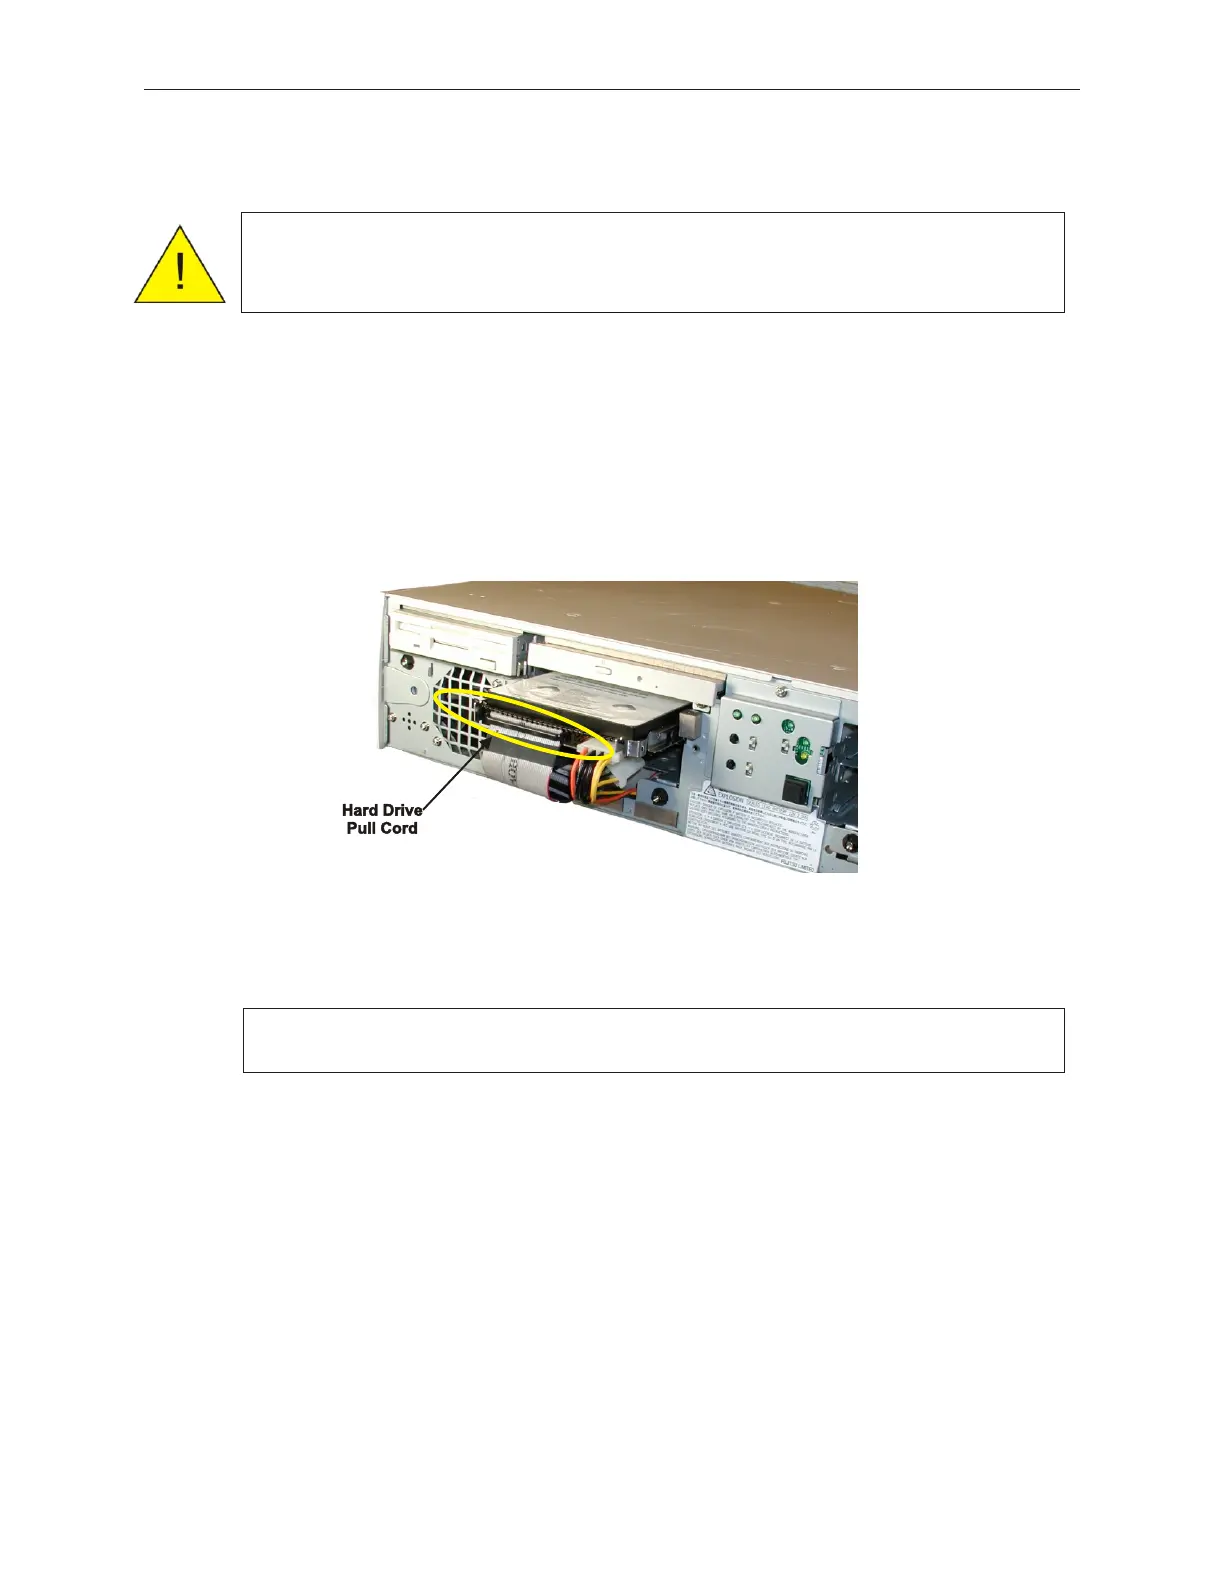
2. Remove the metal EMI shield from the front of the hard disk unit.
3. Disconnect the power and signal cables from the applicable hard disk, pull the black
pull cord (indicated by the arrow in the figure below), pulling the hard disk out.
The HDD kit has setting pins similar to connector shown on the following page. Make
sure the jumper settings on the new drive match before replacing with the new HDD.
7-14 Rev 3.0 90000291
TeamPoS 2000 MAINTENANCE MANUAL
Caution: To prevent electric shock, confirm that the AC cable is removed from
the AC outlet anytime the covers are removed. Be sure to observe all
ESD precautions and power off procedures.
Caution: Ensure replacement drive settings match the settiongs of the removed
drive