GE MEDICAL SYSTEMS
DIRECTION 5184024-100, REVISION 5 LOGIQWORKS® BASIC SERVICE MANUAL
4-22 Section 4-3 - System Check
4-3-7 DVD Writer Check
4-3-7-1 Check reading from DVD
4-3-7-2 Check writing to DVD
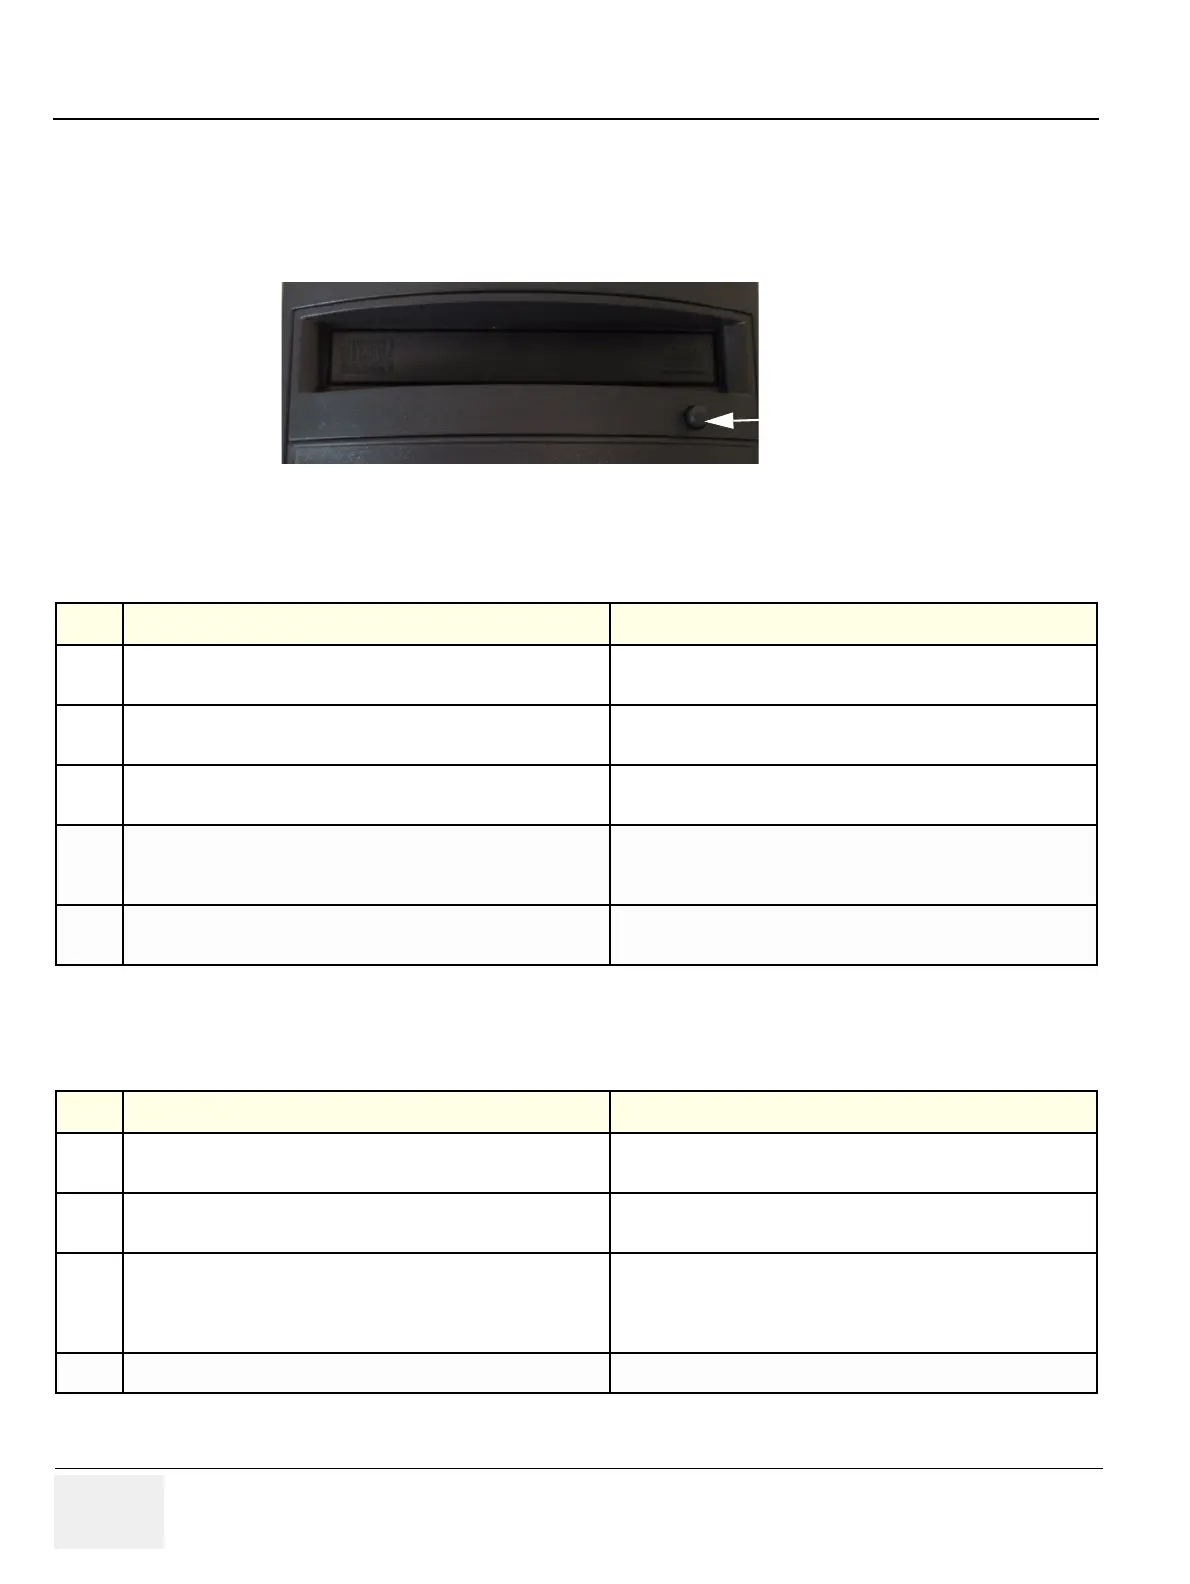
Figure 4-23 DVD-Drive Front
Table 4-4 Using DVD Disk Drive
Step Task Expected Result(s)
1.
Press the Eject Button on the DVD drive front to eject the disk tray
for media input.
The DVD drive tray is open.
2.
Insert the DVD into the DVD Drive with the label facing up and
push the tray carefully to close.
Check that there is activity in the Busy LED.
3.
Open the Windows explorer and check which drive letter is
representing the DVD drive.
Verify that the drive letter F: is assigned to the DVD drive.
4.
Read a DICOM Volume from DVD, please refer to Section 3-5-11-
1 on page 3-193 for more details on how to create a CD, DVD or
other work list views and how to add a view to the data selector.
All studies available on the DICOM media shall be visible in the
data selector.
5.
To eject a disk from the DVD Drive press the Eject Button on the
DVD front.
The DVD drive tray opens and the disk is ready to be removed.
Table 4-5 Using DVD Disk Drive
Step Task Expected Result(s)
1.
Press the Eject Button on the DVD drive front to eject the disk tray
for media input.
The DVD drive tray is open.
2.
Insert the DVD into the DVD drive with the label facing up and push
the tray carefully to close.
Check that there is activity in the Busy LED.
3.
Write a DICOM Volume to DVD, please refer to Section 3-5-11-2
on page 3-199 for more details on how to prepare the system for
using SME option and to Section 4-3-8 on page 4-23 for detailed
steps of how to write data to DVD using the SME option.
4.
Writing to DVD is complete. The tray opens automatically and the DVD is ready to be removed.
Eject
 Loading...


