MAINTENANCE
265
8. Press Vertical again after
connecting CAL to the channel 1
input.
The calibration for Channel 1 starts and ends
automatically, in less than 5 minutes. A
message is displayed when the calibration
procedure has ended.
9. Repeat the above step for Channel 2, 3* and 4*
when prompted.
*4 channel models only.
10. When the calibration for all channels has
completed, the display goes back to the default
state.
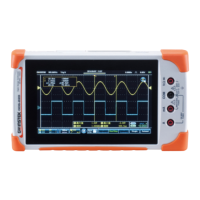
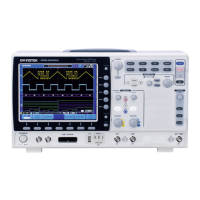
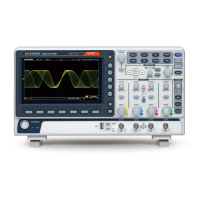
Probe Compensation
1. Connect the probe between the Channel 1 input
and the probe compensation output (default set
as 2Vp-p, 1kHz square wave) on the front
panel. Set the probe attenuation to x10.
2. Alternatively, the probe compensation
frequency can be changed. See page 189 for
details.
 Loading...