110
4. (Optional.) Remove PCIe modules that might hinder system battery removal. For more
information, see "Replacing a riser card and a PCIe module."
5. Gently tilt the system battery to remove it from the battery holder, as shown in Figure 146.
Figure 146
Removing the system battery
NOTE:
For environment protection purposes, dispose of the used-up system battery at a designated
site.
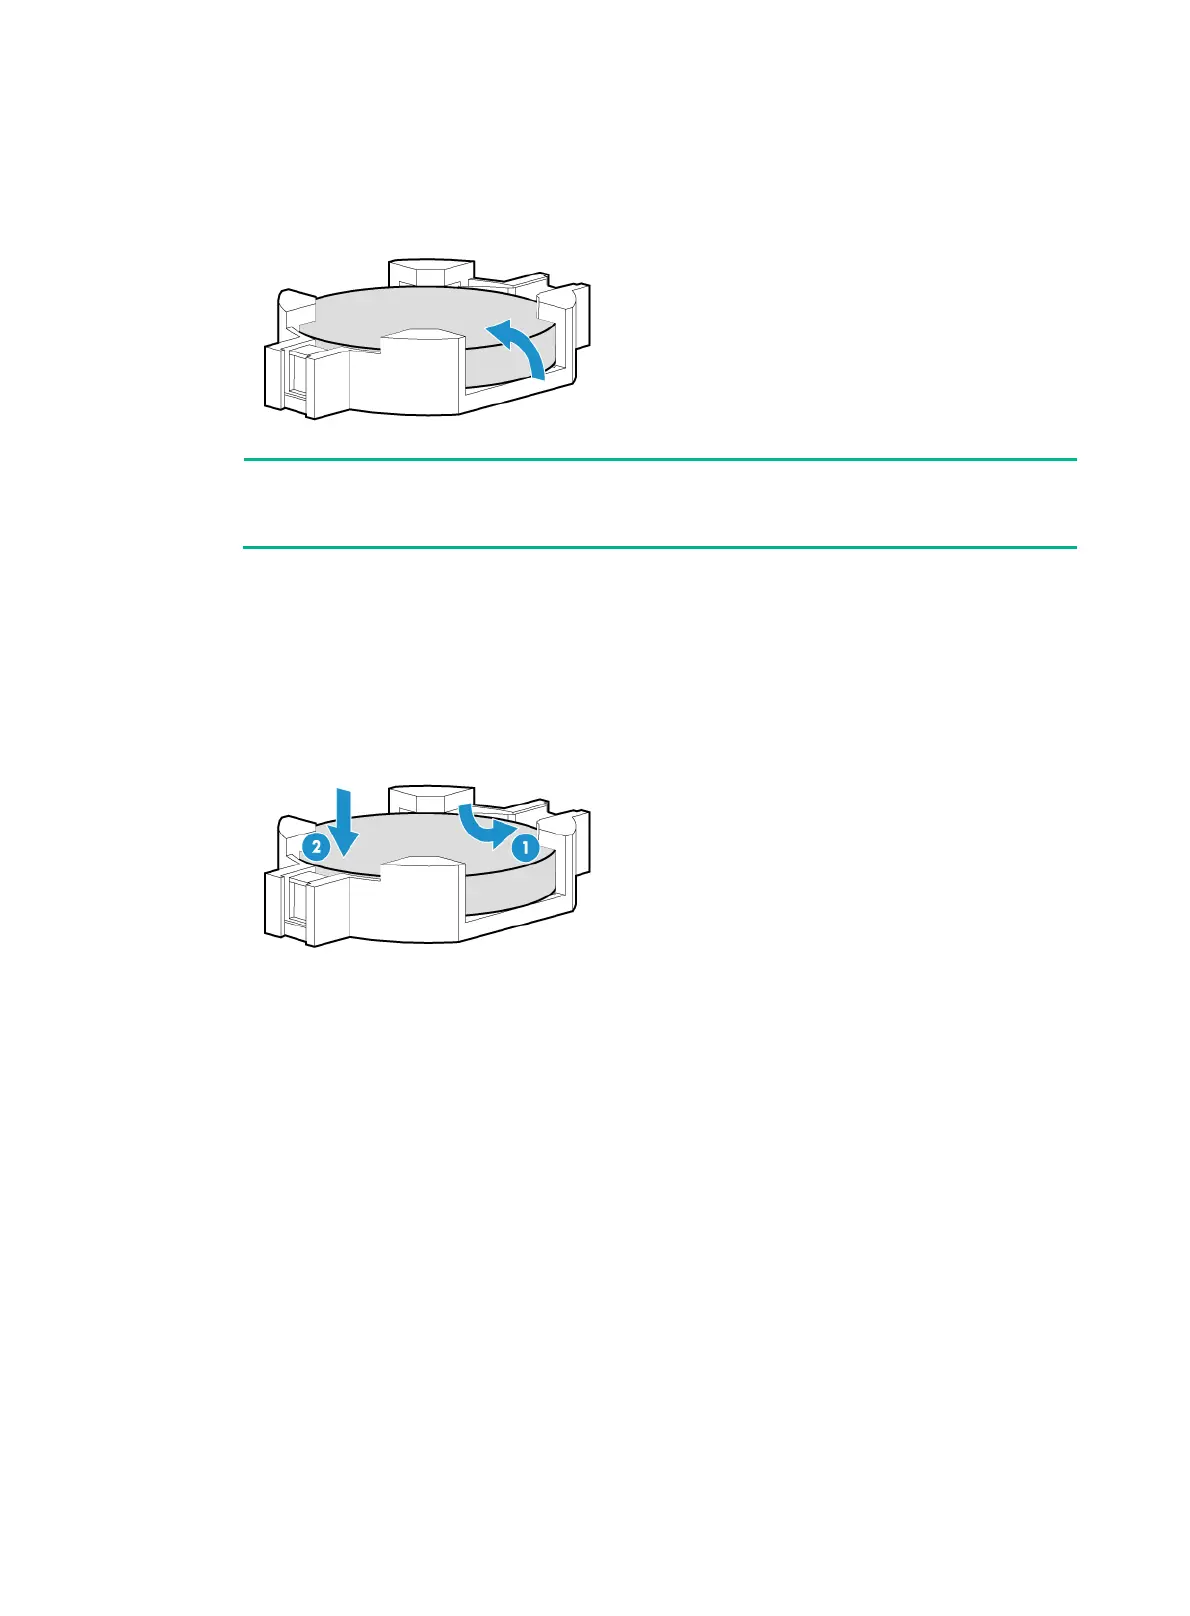
Installing the system battery
1. Orient the system battery with the plus-sign (+) side facing up, and place the system battery into
the system battery holder, as shown by callout 1 in Figure 147.
2. Press the sy
stem battery to seat it in the holder, as shown by callout 2 in Figure 147.
Figure 147
Installing the system battery
3. (Optional.) Install the removed PCIe modules. For more information, see "Installing riser cards
and PCIe modules."
4. Install the access panel. For more information, see "Installing the access panel."
5. Rack-mount the server. For more information, see "Rack-mounting the server."
6. Con
nect the power cord. For more information, see "Connecting the power cord."
7. Powe
r on the server. For more information, see "Powering on the server."
8. Acce
ss BIOS to reconfigure the system date and time. For more information, see the BIOS user
guide for the server.
Verifying the replacement
Verify that the system date and time is displayed correctly on HDM or the connected monitor.

 Loading...


