98
7. Remove the standard storage controller. For more information, see "Replacing a standard
storage controller."
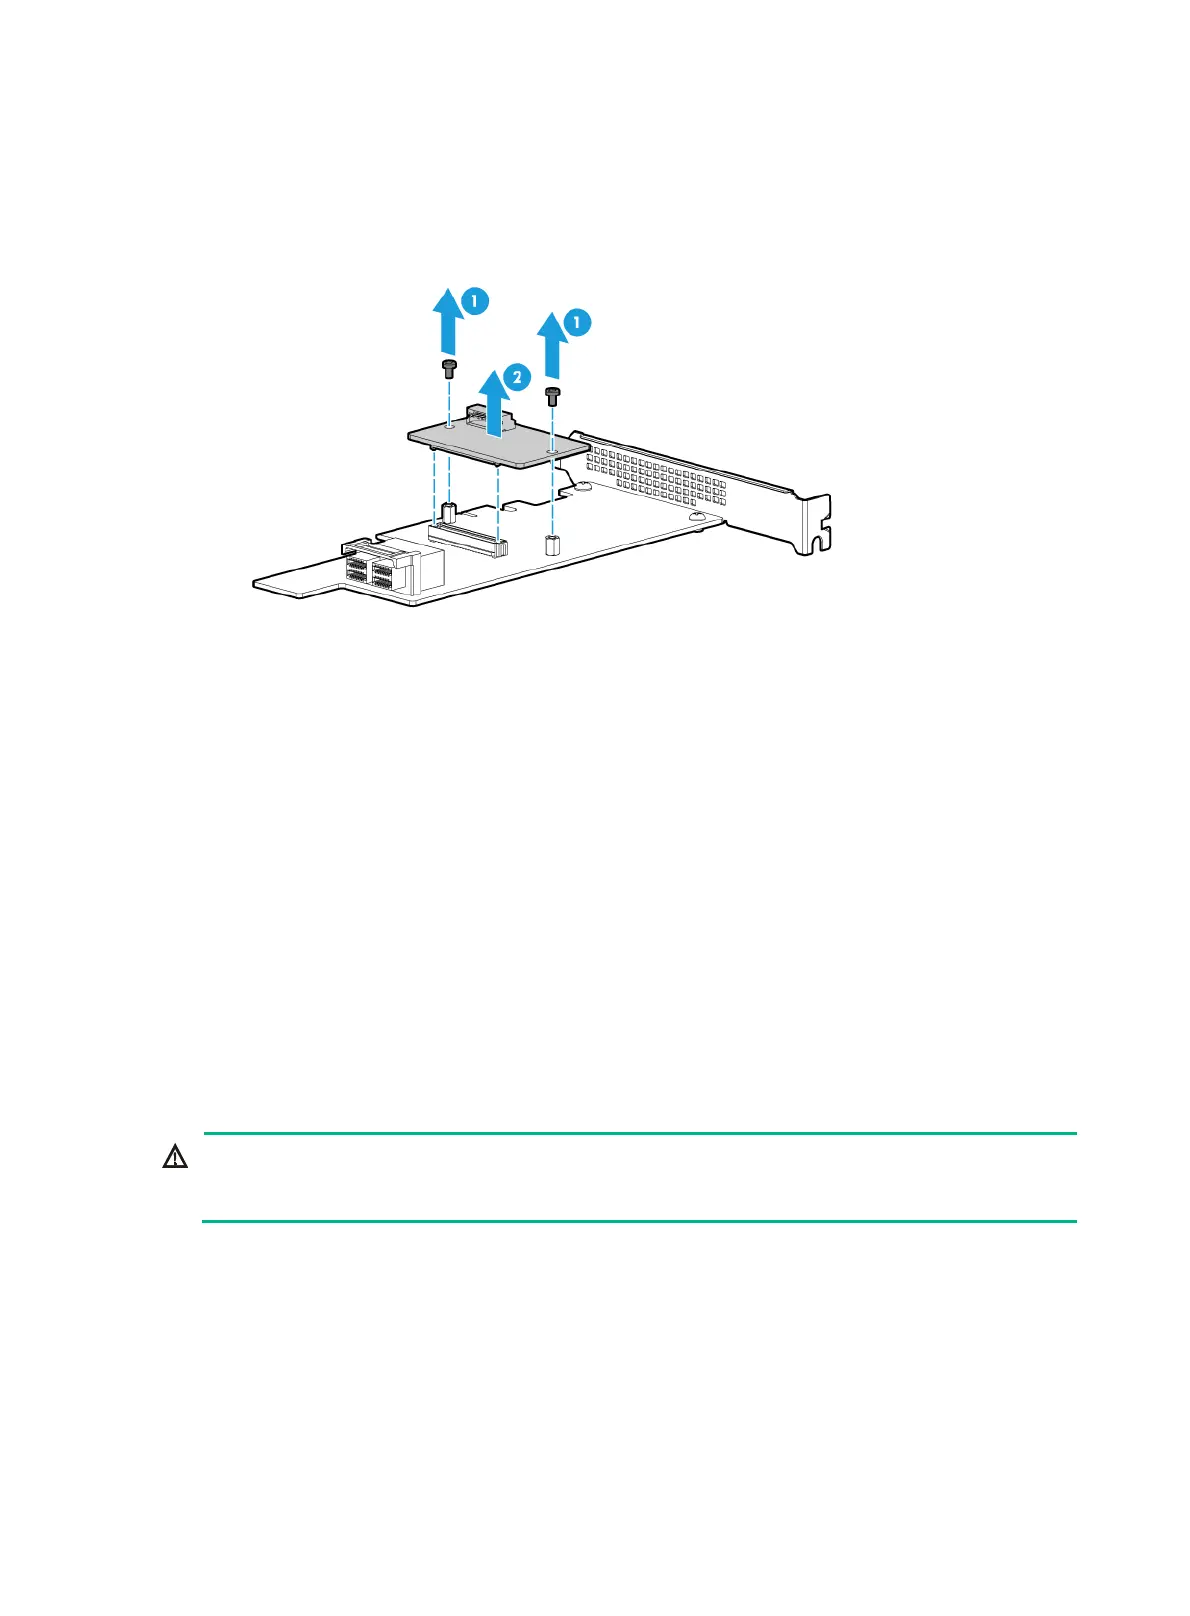
8. Remove the flash card on the storage controller, if any. Remove the screws that secure the
flash card, and then remove the flash card.
Figure 132 Removing the flash card on a standard storage controller
9. Remove the supercapacitor. For more information, see "Replacing the power fail safeguard
module for the Mezzanine storage controller."
10. Install a new power fail safeguard module. For more information, see "Installing a standard
stora
ge controller and a power fail safeguard module."
11. Install the removed fan cage. For more information, see "Installing fans."
12. Install the removed air baffles. For more information, see "Installing air baffles."
13. Install the access panel. For more information, see "Installing the access panel."
14. Rack-mount the server. For more information, see "Rack-mounting the server."
15. Con
nect the power cord. For more information, see "Connecting the power cord."
16. Powe
r on the server. For more information, see "Powering on the server."
Verifying the replacement
Log in to HDM to verify that the flash card and the supercapacitor are in a correct state. For more
information, see HDM online help.
Replacing a GPU module
WARNING!
To avoid bodily injury from hot surfaces, allow the server and its internal modules to cool before
touching them.
To replace a GPU module:
1. Power off the server. For more information, see "Powering off the server."
2. Remove the server from the
rack. For more information, see "Removing the server from a rack."
3. Remove the
access panel. For more information, see "Removing the access panel."
4. Remove the scre
w on the riser card that that has a GPU module attached, and remove the riser
card from the chassis, as shown in Figure 133.

 Loading...


