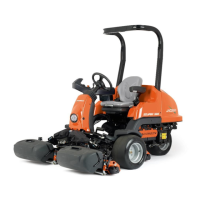
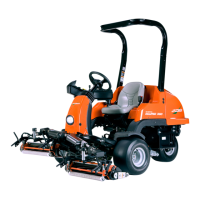
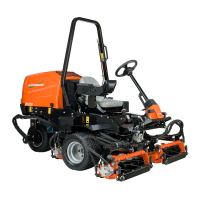
CUTTING UNITS
4222983 Second Edition 6-25
6
Right and Left Cutting Units
Removal and Installation
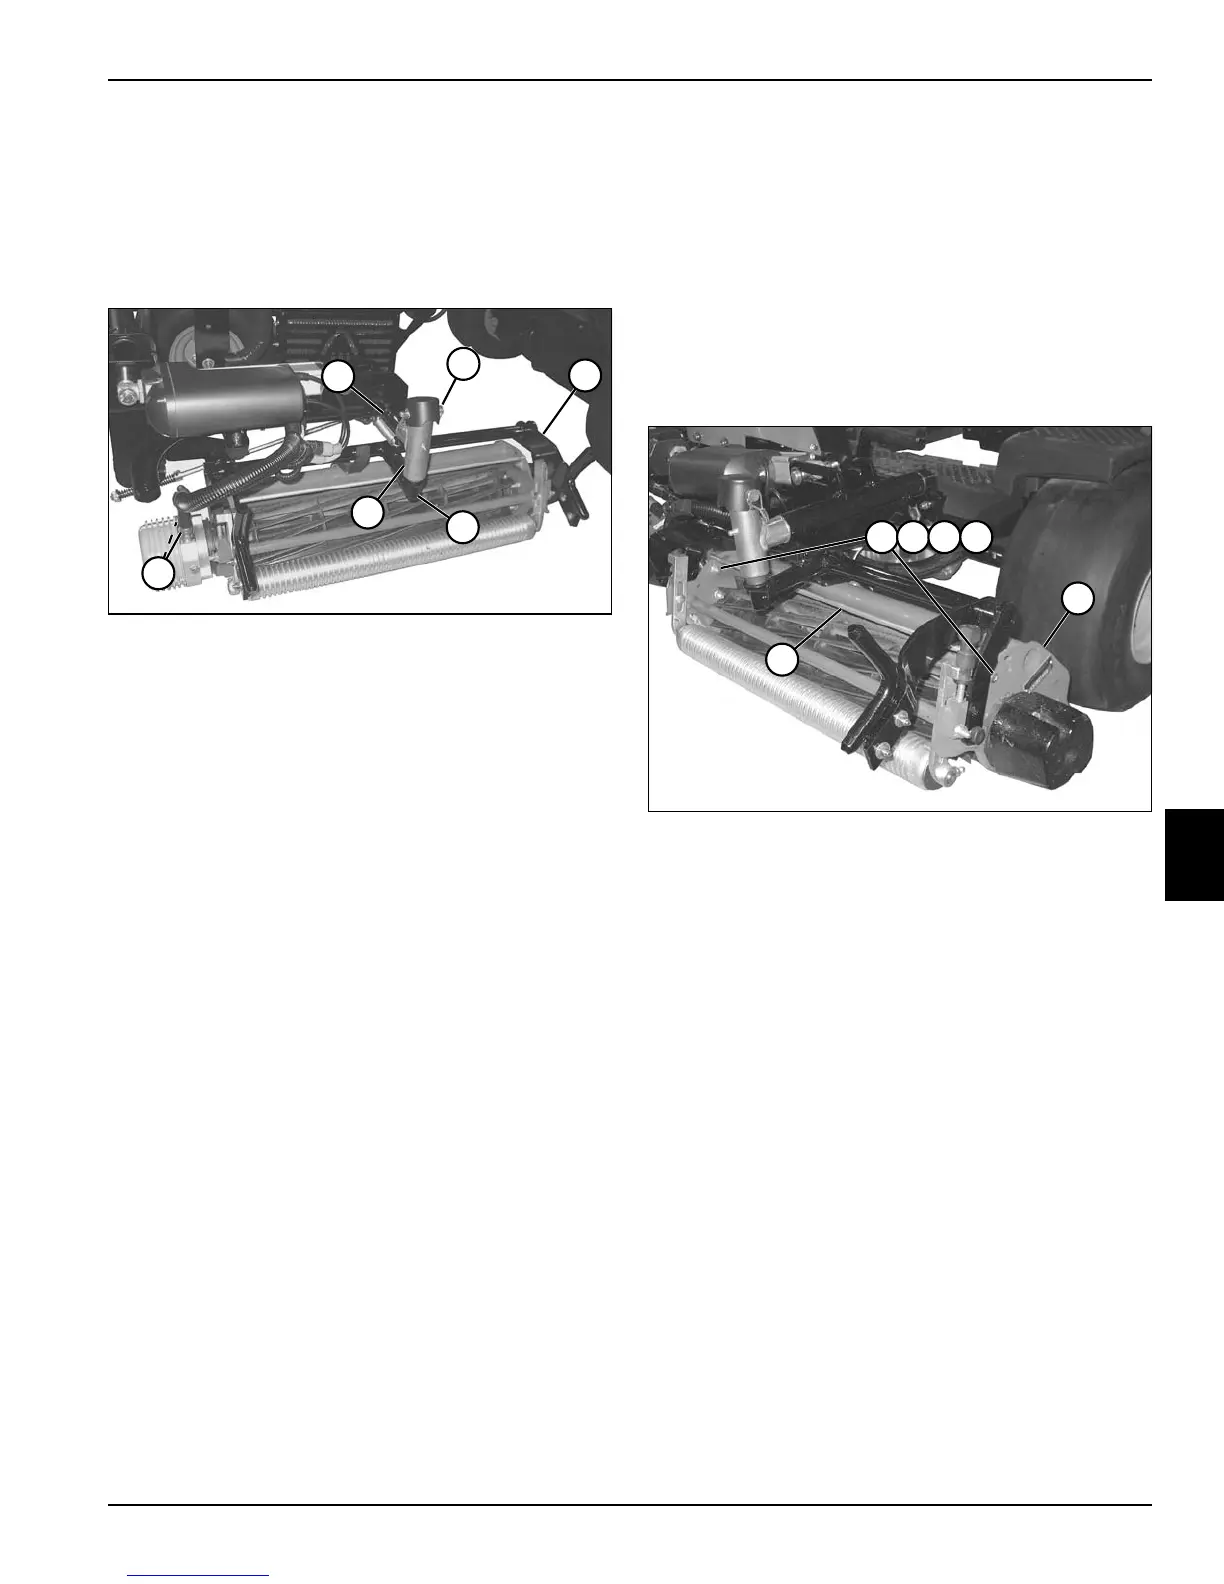
See Figure 6-25.
1. Park the mower safely. (See “Park Mower Safely” on
page 1-6.)
Figure 6-25
2. Disconnect reel drive motor harness connectors (6).
3. Remove pin (2).
4. Raise lift arm (1) until yoke shaft (4) clears bottom of
yoke shaft housing (5).
5. Move cutting unit (3) away from machine.
Installation Notes
• Install cutting unit by reversing the order of removal.
• Lubricate grease fittings with grease that meets or
exceeds NLGI Grade 2 LB specifications. Clean
grease fittings before lubricating and apply grease to
the fittings with a hand grease gun only. Pump the
gun slowly until a slight amount of pressure is felt,
then stop—do not over-grease. Do not use
compressed air gun.
• Level the cutting unit. (See “Cutting Unit Leveling
Adjustment” on page 6-22.)
Grass Shield
Removal and Installation
See Figure 6-26.
1. Park the mower safely. (See “Park Mower Safely” on
page 1-6.)
2. Remove cutting unit. (See “Center Cutting Unit” on
page 6-24 or “Right and Left Cutting Units” on
page 6-25.)
3. Remove front roller. (See “Front Roller” on
page 6-31.)
Figure 6-26
4. Remove nut (1), lock washer (2), flat washer (3), and
screw (4) from both sides of cutting unit (5).
5. Pull grass shield (6) away from cutting unit (5).
Installation Notes
• Install grass shield by reversing the order of removal.
• Adjust the grass shield. (See “Grass Shield
Adjustment” on page 6-17.)
TN2647
1
5
4
2
3
6
TN2649
5
6
1 2 3 4