3-77
3.8.11 Set User Option Keys [OPTION 1/2]
Users can freely make settings with [OPTION 1] key and [OPTION 2] key.
By using the keys, users can open a frequently used menu by only single operation, or assign special
functions, to the user key switches.
[I] Initial Setting (Option Key Setting)
Set functions that can be performed with the option key switches.
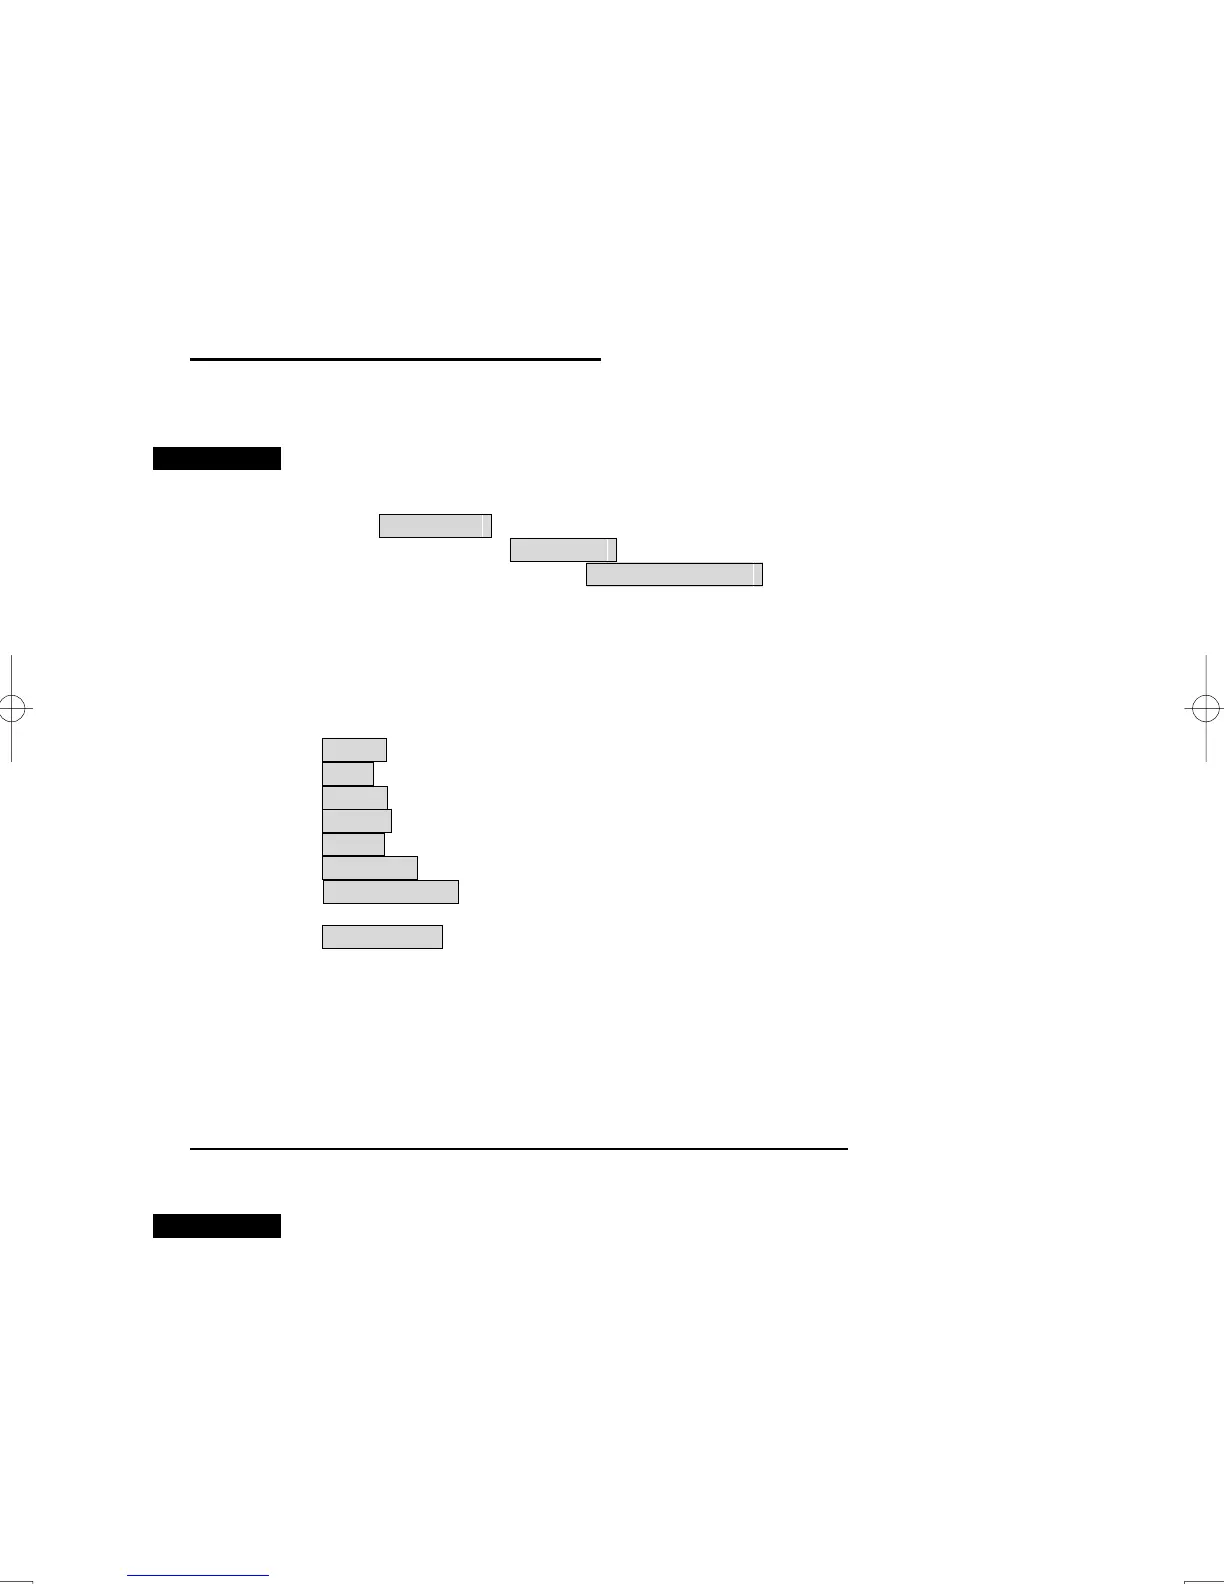
Procedures 1 Open the Option Key Setting menu by performing the menu operation
below.
Main Menu
→ Sub Menu
→ Option Key Setting
The Option Key Setting menu will appear.
This system provides two user keys: [OPTION 1] and [OPTION 2]. Different functions can be allocated
to each key.
Functions that can be allocated to each key are as follows:
Menu : A specific menu is directly displayed. (※)
Test : The Test menu is directly displayed.
Zoom : The zoom display function is switched between on and off.
Vector : The vector maximum length reversing key
Chart : The chart menu is directly displayed
TM Reset : The position of TM is reset
Capture Screen : Screen capture (see to the section “3.8.10 Screen Capture Setting”
for details.
Print Display : The screen is printed (it is necessary to connect the printer.)
(※) “Menu” Operation is different by software Versions of the Display Unit.
Radar at the Display Unit software number to Ver. 2.00 : Displayed directly
the main menu.
Radar at the Display Unit software number from Ver. 2.00 : Displayed directly
the specific menu
[II] Using Option Keys (Directly displaying a specified menu)
Preset the menu that is to be displayed with the option key switch.
Procedures 1 Perform the general menu open procedure to open the menu that is to
be directly displayed with Option Key.
2 While the menu is open, hold down [OPTION 1] key or [OPTION 2] key
for 2 seconds.
The menu currently being displayed is saved for the pressed option key.

 Loading...