CHAPTER 13
Installing the Mounting Hardware
•
Installing the MX5, MX10, MX40, and MX80 Cable Management Bracket on page 79
•
Moving the Mounting Brackets for Center-Mounting MX5, MX10, MX40, and MX80
Routers on page 80
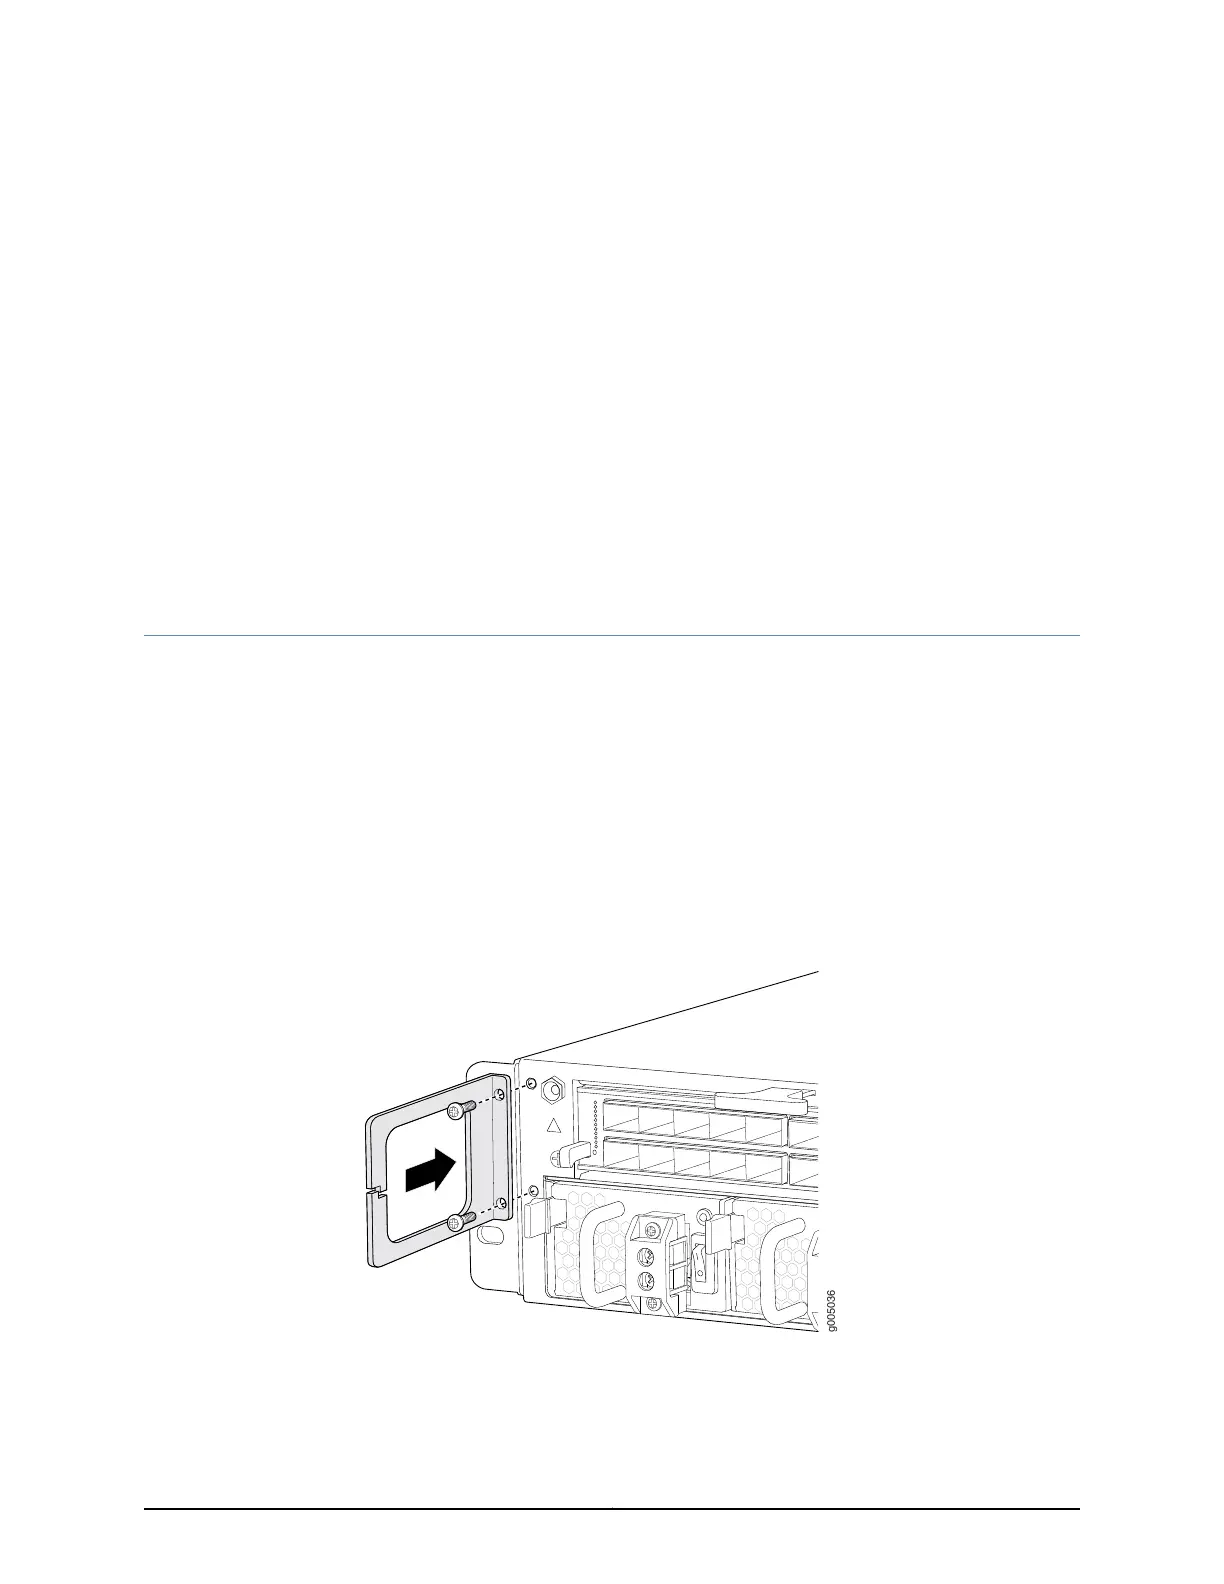
Installing the MX5, MX10, MX40, and MX80 Cable Management Bracket
The cable management bracket attaches to the left side of the router. To install the cable
management bracket (see Figure 30 on page 79):
1. Attach an ESD grounding strap to your bare wrist and connect the strap to one of the
ESD points on the chassis.
2. Position the cable management bracket on the left side of the front of the chassis.
3. Tighten the screws at the bottom and top of the bracket.
Figure 30: Installing the Cable Management Bracket
Related
Documentation
MX5, MX10, MX40, and MX80 Site Preparation Checklist on page 44•
• MX5, MX10, MX40, and MX80 Installation Summary on page 50
79Copyright © 2017, Juniper Networks, Inc.