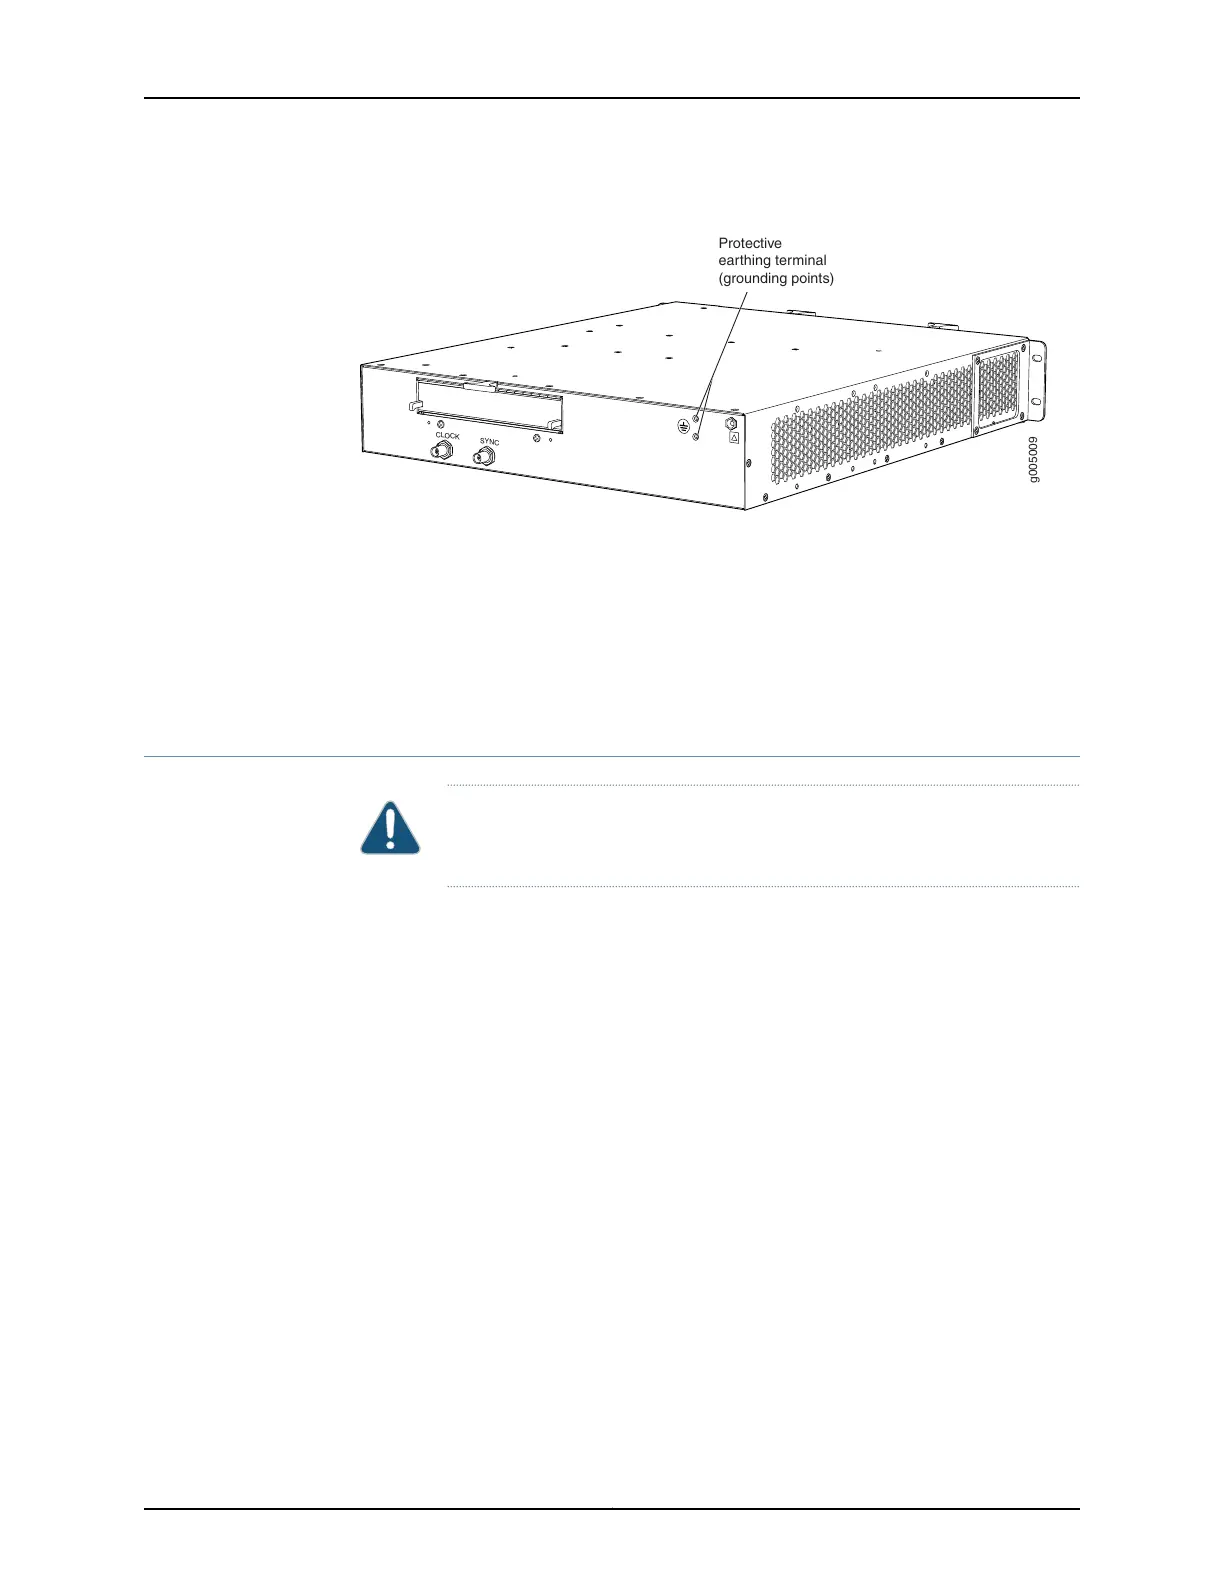
Figure 35: Grounding Points on MX5, MX10, MX40, and MX80 Routers
g005009
CLOCK
SYNC
Protective
earthing terminal
(grounding points)
Related
Documentation
Tools and Parts Required for MX5, MX10, MX40, and MX80 Router Grounding and
Power Connections on page 87
•
• Connecting Power to an AC-Powered MX5, MX10, MX40, and MX80 Router on page 89
• Connecting Power to a DC-Powered MX5, MX10, MX40, and MX80 Router on page 91
Connecting Power to an AC-Powered MX5, MX10, MX40, and MX80 Router
CAUTION: Do not mix AC and DC power supplies within the same router.
Damage to the router might occur.
You connect AC power to the router by attaching power cords from the AC power sources
to the AC appliance inlets located on the power supplies.
To connect the AC power cords to the router for each power supply:
1. Locate power cords that have a plug appropriate for your geographic location. For
more information,see “Connectingan MX5, MX10, MX40, and MX80 AC Power Supply
Cord” on page 139.
2. Attach an ESD grounding strap to your bare wrist and connect the strap to one of the
ESD points on the chassis.
3. Move the AC input switch next to the appliance inlet on the power supply to the off (O)
position.
4. Connect the power cord to the power supply.
5. Insert the power cord plug into an external AC power source receptacle.
89Copyright © 2017, Juniper Networks, Inc.
Chapter 15: Connecting the MX5, MX10, MX40, and MX80 Routers to Power