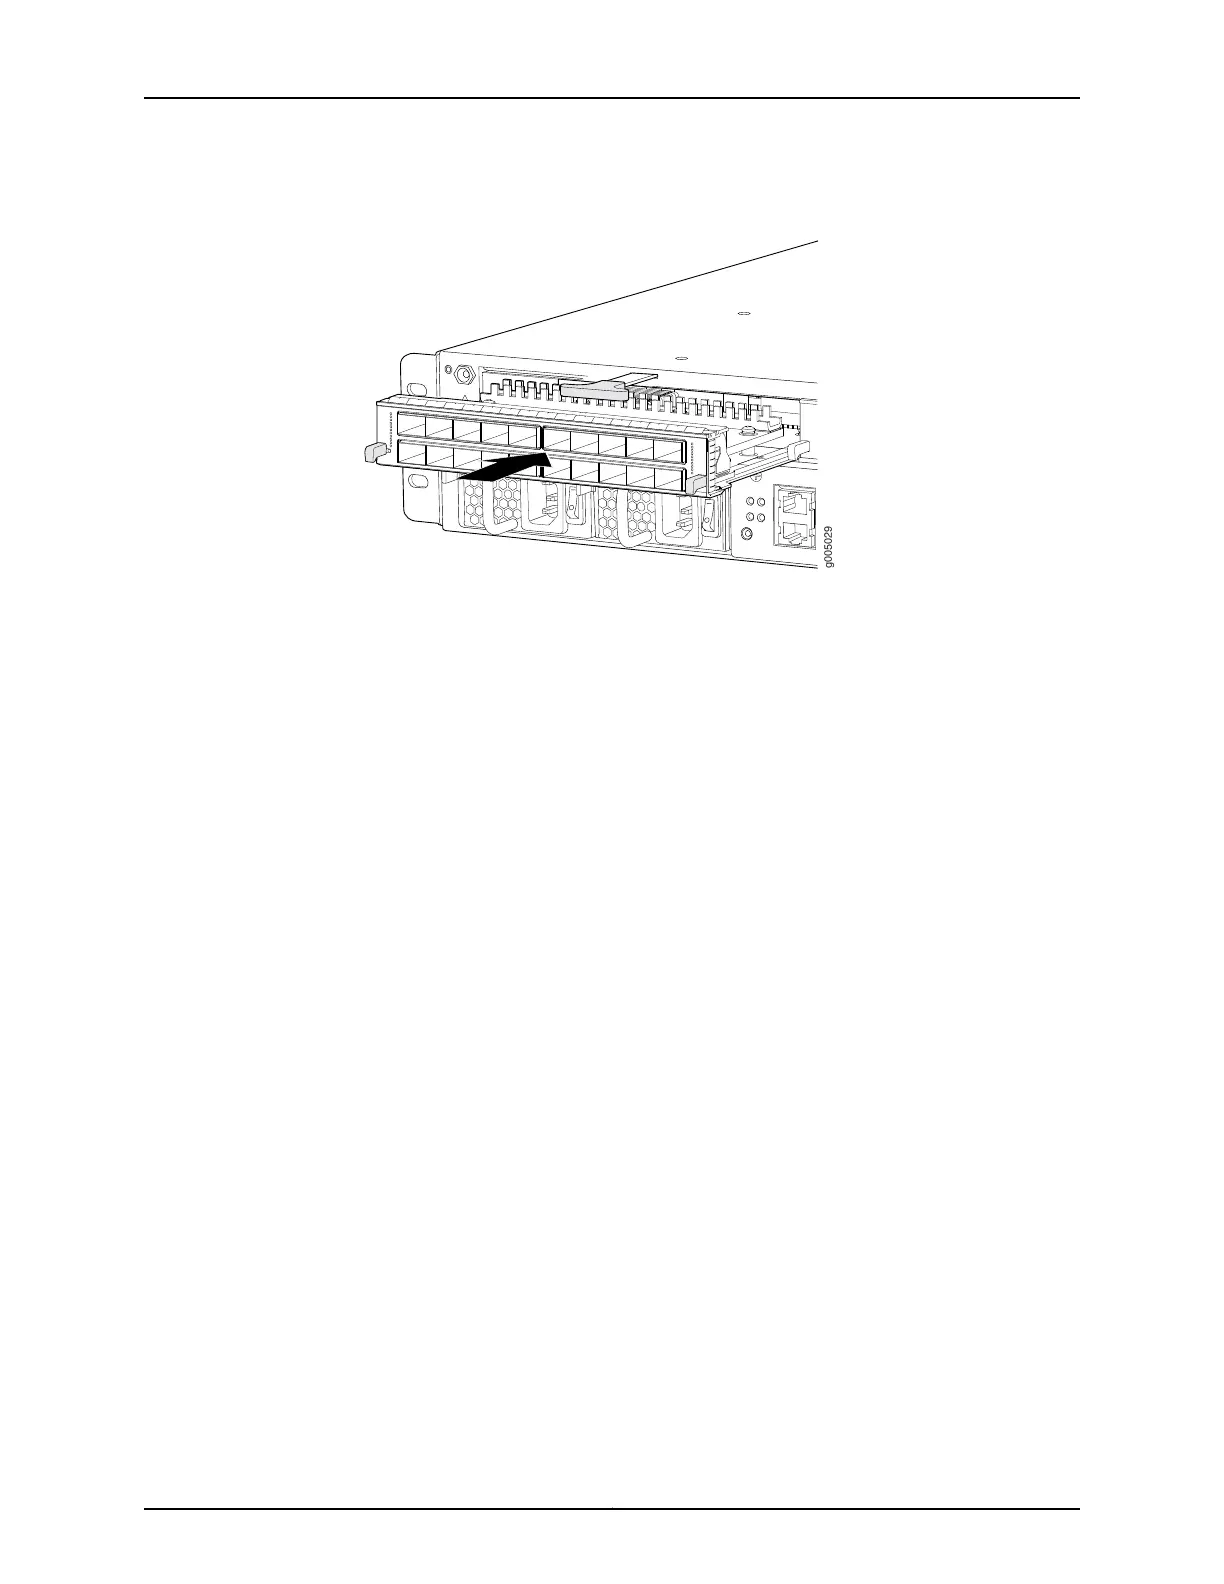
Figure 55: Installing a MIC
Installing an MX10, MX40, MX80, and MX104 Dual-Wide MIC
To install a dual-wide MIC (see Figure 51 on page 118):
1. Attach an ESD grounding strap to your bare wrist and connect the strap to one of the
ESD points on the chassis.
2. If the MIC uses fiber-optic cable, verify that a rubber safety cap is over each transceiver
on the faceplate. Install a cap if necessary.
3. Remove the septum, if necessary (see Figure 50 on page 116):
a. Lift the latch in the center of the two MIC slots to disengage the septum from the
chassis.
b. Slide the septum toward you, and then lift the septum out of the slot.
c. Store the septum for later use.
123Copyright © 2017, Juniper Networks, Inc.
Chapter 19: Replacing Line Card Components