10. Arrange each cable to prevent the cable from dislodging or developing stress points.
Secure the cable so that it is not supporting its own weight as it hangs to the floor.
Place excess cable out of the way in a neatly coiled loop.
CAUTION: Do not let fiber-optic cable hang free from the connector. Do
not allow fastened loops of cable to dangle, which stresses the cable at
the fastening point.
CAUTION: Avoid bending fiber-optic cable beyond its minimum bend
radius.An arc smallerthan a few inches in diameter can damage the cable
and cause problems that are difficult to diagnose.
11. Use one of the following methods to bring the MIC online:
•
Press the MIC offline/online button until the MIC OK/FAIL LED lights green.
•
Issue the following CLI command:
user@host> request chassis mic fpc-slot slot-number mic-slot slot-number online
The normal functioning status LED confirms that the MIC is online. You can also verify
correct MIC functioning by issuing the show chassis fpc pic-status command described
in “Maintaining the MX5, MX10, MX40, and MX80 MICs” on page 159.
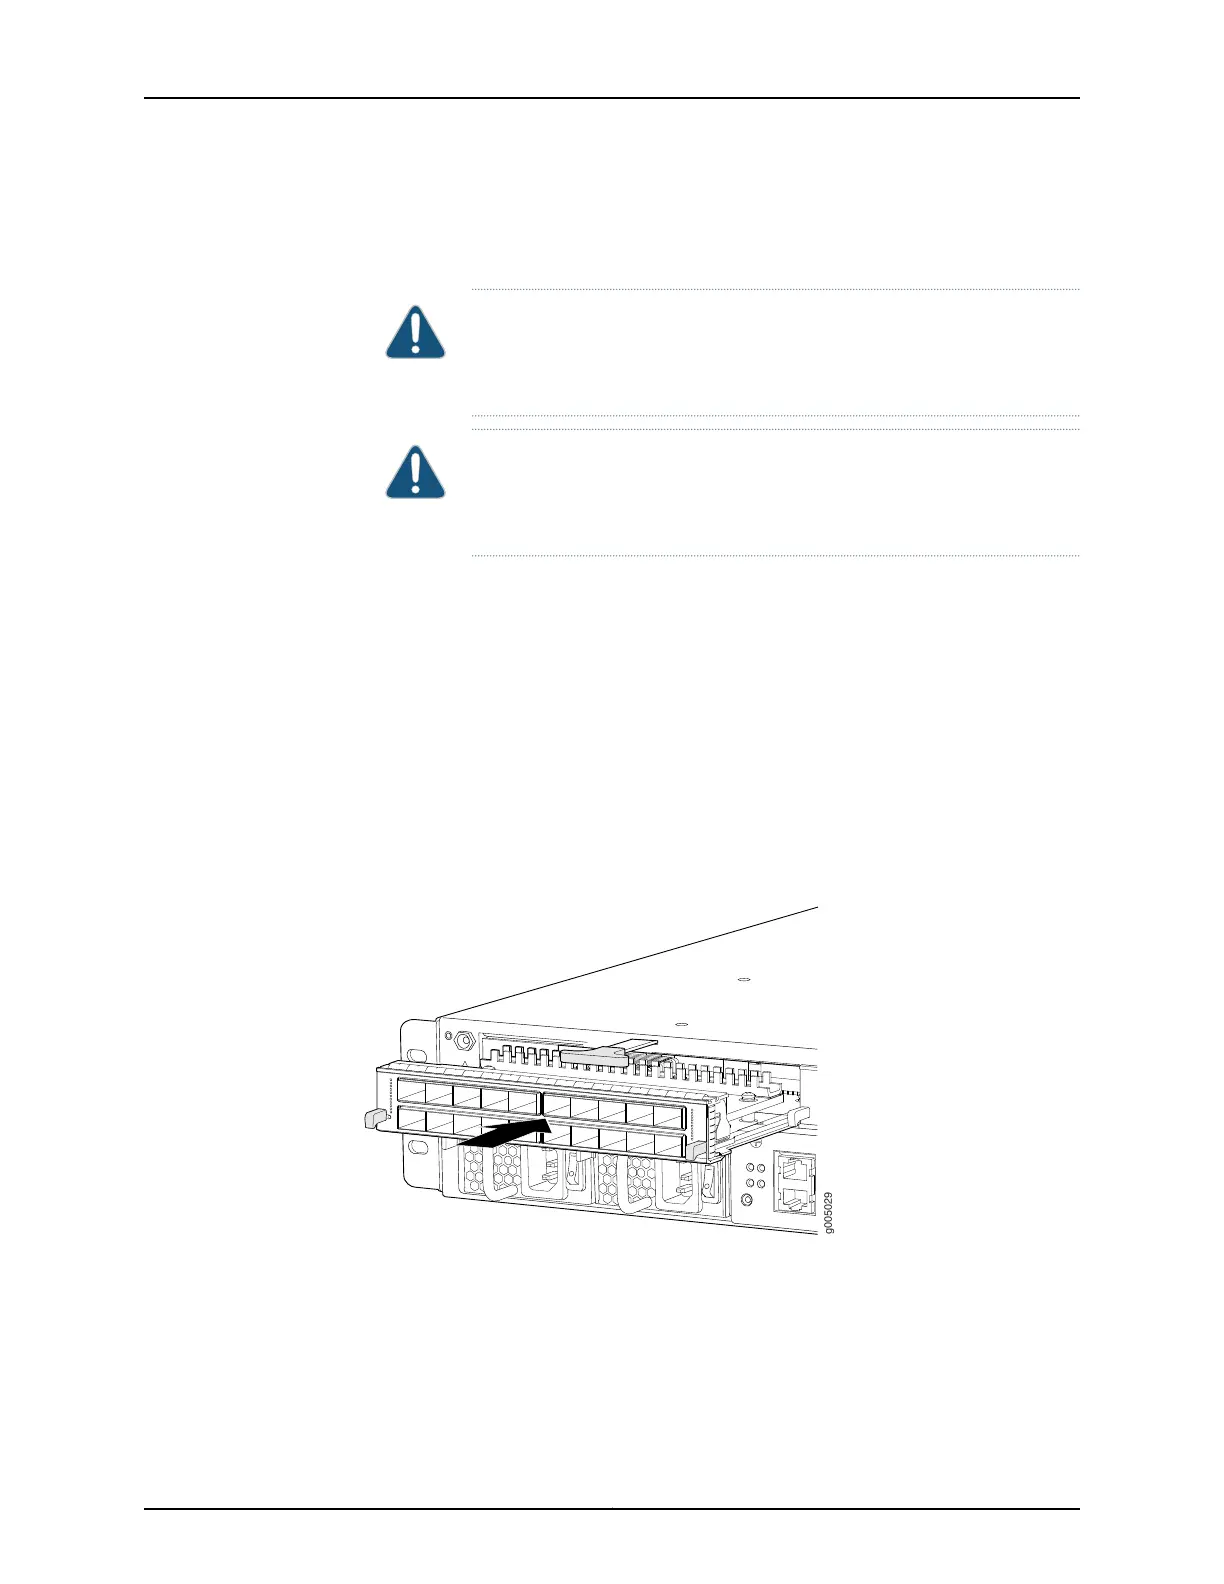
Figure 49: Installing a MIC
Related
Documentation
MX5, MX10, MX40, and MX80 Modular Interface Card Description on page 23•
• Maintaining the MX5, MX10, MX40, and MX80 MICs on page 159
• Troubleshooting the MX5, MX10, MX40, and MX80 MICs on page 170
• Removing an MX5, MX10, MX40, and MX80 MIC on page 119
115Copyright © 2017, Juniper Networks, Inc.
Chapter 19: Replacing Line Card Components