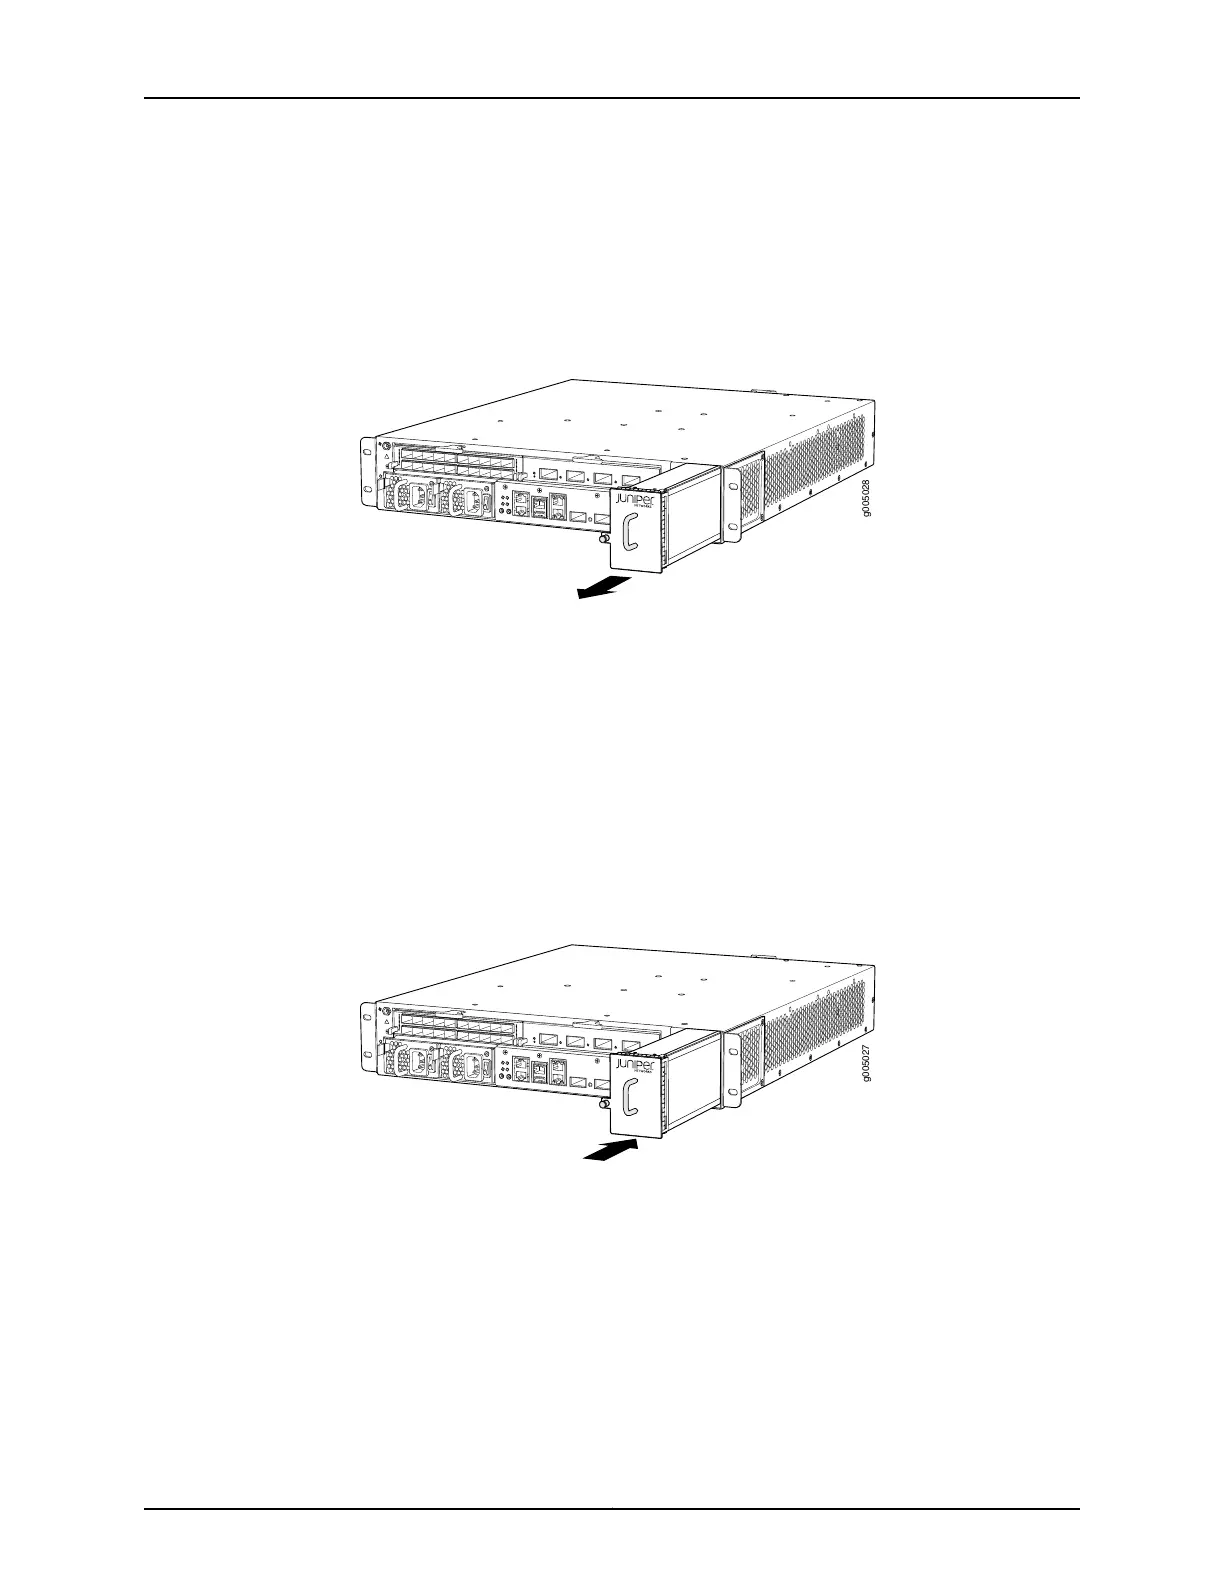
4. Press the latch located on the inside of the fan tray to release it from the chassis.
5. Place one hand under the fan tray to support it, and pull the fan tray completely out
of the chassis.
Figure 46: Removing the Fan Tray
Installing an MX5, MX10, MX40, and MX80 Fan Tray
To install the fan tray (see Figure 45 on page 111):
1. Attach an ESD grounding strap to your bare wrist and connect the strap to one of the
ESD points on the chassis.
2. Grasp the fan tray handle, and insert it straight into the chassis.
3. Tighten the captive screw on the fan tray faceplate to secure it in the chassis.
Figure 47: Installing the Fan Tray
Related
Documentation
• MX5, MX10, MX40, and MX80 Cooling System Description on page 19
• Replacing an MX5, MX10, MX40, and MX80 Air Filter on page 108
• Maintaining the MX5, MX10, MX40, and MX80 Fan Tray on page 158
• Preventing ElectrostaticDischarge Damage to an MX5, MX10, MX40, and MX80 Router
on page 194
Copyright © 2017, Juniper Networks, Inc.112
MX5, MX10, MX40, and MX80 3D Universal Edge Router Hardware Guide