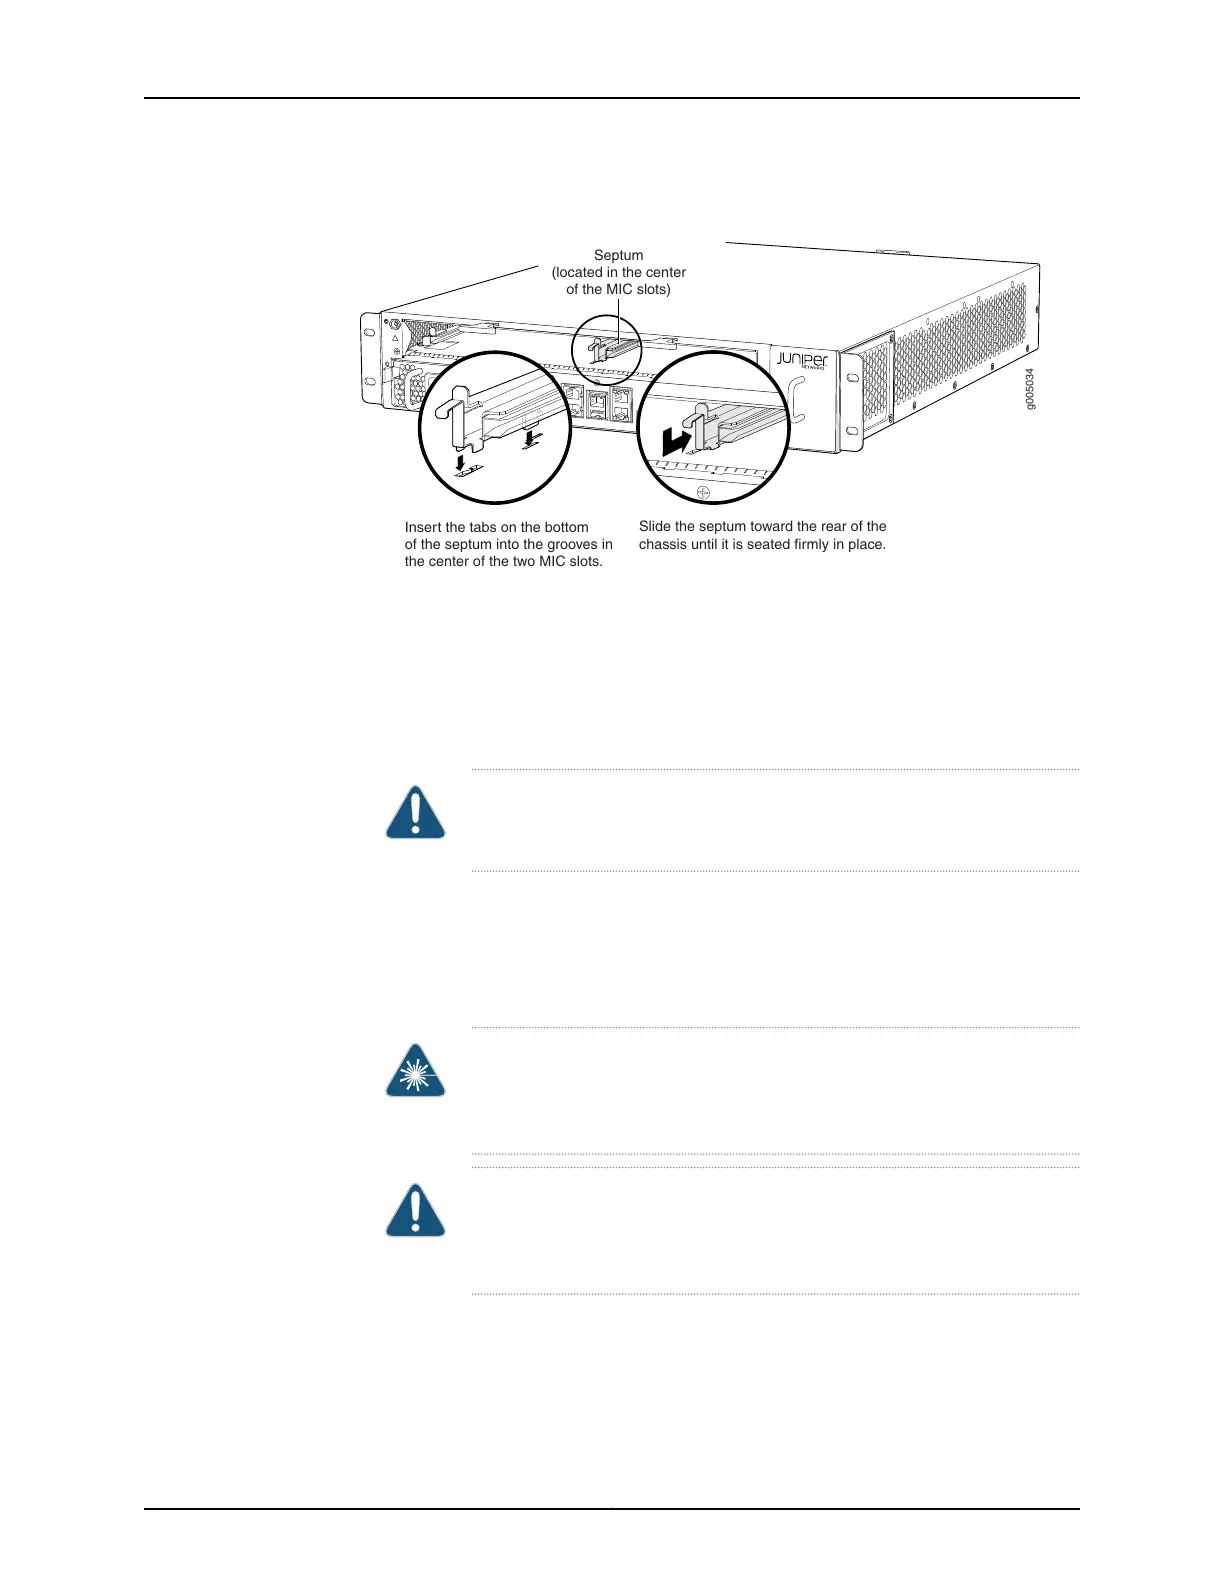
Figure 48: Installing the Septum
g005034
Slide the septum toward the rear of the
chassis until it is seated firmly in place.
Insert the tabs on the bottom
of the septum into the grooves in
the center of the two MIC slots.
Septum
(located in the center
of the MIC slots)
4. Pull the ejector lever above the MIC slot away from the router.
5. Align the rear of the MIC with the guides located at the corners of the MIC slot.
6. Slide the MIC into the MIC slot until it is firmly seated in the chassis.
CAUTION: Slide the MIC straight into the slot to avoid damaging the
components on the MIC.
7. Verify that the ejector lever is engaged by pushing it toward the router.
8. If the MIC uses fiber-optic cable, remove the rubber safety cap from each transceiver
and the end of each cable.
WARNING: Do not look directly into a fiber-optic transceiver or into the
ends of fiber-optic cables. Fiber-optic transceivers and fiber-optic cable
connected to a transceiver emit laser light that can damage your eyes.
CAUTION: Do not leave a fiber-optic transceiver uncovered except when
you are inserting or removing cable. The safety cap keeps the port clean
and prevents accidental exposure to laser light.
9. Insert the appropriate cables into the cable connectors on the MIC.
Copyright © 2017, Juniper Networks, Inc.114
MX5, MX10, MX40, and MX80 3D Universal Edge Router Hardware Guide