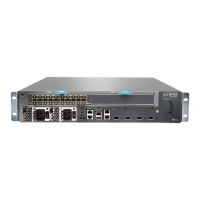
Connecting an MX5, MX10, MX40, and MX80 AC Power Supply Cord
To connect the AC power cord:
1. Locate a replacement power cord with the type of plug appropriate for your geographic
location (see “ACPower Cord Specifications for MX5, MX10, MX40, and MX80 Routers”
on page 56).
2. Connect the power cord to the power supply.
3. Insert the power cord plug into an external AC power source receptacle.
4. Route the power cord appropriately. Verify that the power cord does not block the air
exhaust and access to router components, or drape where people could trip on it.
5. Switch the AC input switch on the each power supply to the on ( | ) position, and
observe the status LED on the power supply faceplate. If the power supply is correctly
installed and functioning normally, the status LED lights green steadily.
Related
Documentation
MX5, MX10, MX40, and MX80 Power System Description on page 35•
• Installing an MX5, MX10, MX40, and MX80 AC Power Supply on page 135
• Disconnecting an MX5, MX10, MX40, and MX80 AC Power Supply Cord on page 139
• MX5, MX10, MX40, and MX80 Routers AC Power Specifications on page 53
• AC Power Circuit Breaker Requirements for the MX5, MX10, MX40, and MX80 Router
on page 56
• Preventing ElectrostaticDischarge Damage to an MX5, MX10, MX40, and MX80 Router
on page 194
Installing an MX5, MX10, MX40, and MX80 DC Power Supply
WARNING: Before performing DC power procedures, ensure that power is
removed from the DC circuit. To ensure that all power is off, locate the circuit
breaker on the panel board that services the DC circuit, switch the circuit
breaker to the off position, and tape the switch handle of the circuit breaker
in the off position.
Copyright © 2017, Juniper Networks, Inc.140
MX5, MX10, MX40, and MX80 3D Universal Edge Router Hardware Guide

 Loading...