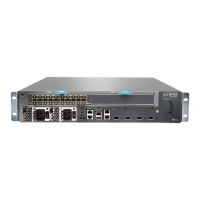
Figure 59: Installing an AC Power Supply
Related
Documentation
MX5, MX10, MX40, and MX80 Power System Description on page 35•
• Removing an MX5, MX10, MX40, and MX80 AC Power Supply on page 136
• MX5, MX10, MX40, and MX80 Routers AC Power Specifications on page 53
• AC Power Circuit Breaker Requirements for the MX5, MX10, MX40, and MX80 Router
on page 56
• AC Power Cord Specifications for MX5, MX10, MX40, and MX80 Routers on page 56
• Preventing ElectrostaticDischarge Damage to an MX5, MX10, MX40, and MX80 Router
on page 194
Replacing an MX5, MX10, MX40, and MX80 AC Power Supply
Video: Replacing an MX5, MX10, MX40, and MX80 AC Power Supply
•
Removing an MX5, MX10, MX40, and MX80 AC Power Supply on page 136
•
Installing an MX5, MX10, MX40, and MX80 AC Power Supply on page 138
Removing an MX5, MX10, MX40, and MX80 AC Power Supply
Before you remove a power supply, be aware of the following:
NOTE: The minimum number of powersupplies must be presentin the router
at all times.
CAUTION: To maintain proper cooling and prevent thermal shutdown of the
operating power supply unit, each power supply slot must contain either a
Copyright © 2017, Juniper Networks, Inc.136
MX5, MX10, MX40, and MX80 3D Universal Edge Router Hardware Guide

 Loading...