Chapter 2: Kaye ValProbe RT Hardware
ValProbe RT User Manual 21
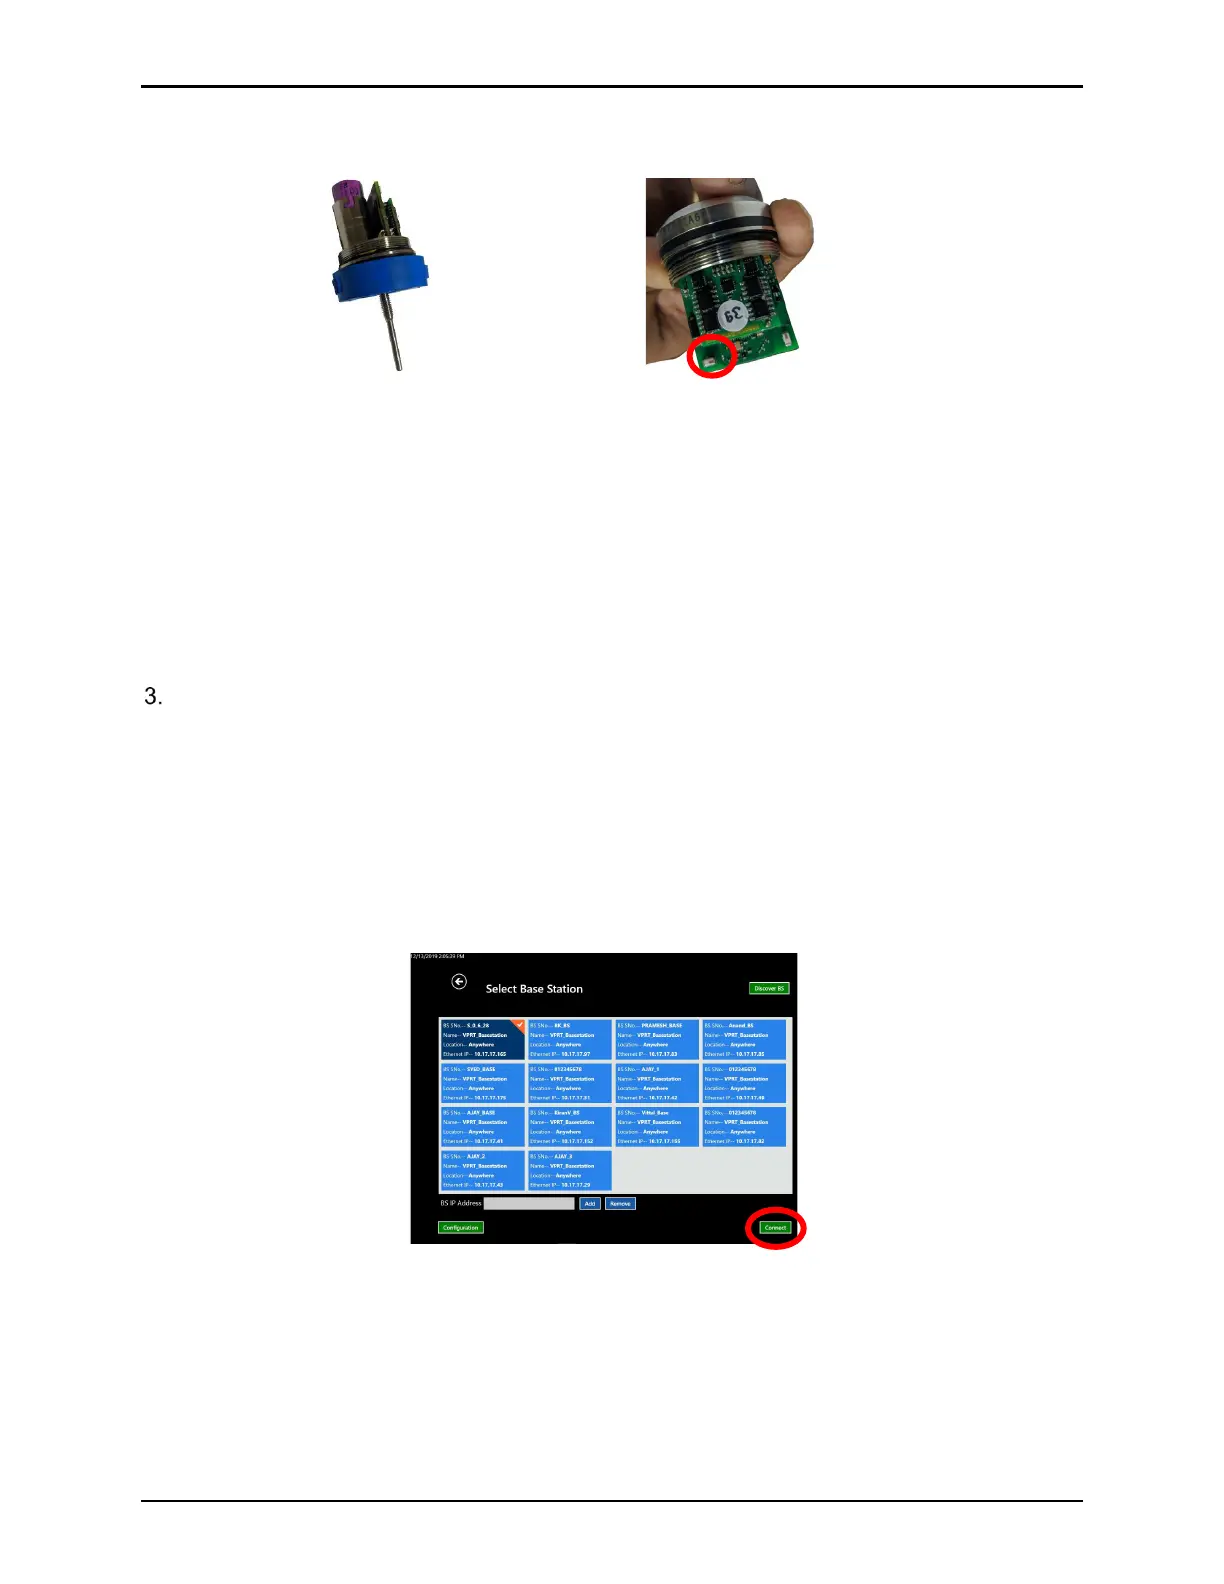
• Once the battery is installed, a small red LED on the top edge of the board blinks three
times to confirm that the Logger is powered on. If the LED light does not blink, follow
the important note below to troubleshoot.
Figure 26: Insert New Battery / Verify LED
Important: If the LED does not blink, remove battery, and wait (1-2 minutes) until all the
residual power is released. Then use a magnet over the Logger without the
battery. Reinstall the battery and wait for the LED to blink three times. If LED
keeps blinking, remove the battery again and then reinstall the battery. If the
Logger blinks more than three times, the Logger may have an issue with its
hardware.
• Reinsert the Logger cover and hand tighten until the cup O-ring is no longer visible.
Clean the exterior of the Logger with a soft cloth to remove any excess lubricant.
Reset the Battery Odometer
When changing the battery in a Logger, also reset the battery odometer to 100% for the
program to calculate the life of the new battery.
Reset Battery Life:
• Start the ValProbe RT software.
• Navigate to the Hardware Discover tile, select a Base Station and then select the
Connect button.
Figure 27: Connect Button
• Wake up all Loggers that have had battery replacements using the Wakeup device or
the Base Station magnet.