bizhub C652/C552 7-15
7.1 System Settings
7
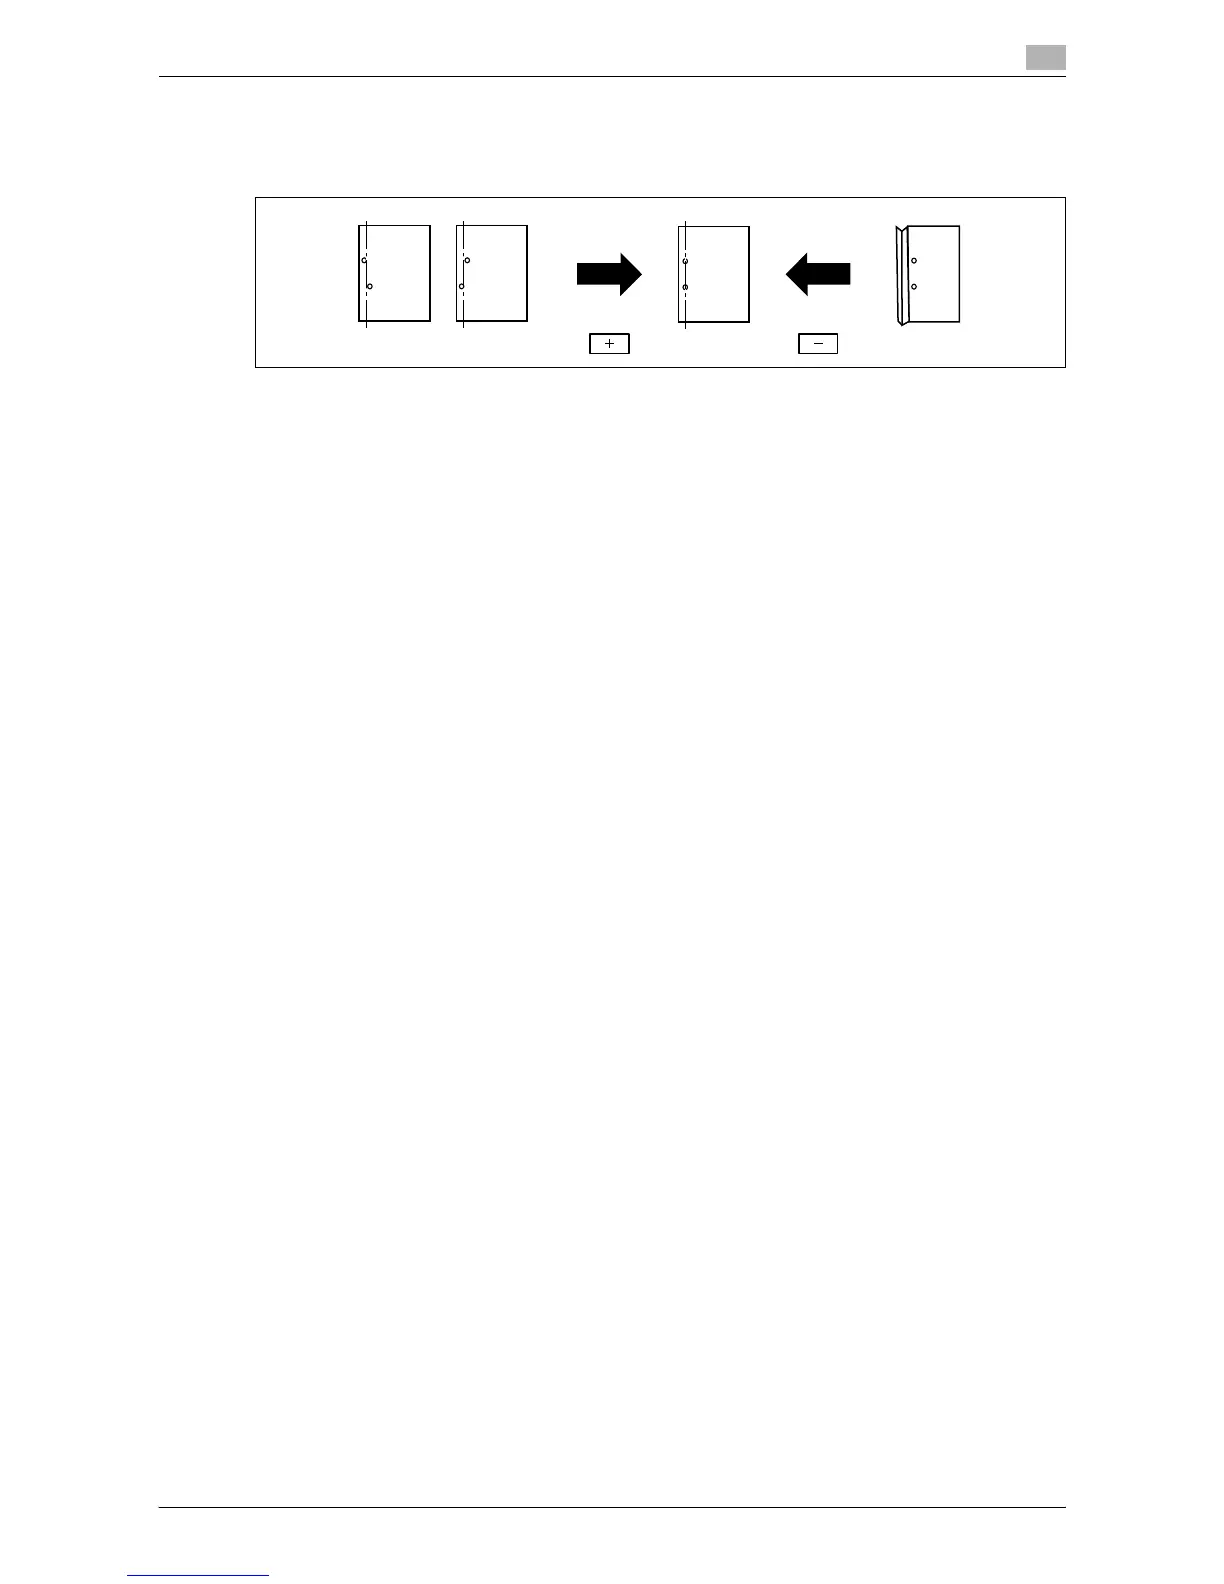
Punch Regist Loop Size Adjustment
Place the punched hole position in parallel with the left edge of paper. The punched hole array is corrected
by adjusting the resistance applied to the paper.
0 This adjustment is available if the punch kit is installed.
1 Press the [Utility/Counter] key ö [Administrator Settings] ö [System Settings] ö [Expert Adjustment]
ö [Finisher Adjustment] ö [Punch Regist Loop Size Adjustment].
2 Select a paper type for which the punch hole angle is adjusted.
3 Press [+] to adjust the punched hole position.
4 Press [OK].
5 Create a sample, and check the print result.
% If the paper is wrinkled, press [-].
Create a sample, and check the print result.
Punch Edge Sensor Adjustment
If the punch position is displaced depending on the paper tray, the punch kit is automatically adjusted.
0 This adjustment is available if the punch kit is installed.
1 Press the [Utility/Counter] key ö [Administrator Settings] ö [System Settings] ö [Expert Adjustment]
ö [Finisher Adjustment] ö [Punch Edge Sensor Adjustment].
2 Press the [Start] key.
The punch edge sensor is automatically adjusted.
The adjusted result appears.