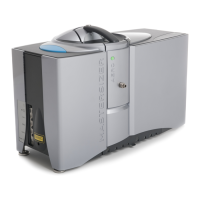
Chapter 2 Introducing the Mastersizer 3000
Page 2-14 MAN 0474
Cell handle
Only lift the cell by this handle.
Sample output (blue)
Connected to the sample in (blue) on the dispersion unit.
Temperature regulator throughput
Provides throughput connections to a water jacket within the cell. This allows an
(optional) heater/chiller to regulate the sample temperature to help minimise the
effect of ultrasound heating.
Sample input (yellow)
Connected to the sample out (yellow) on the dispersion unit.
Cell windows
Sample passes through the window and is measured by the system. Cell windows
should always be kept clean to ensure accurate measurements - see the Hydro Wet
Dispersion Units Guide.
Inserting and removing the cell
Always follow this process when inserting or removing the cell from the instru-
ment. This section assumes that all relevant tubing connections between the dis-
persion unit and cell have already been made. Refer to the dispersion unit manuals
for verification of these connections.
Inserting the cell
1. Lift the cell by its handle .
2. Insert cell into the instrument as shown in the previous Mastersizer optical
unit illustration.
3. Do not force the cell into the instrument - only slide it into the cell holder until
it stops.
4. The cell now automatically locks into place within the cell bay.
Removing the cell
1. Press the cell eject button to eject the cell from the cell bay.
Caution!
Do not try to remove the cell from the cell bay without first pressing the
cell eject button as this could damage the locking mechanism.
2. Withdraw the cell from the instrument using its handle in the direction
shown in the previous Mastersizer optical unit illustration.