Chapter 3 Software overview
Page 3-2 MAN 0474
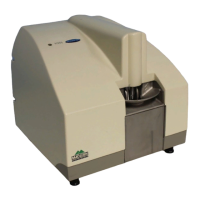
Powering on and starting the software
1. Ensure that the optical unit, dispersion unit and computer are connected (con-
nection reference is given in the Mastersizer 3000 Basic guide).
2. Power up the computer and printer (if available) by following the instructions
in the manuals supplied.
3. Connect the optical unit’s power supply to the mains power supply.
4. Press the on/off switch on the instrument’s side panel once to power on.
The blue indicator on the top of the instrument illuminates, together with the
blue indicator on the front of the dispersion unit, which pulsates to indicate
that standby mode is active.
5. Log in to the computer that is connected to the instrument and start the Mas-
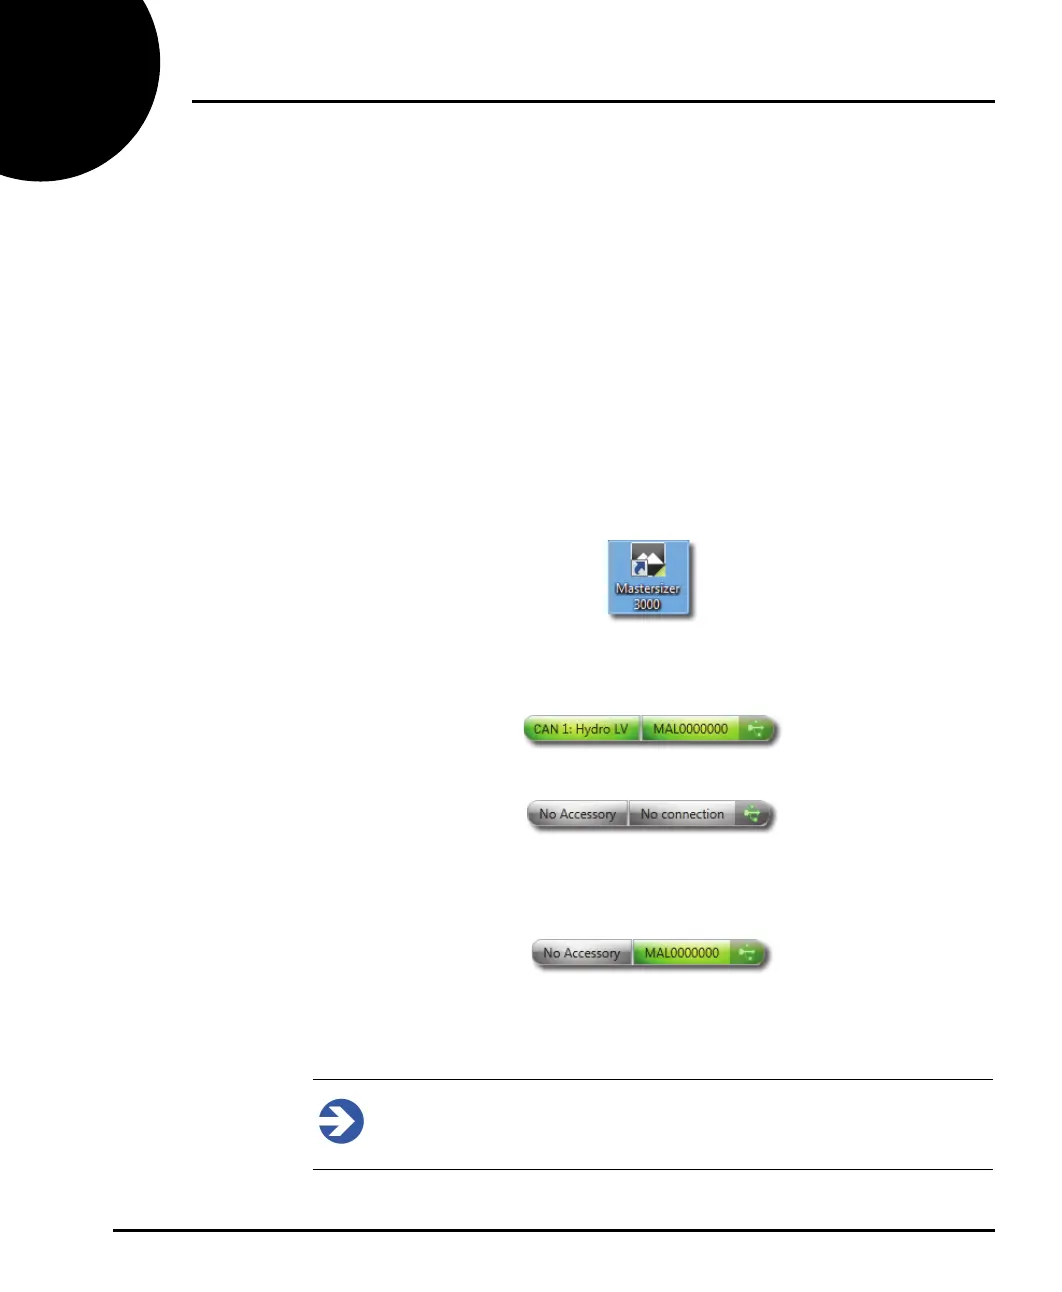
tersizer application software by double clicking on the Mastersizer desktop
icon.
6. The main Mastersizer application software window is now displayed.
A correct connection to the instrument shows both the instrument and
accessory name in the status bar:
If the instrument is not connected correctly, the status bar indicates:
If this is the case, check the instrument’s connection to the USB port on the
PC and the power connections to the instrument.
If the dispersion unit is not detected, the following is shown:
If this is the case, check the connection from the instrument to the dispersion
unit. Also, a blue pulsating power light on the dispersion unit indicates that it is
connected correctly to the instrument.
Note
Before using the instrument to measure a sample, wait for 30 minutes for
the laser to stabilise.