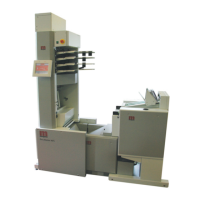
Morgana DocuMaster MFC - Service Manual 255
8. Installation Manual - Install the MFC
8.3 Install the MFC
8.3.1 Install the CAP
If the CAP was removed from the MFC for transport it must be installed (see Section
4.6.1).
Note: Y
ou must remove the CAP to move the MFC through an
internal door frame (see Section 6.2). Make sure that the MFC
is moved to its final position before you install the CAP.
8.3.2 Adjust the Voltage Settings
Measure the local mains power supply voltage and check that the low voltage
transformer taps are set correctly (see Section 7.2.1).
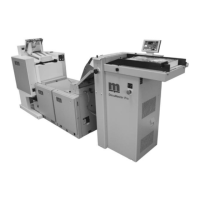
8.3.3 Install the MFC
The MFC must be installed on a hard, flat floor (see Section SECTION 8).
Tools:
• Spanner: 12mm.
Step Action Information
1 Push the MFC to its final position. (See Section SECTION 8).
2 Turn each of the four adjustable
foot bot
s until the MFC base
wheels are clear of the floor.
Turn each adjustable foot bolt
clockwise.
Note: The two front adjust
able foot
bolts are located below the base. An
access hole is cut on the inside of the
base.
3 Connect the MFC to the mains
input.
.
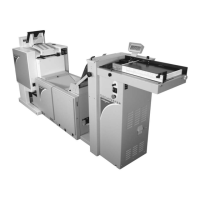
8.3.4 Connect the Booklet-Maker System
The booklet-maker system is made of the BMP, TMP and ASM.
Step Action Information
1 Put the BMP at the front of the
MF
C.
(See Section 1.5).
2 Connect the BMP to the mains
power supply
.
Connect the mains lead to the input
plug at the rear of the BMP.
Note: Put the mains
lead through the
space below the electrical cabinet.
3 Connect the BMP interface cable
to the
MFC.
Put the interface cable in to the P-clip
on the gathering module.