Issue 4.1 UNIVERGE SV8100
3 - 16 Installing the SV8100 Chassis
3. Connect the ground wire to all chassis. Refer to 2.7.5 Install
19” Chassis Grounding on page 3-52 for complete details on
grounding the system.
4. Refer to 2.7 Installing the 19” Chassis on page 3-39 to continue
installation of the chassis or, Chapter 5 paragraph 2.2
Installing an Extension or Trunk Blade on page 4-4 for
installation of blades.
2.3 Stand Mounting the 19” Chassis
A single or multiple chassis can be stand mounted. Controlling and Expansion
chassis can be stand mounted using the CHS2U STAND KIT(K) and CHS2U
STAND KIT (EXT).
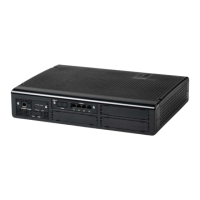
2.3.1 CHS2U Chassis Installation
1. Using the supplied screws, assemble the CHS2U STAND
KIT(K) and CHS2U STAND KIT (EXT) (refer to Figure 3-18
Assemble Stand Mount with Screws).
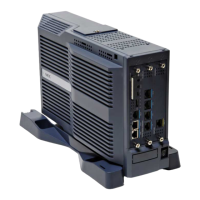
2. Secure the CHS2U chassis to the assembled CHS2U STAND
KIT, see Figure 3-19 Secure CHS2U Chassis to CHS2U
STAND KIT with Screws on page 3-17.
Figure 3-18 Assemble Stand Mount with Screws

 Loading...