UNIVERGE SV8100 Issue 4.1
System Hardware Manual 3 - 23
Repeat for additional chassis mounting.
4. Carefully slide the chassis into desired location in the rack. Make sure
the hooks on the mounting bracket are inserted into the back of the
chassis, securing it in place. Note that the cabling is run through the front
of the rack for ease of access.
5. Secure the brackets to the rack using the screws supplied.
Repeat for additional chassis mounting.
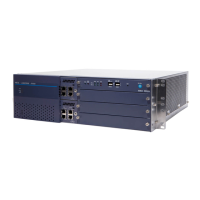
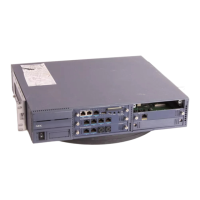
Figure 3-25 Rack Mount Bracket Installed 19” CHS2U
Figure 3-26 Rack Mount 19” CHS2U

 Loading...