S350 Series 24-Port (PoE+) and 48-Port Gigabit Ethernet Smart Managed Pro Switches
Manage Device Security User Manual269
Add a Rule to a MAC ACL
To add a rule to a MAC ACL:
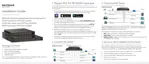
1. Connect your computer to the same network as the switch.
You can use a WiFi or wired connection to connect your computer to the network, or
connect directly to a switch that is off-network using an Ethernet cable.
2. Launch a web browser.
3. In the address field of your web browser, enter the IP address of the switch.
If you do not know the IP address of the switch, see
Discover or Change the Switch IP
Address on page 12.
The login window opens.
4. Enter the switch’s password in the Password field.
The default password is
password.
The System Information page displays.
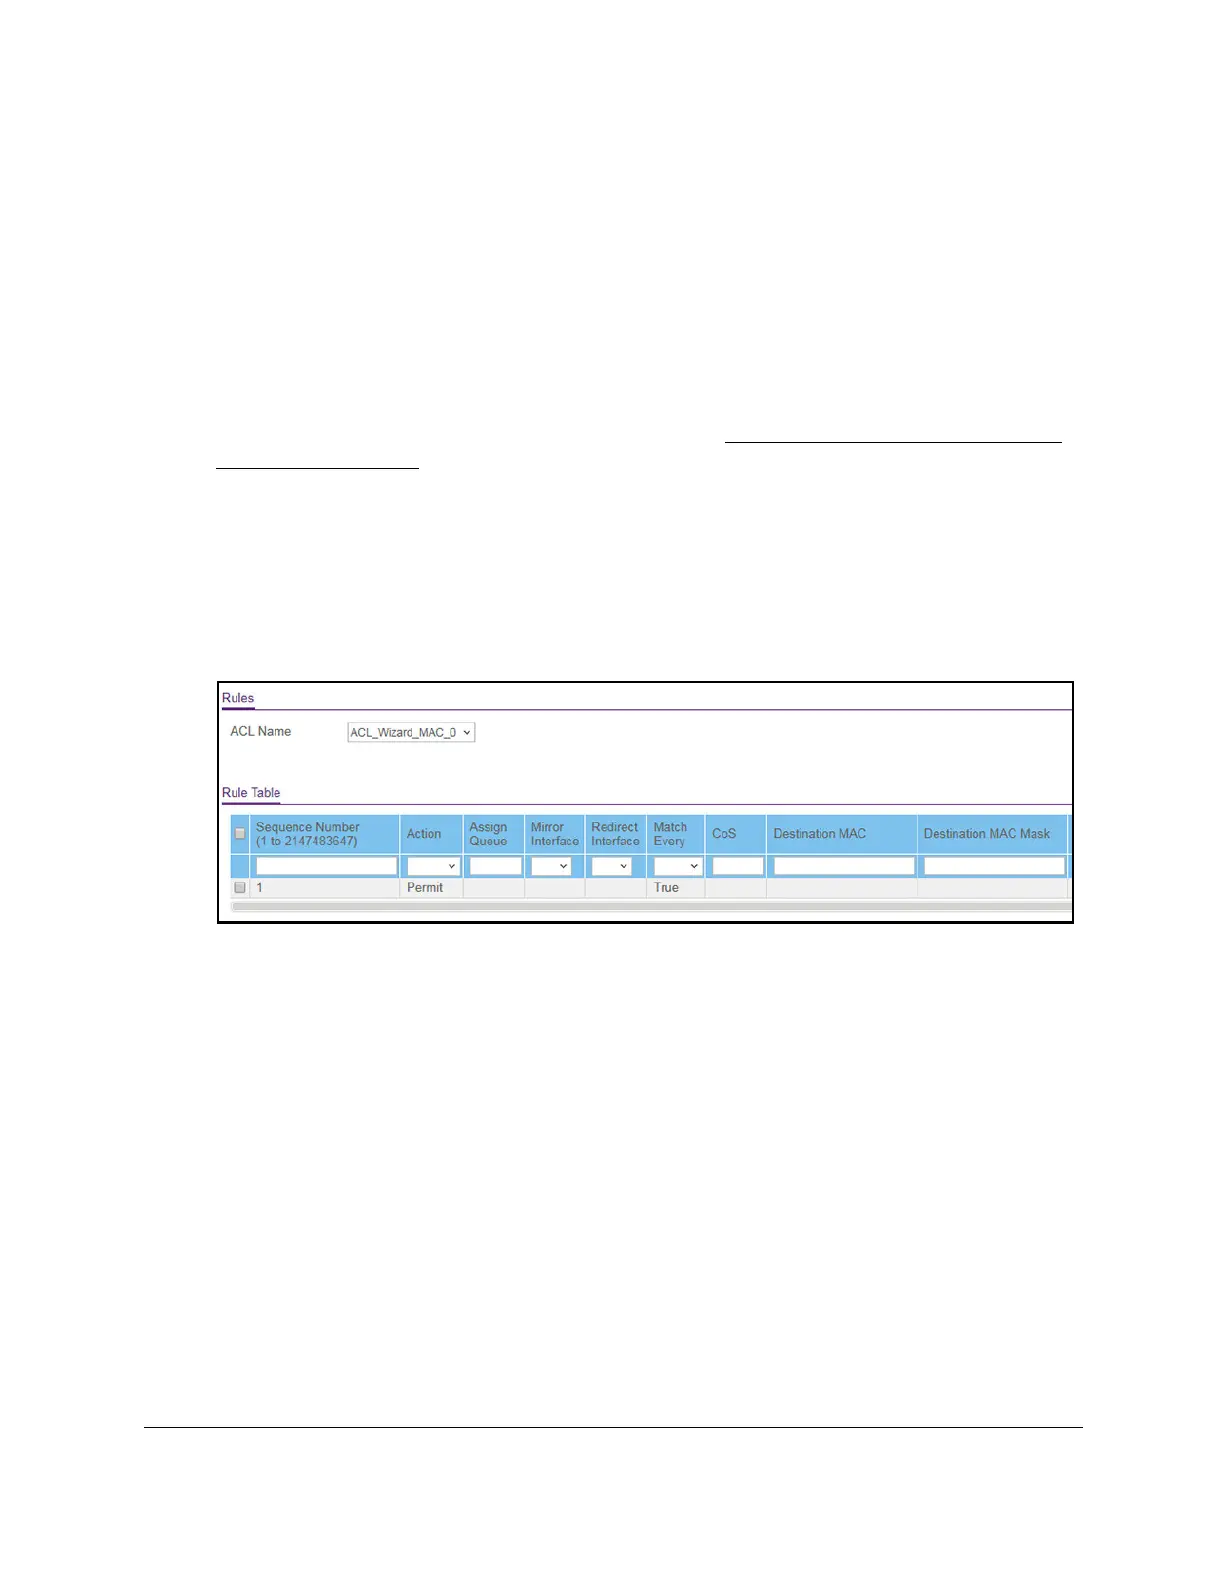
5. Select Security >
ACL > Basic > MAC Rules.
The previous figure does not show all columns. The figure shows one MAC ACL
example.
6. From the ACL Name menu, select the MAC ACL.
7. In the Sequence Number field, enter a whole number in the range from 1 to 2147483647 to
identify the rule.
8. From the Action menu, select the action that must be taken if a packet matches the rule’
s
criteria:
• Permit. Forwards packets that meet the
ACL criteria.
• Deny. Drops packets that meet the ACL criteria.
9. In the Assign Queue field, specify the hardware egress queue identifier that must be used
to handle all packets matching this ACL rule.
For models GS324T and GS324TP, the range for the queue ID is from 0 to 3. For model
GS348T, the range for the queue ID is from 0 to 7.
10. From the Mirror Interface menu, select the specific egress interface to which the matching
traf
fic stream must be copied, in addition to being forwarded normally by the switch.
 Loading...