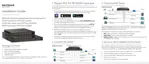
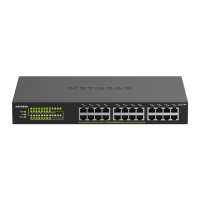
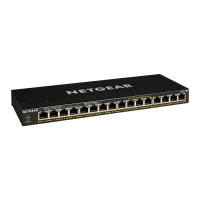
S350 Series 24-Port (PoE+) and 48-Port Gigabit Ethernet Smart Managed Pro Switches
Configure System Information User Manual80
Configure SNMPv1/v2 Trap Settings
You can configure settings for each SNMPv1 or SNMPv2 management host that must
receive notifications about traps generated by the device. The SNMP management host is
also known as the SNMP trap receiver.
Add an SNMP Trap Receiver
To add an SNMP trap receiver:
1. Connect your computer to the same network as the switch.
You can use a WiFi or wired connection to connect your computer to the network, or
connect directly to a switch that is off-network using an Ethernet cable.
2. Launch a web browser.
3. In the address field of your web browser, enter the IP address of the switch.
If you do not know the IP address of the switch, see
Discover or Change the Switch IP
Address on page 12.
The login window opens.
4. Enter the switch’s password in the Password
field.
The default password is password.
The System Information page displays.
5. Select System > SNMP > SNMP V1/V2 > T
rap Configuration.
The
Trap Configuration page displays.
6. In the Recipients IP field, enter the IPv4 address at which the SNMP traps from the switch
must be received.
7. From the V
ersion menu, select the trap version to be used by the SNMP trap receiver
.
• SNMPv1. The switch uses SNMPv1 to send traps to the receiver
. The default setting
is SNMPv1.
• SNMPv2. The switch uses SNMPv2 to send traps to the receiver
.
8. In the Community String field, specify the name of the SNMP community that includes
the SNMP management host and the SNMP agent on the device.
This name can be up to 16 characters and is case-sensitive.
9. From the Status menu, select Enable to send traps to the receiver or select Disable to
prevent the switch from sending traps to the receiver
.
10. Click the Add
button.
The receiver configuration is added.
 Loading...