Editing a Form
Designing a Form 101
You cannot regroup the objects once you break them apart. For this
reason, you might want to save your table before you break it apart; and
if you do not like what you have created, you can always revert to the
saved copy.
To break a table apart:
1 Select a table in your form.
2 Choose
Break Table Apart
in the Format menu.
You can now select and drag sections of your table to rearrange
in the order that you want.
Aligning Objects on a Form
Use the Align commands in the Format menu or the corresponding
buttons in the arrange toolbar to move and align multiple selected
objects. See “The Drawing Toolbar” on page 62 for information about
each button in the toolbar.
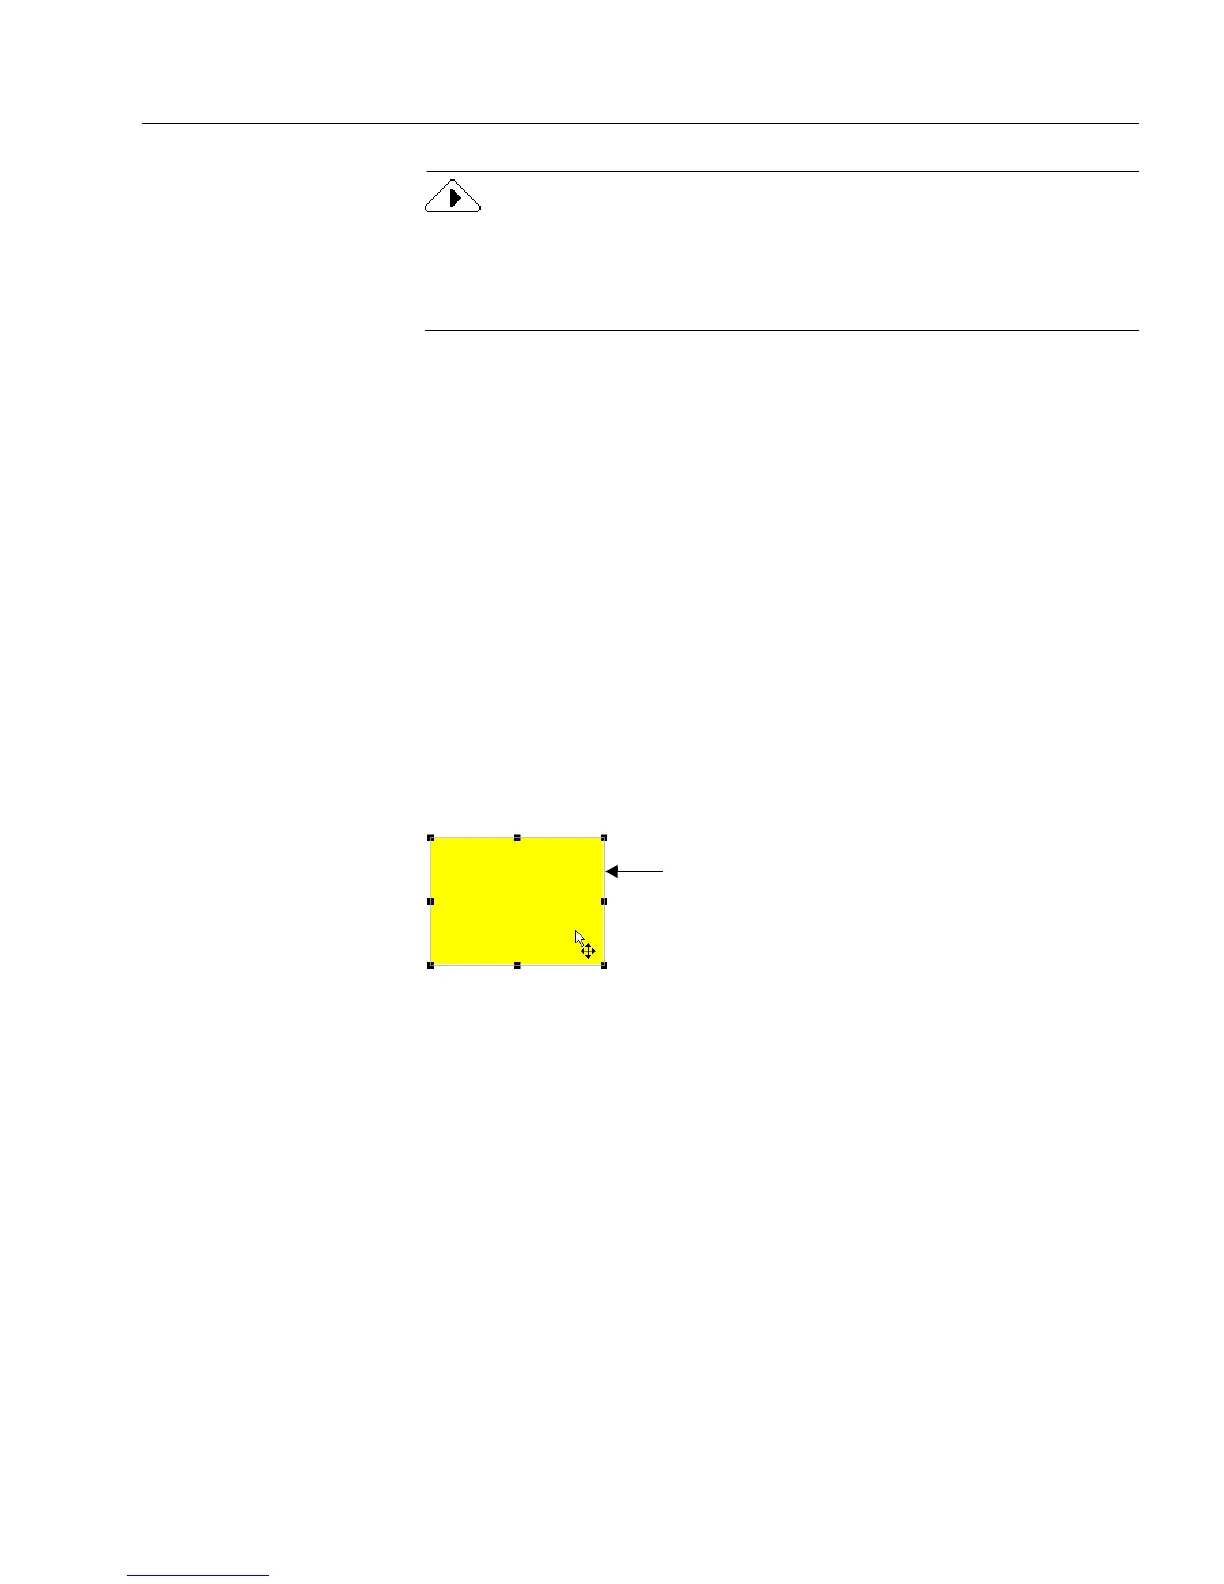
Each selected object aligns to the edge of its bounding box, the
imaginary box that surrounds all objects. A bounding box appears when
you select an object and hold down the mouse button. Objects align to
the outermost selected object.
To align objects:
1 Select the objects to align.
2 Choose
Align
in the Format menu and an alignment command
in its cascading menu, or click the appropriate button in the
align toolbar.
• Select
Left
to align all selected objects by their left edges.
• Select
Right
to align all selected objects by their right edges.
Bounding box