Filling Fields
164 Chapter 6
The user clicks this cell to fill it in the same way as a check box field. See
Chapter 4, “Designing a Form,” for information on tables, converting
fields from one type to another, inserting objects in table cells, and so on.
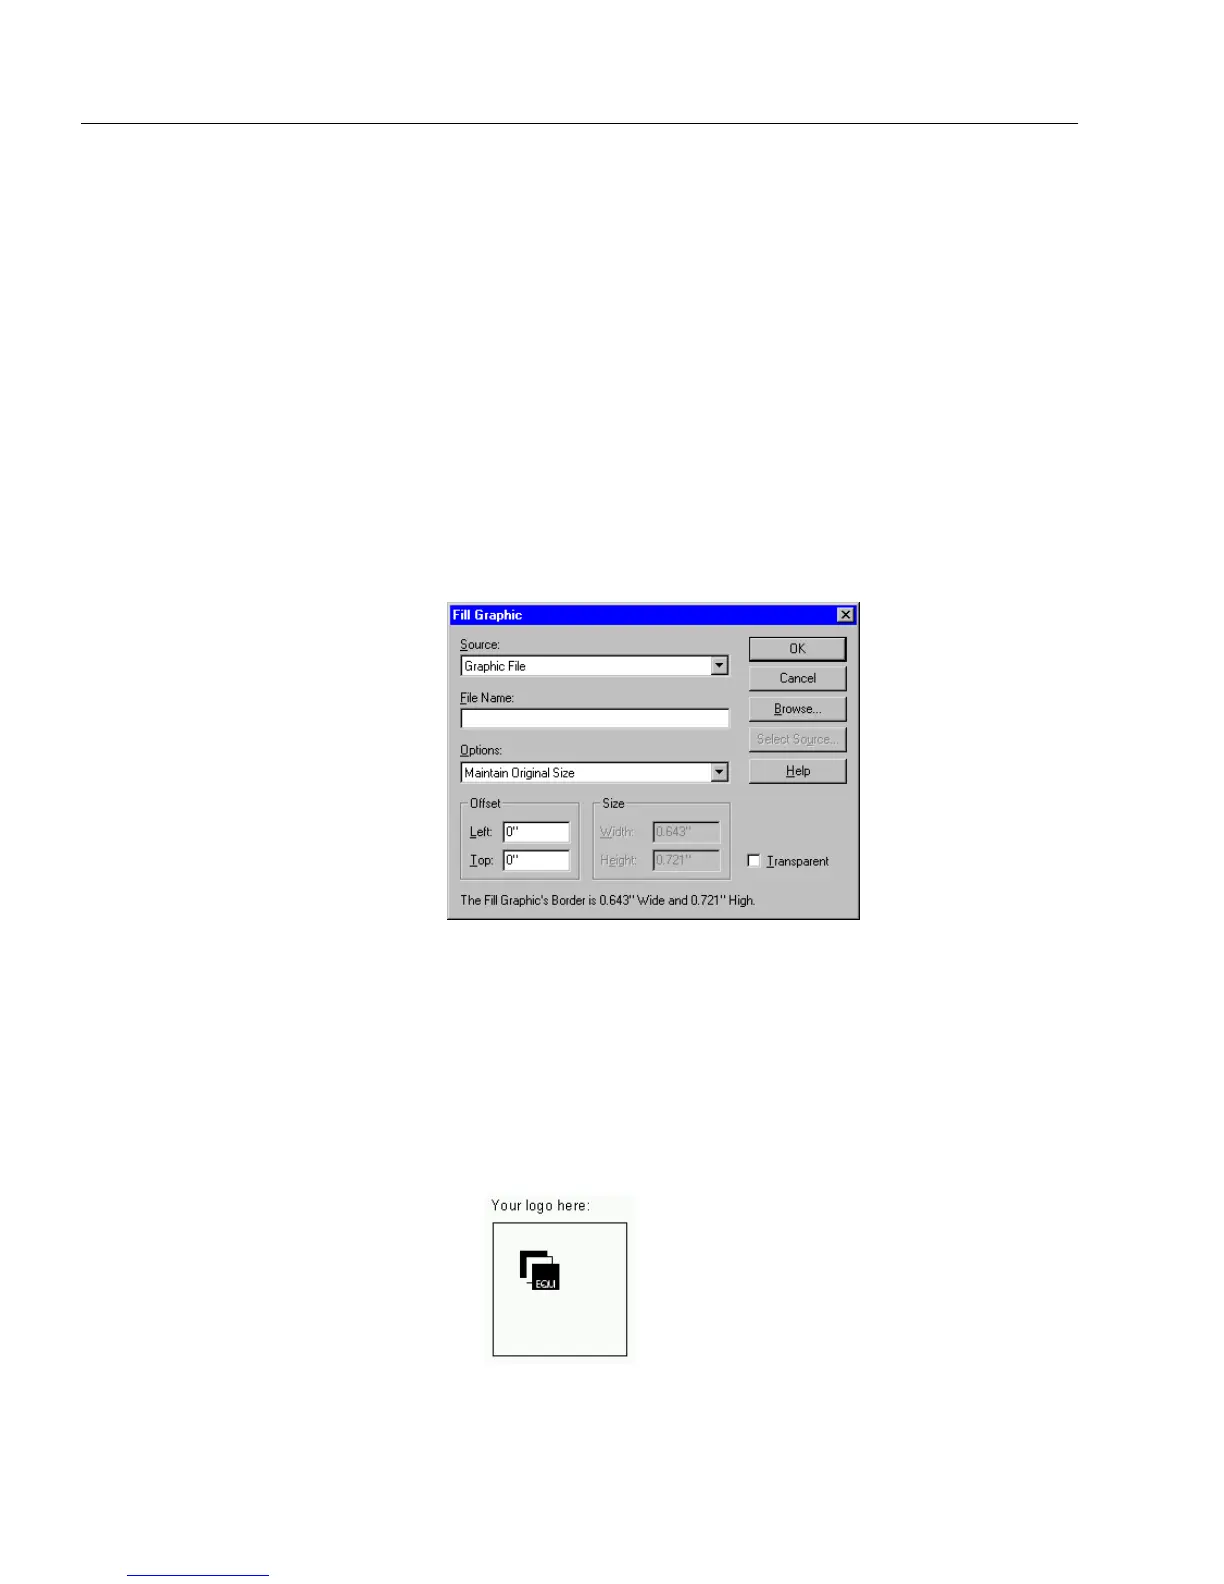
Fill Graphic
A fill graphic field contains a graphic you select. You can import an
existing graphic or you can select a TWAIN-compatible scanner source
and scan an image directly into the fill graphic field. This section
describes both options.
To import an existing graphic:
1 Click the fill graphic field or tab to the field and press the Space
bar.
The
Fill Graphic
dialog box appears.
2 Select
Graphic File
in the
Source
drop-down list.
3 Enter a file name in the
File Name
text box.
Or, click
Browse...
to locate a file. Select a file, and click
OK
to
return to the Fill Graphic dialog box.
The file name appears in the
File Name
text box.
4 Select an option in the
Options
drop-down list.
• Select
Maintain Original Size
to import the graphic without
changes.