Editing a Form
106 Chapter 4
3 Click a field in the
Field Name
list (one that has a plus sign in
front of it) to display its list of contained fields.
4 Select and drag the fields within the group, or use the
Move Up
or
Move Down
buttons (either in the Tab Order window or right-
click your mouse button to get a shortcut menu).
5 Click the Tools button in the design toolbar or choose
Tab Order
in the Tools menu to close the Tab Order window.
Alternatively, you can select a tab number on the form (one that has a
decimal point; for example, 10.3) and type a new order number.
Placing Objects in Table Cells
Each table cell contains one fill text object by default (except for column
headers which contain a text object). A cell can contain more than one
object, fillable or nonfillable.
To place objects in a table cell:
1 Select a tool in the drawing toolbar.
2 Your cursor changes to reflect that object.
3 Move the cursor over the cell to fill so that it highlights the cell.
4 Click to place the object in the cell, or hold down the mouse but-
ton and draw an object to the size that you want.
To resize an object to fit a cell exactly:
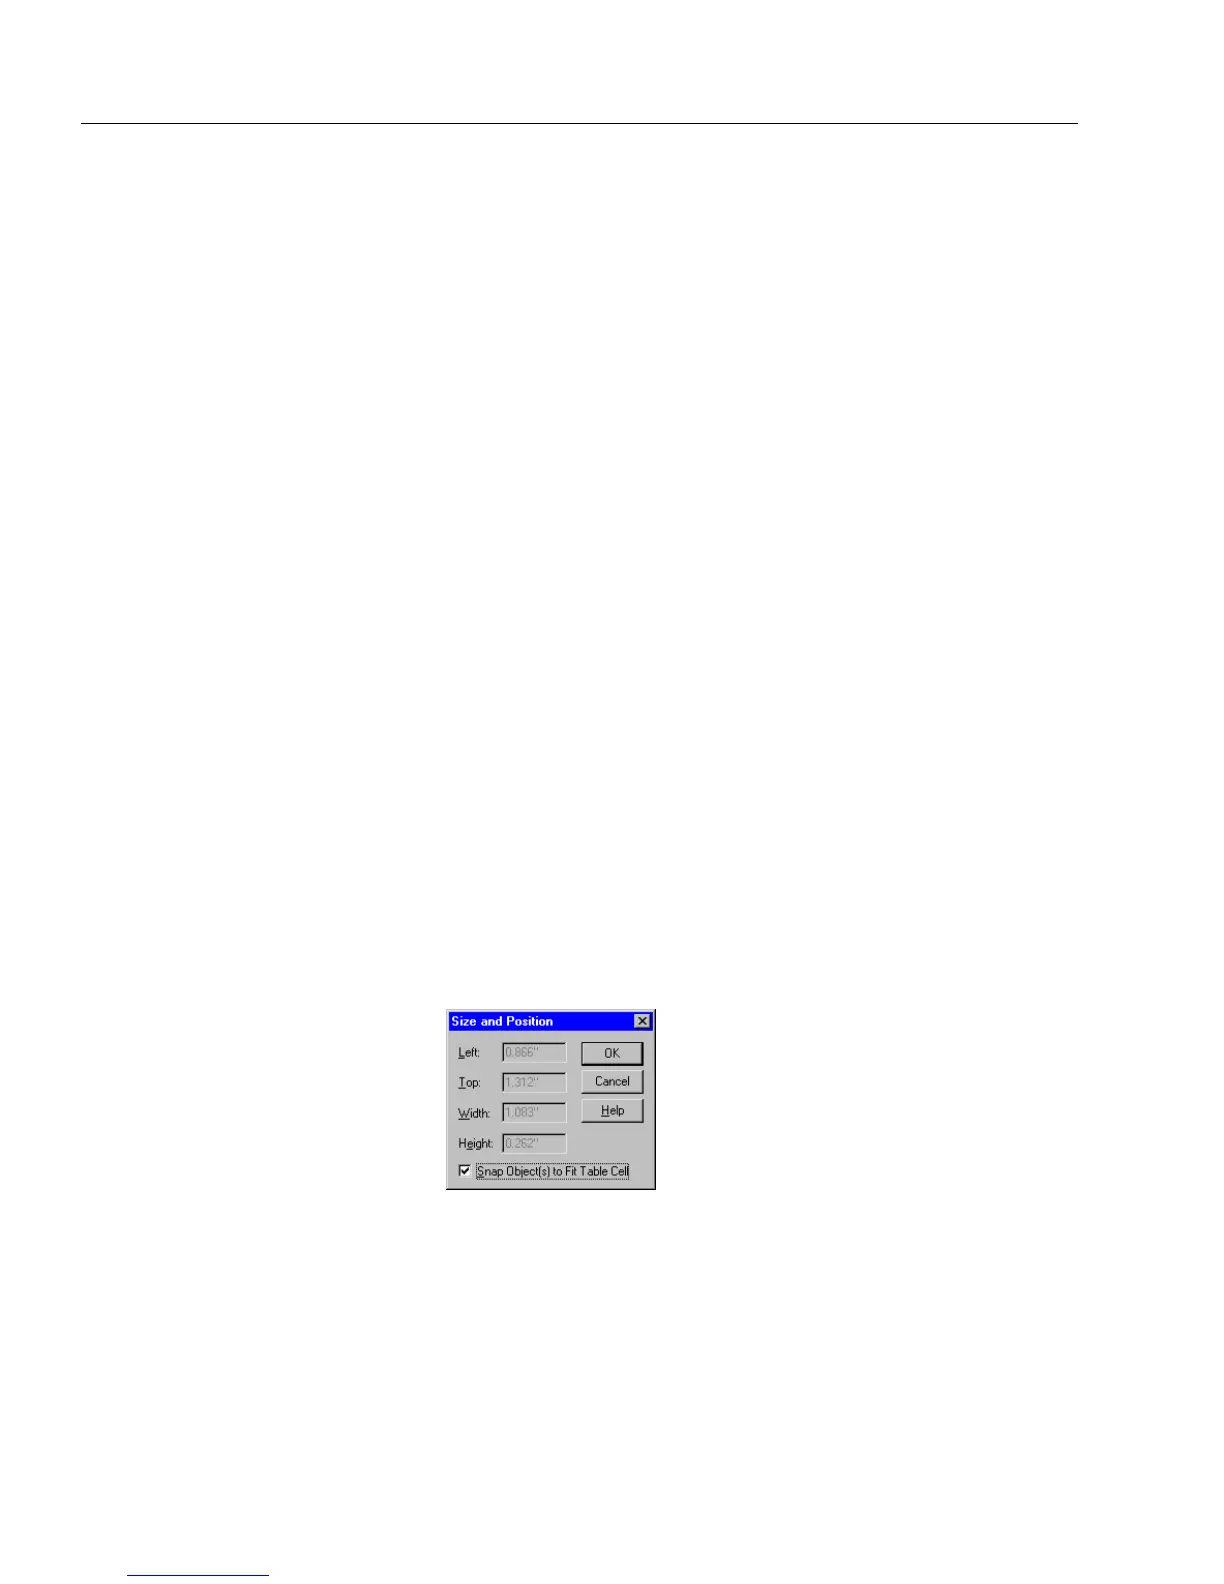
1 With the object in the table cell still selected, choose
Size and
Position...
in the Format menu.
The Size and Position dialog box appears.
2 Select
Snap Object(s) to Fit Table Cell.
3Click
OK.
The object resizes to fit the cell exactly.