Filling Fields
Filling a Form 165
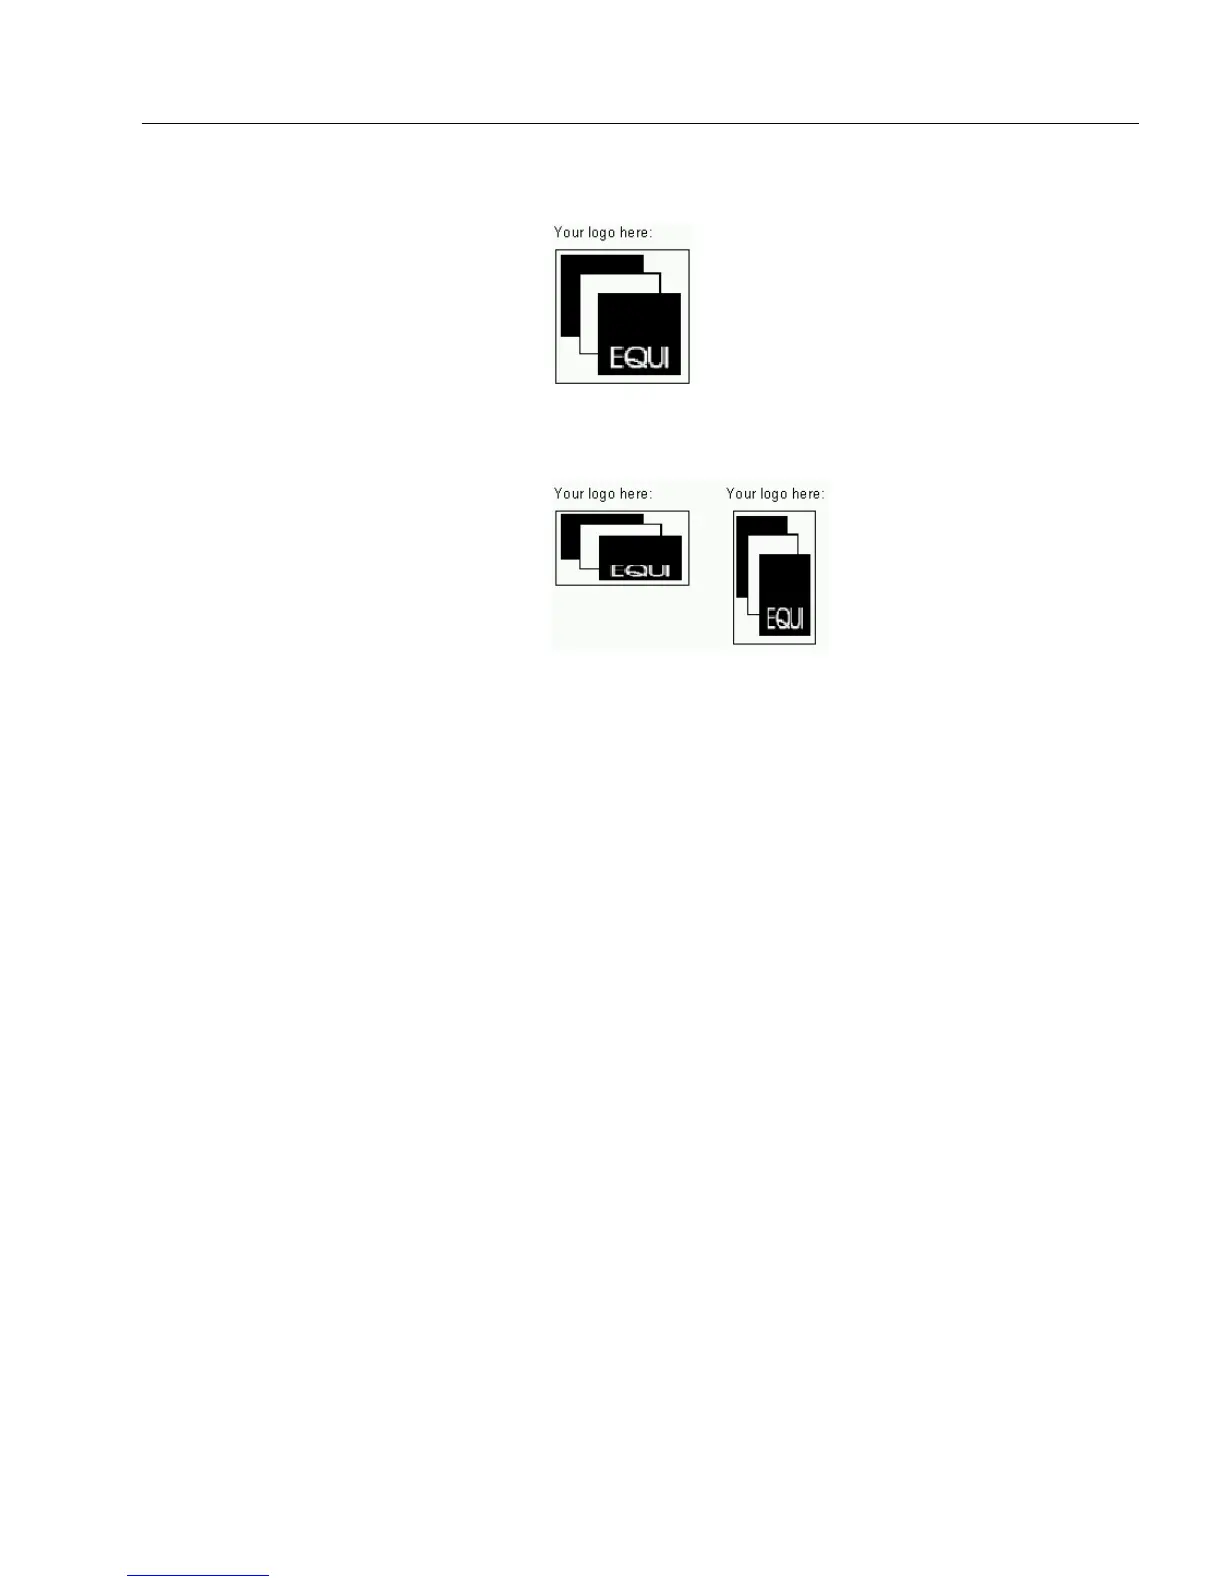
• Select
Scale Proportionally
to fit the graphic in the fill graphic
field while maintaining its exact proportions.
• Select
Stretch to Fit
to change your graphic’s original shape
and size to fit in the fill graphic field.
Depending on the shape of the fill graphic field, your graphic
may be stretched or compressed. You might want to use this
for special effects.
• Select
Specify Width & Height
to specify the graphic’s size.
Enter measurements for your graphic in the
Width
and
Height
text boxes under
Size.
The size of the fill graphic field is
displayed at the bottom of the Fill Graphic dialog box.
If you enter a size larger than the fill graphic field, only part of
the graphic will be visible.
5 Enter offset measurements under
Offset.
This is useful if you want to position a graphic exactly in the
field, crop a large graphic, or move the graphic away from a
field border that would interfere with its design.
• Enter a number in
Left
to specify how far away from the left
side of the field to place the graphic.
• Enter a number in
To p
to specify how far away from the top of
the field to place the graphic.
6 Select or deselect
Transparent.
• Select
Transparent
if you want to be able to see information
behind the graphic.
Whether a graphic prints transparently depends on your
printer driver. See your printer documentation for
information.