RemarksActionStep
When your printer is not detect-
ed, you can add it manually.
Tap the 'Add' printer button.
The detected printer, indicated with a
'Connection' icon, is added to your
printer list.
3
From the printer list, select your printer.4
The printer configuration win-
dow opens.
Tap the 'Configure' icon, next to the
printer name.
5
Enter the IP address or hostname of the
printer
6
•
Enter a name
•
Check or define the printer
model
•
Define the number of rolls
•
Indicate if there is a folder
Add the settings for the printer.7
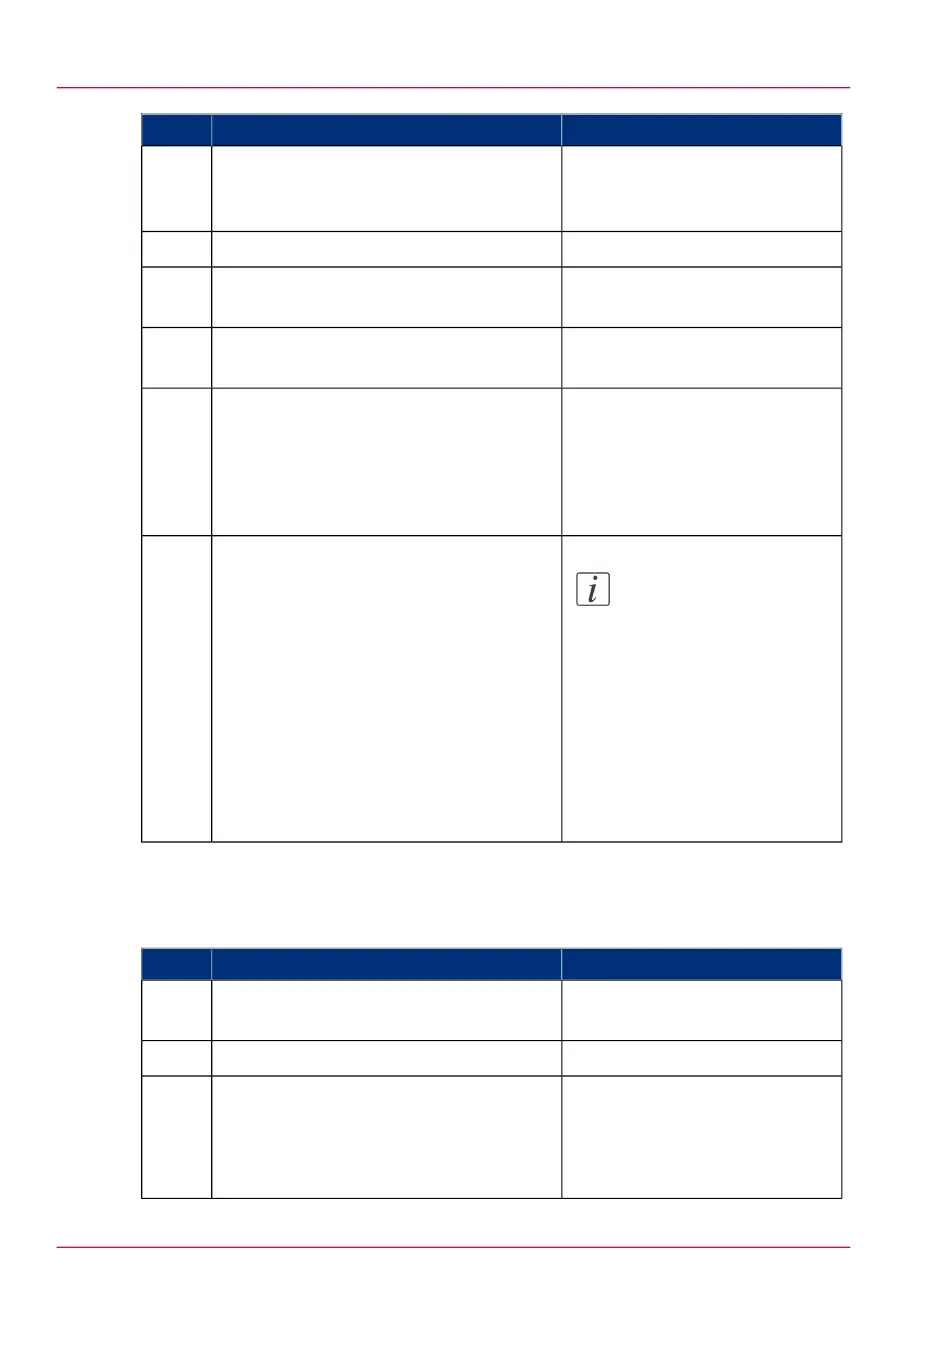
Note:
You can also open Océ
Express WebTools. Tap
the hyperlink in the
configuration window.
This is useful to: -know
the printer status -enter
accounting information
-see your Smart Inbox -
see if there is an error.
Save the settings. Your printer is added8
Send a print job
#
RemarksActionStep
Open the file you want to print in Océ
Publisher Mobile.
1
Select your printer.2
Main settings you can select:
•
Media source
•
Scale
•
Folding
Define the print settings you need.3
Chapter 4 - Use the Printing System200
Use Océ Publisher Mobile to send a print job