Make a copy and remove a strip
Introduction
When you have an original with a strip, you can remove the strip from your copy.
Use the option on the user panel to copy an original with a strip, and remove the strip
from the copy. You can remove a strip from the top, the bottom, the left, or the right
side of the original.
Before you begin
When you remove a strip, make sure that you copy all the required information.
Note:
For more information on the cut size settings, see ‘Preset category:Layout ’ on page 227.
How to make a copy and remove a strip
1.
Feed the original face up and centred on the original feeding table.
Note:
You do not need to centre the original precisely. The exact position of the original is au-
tomatically detected by the scanner.
The 'Copy' tile is automatically selected on the user panel.
2.
Tap the 'Copy' tile. A window with a list of presets opens.
3.
Tap 'All settings'. A list with settings opens.
#
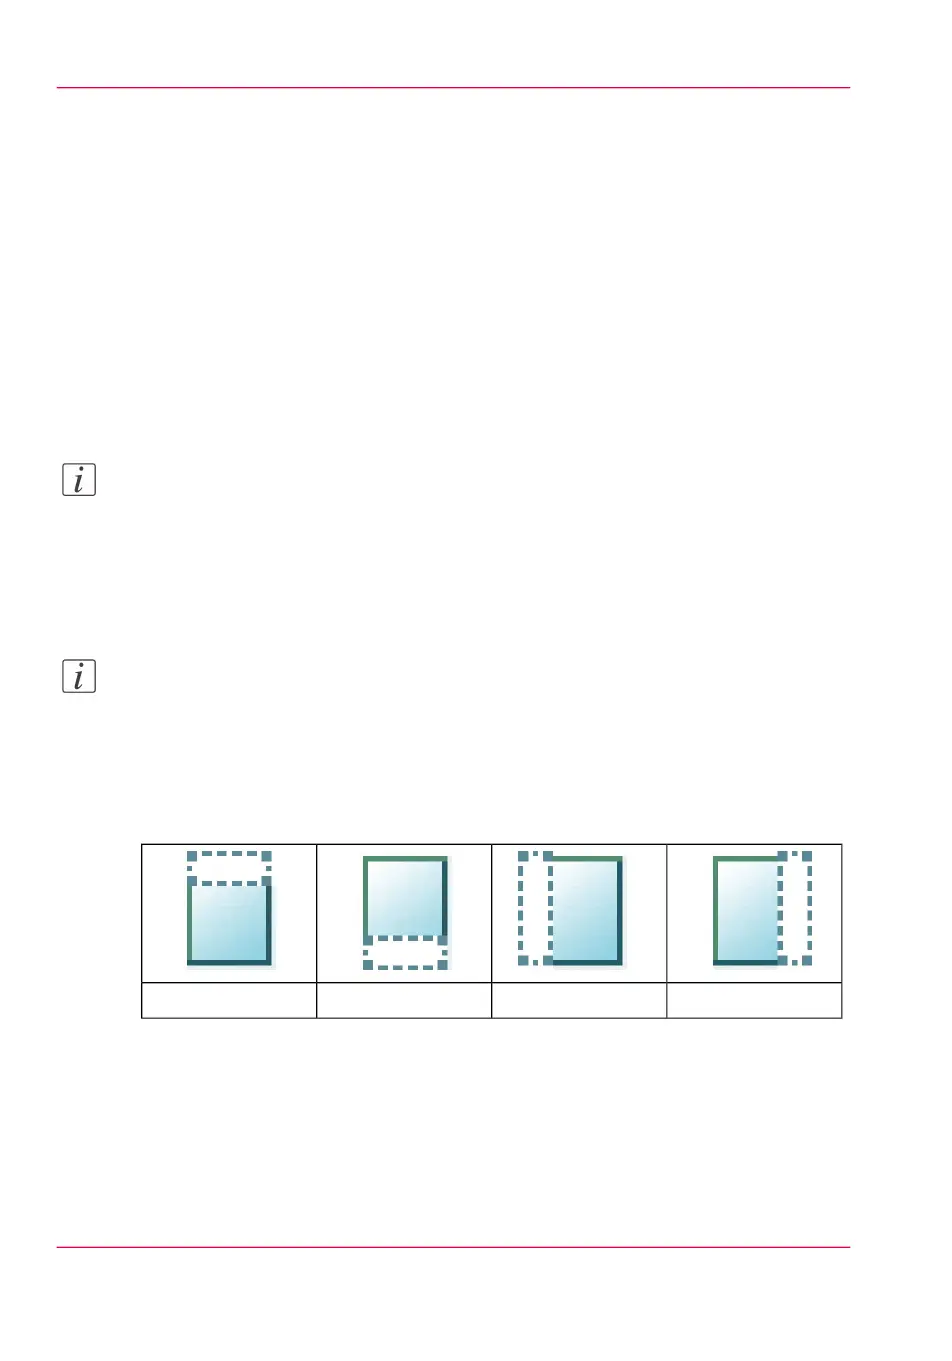
The 'Right' stripThe 'Left' stripThe 'Bottom' stripThe 'Top' strip
4.
Tap 'Remove strip' under the 'Layout' preset.
5.
Select'Top', 'Bottom', 'Left', or 'Right' and define the values.
6.
Make your settings and tap 'OK'.
7.
Define the number of copies and tap the green button.
Chapter 4 - Use the Printing System238
Make a copy and remove a strip