Chapter 1-First Time Installation and Configuration
Polycom, Inc. 1-13
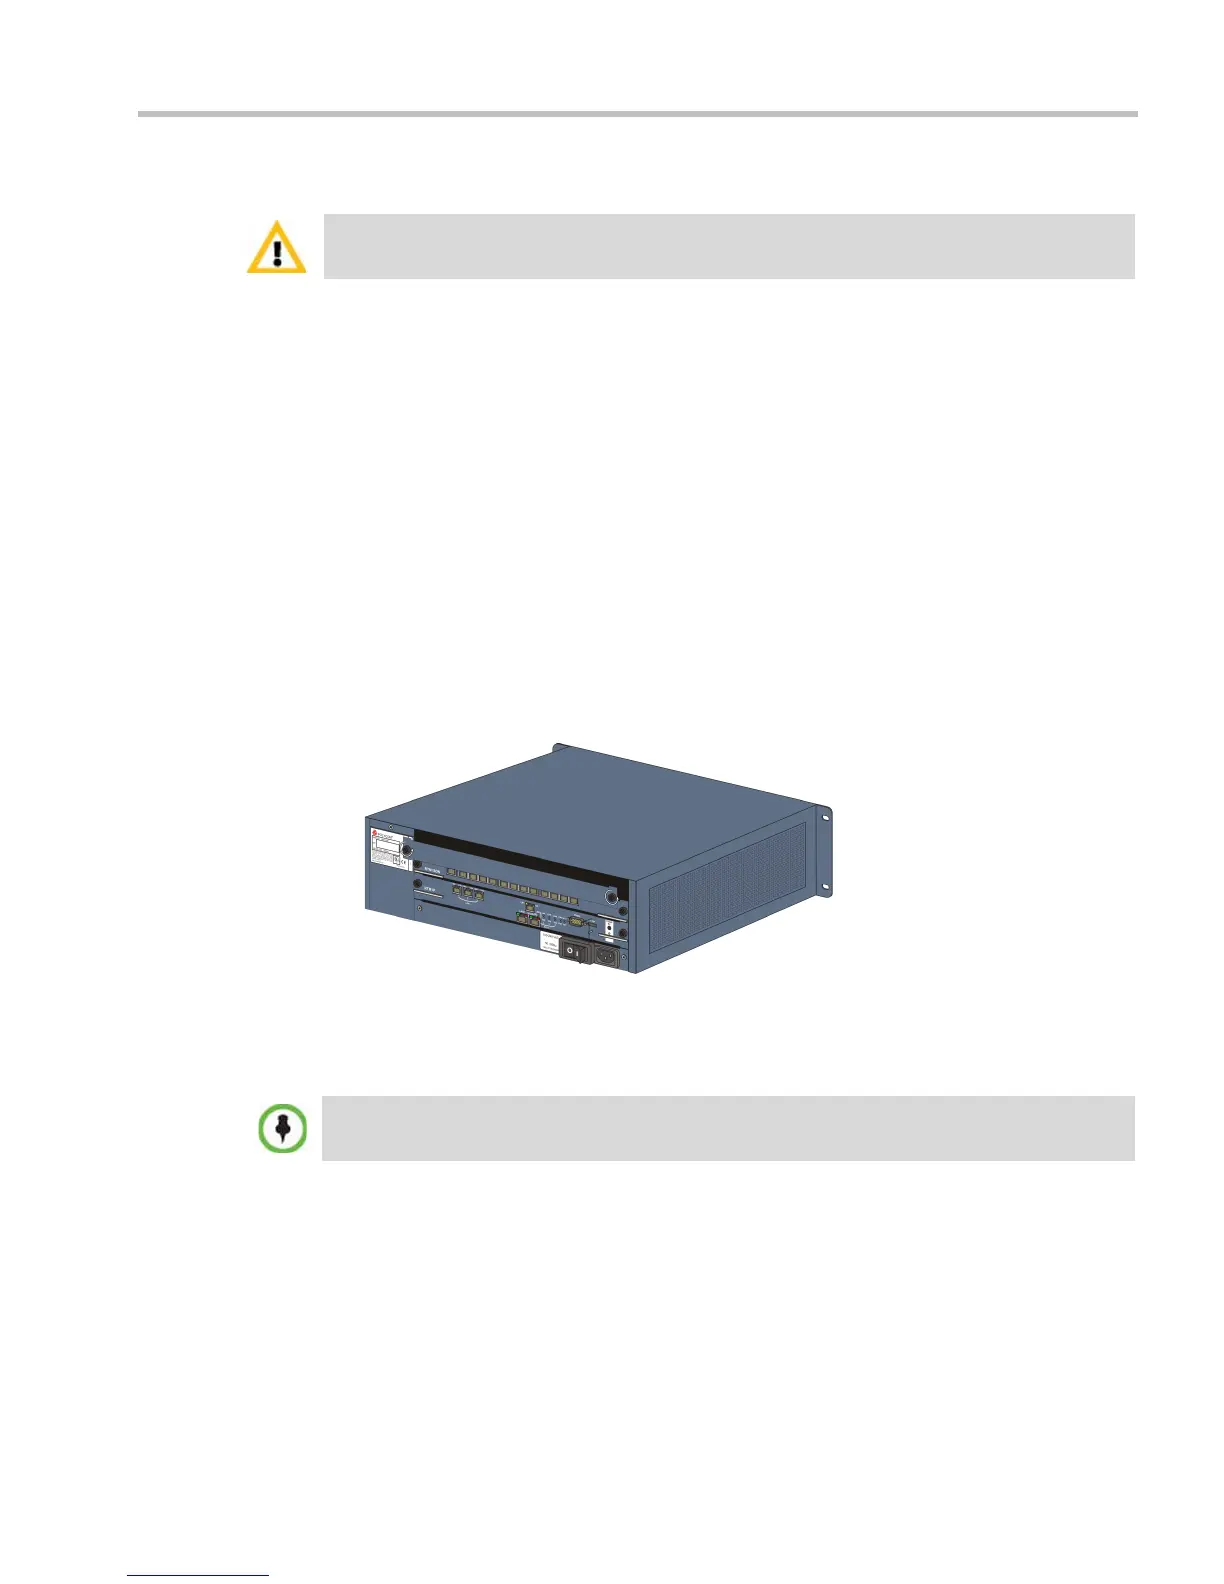
Installing the RealPresence Collaboration Server (RMX) 2000
The following procedures have to be performed to install the RMX 2000 in your site:
• Optional. Installing the RTM ISDN card on the RMX (Optional)
• Installing the RMX in a rack or as a standalone
• Connecting the RMX to the power source
• Connecting the network (LAN and ISDN) cables to the RMX
Optional. Installing the RTM ISDN Card on the RMX 2000
If the ISDN option was purchased with your RMX, the ISDN card is shipped separately and
must be manually installed into the rear of the RMX 2000. It is recommended to install the
ISDN card before the RMX 2000 is placed in a rack.
Removing the blank cover from the rear of the RMX 2000
Use the following procedure to remove the blank cover:
1 Ensure that the power switch/circuit switch on the RMX is turned OFF (O).
2 Unscrew the captive screws on the rear panel of the RMX that secure the blank panel.
3 Use the metal ejector levers to pull the blank panel.
Installing the RTM ISDN 2000 Card
1 On the new RTM ISDN card move the ejector levers to their fully open position.
2 Slide in the RTM ISDN card in the RMX slot.
For detailed instructions, precautions and requirements for installing the RMX 2000 refer to the
RealPresence Collaboration Server (RMX) 2000 Hardware Guide.
An RTM ISDN card must connect directly to an MPM/MPM+/MPMx card in the opposite facing front
slot.