Polycom RealPresence Collaboration Server (RMX)1500/2000/4000 Deployment Guide for Maximum Security Environments
1-56 Polycom, Inc.
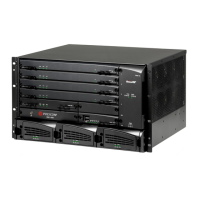
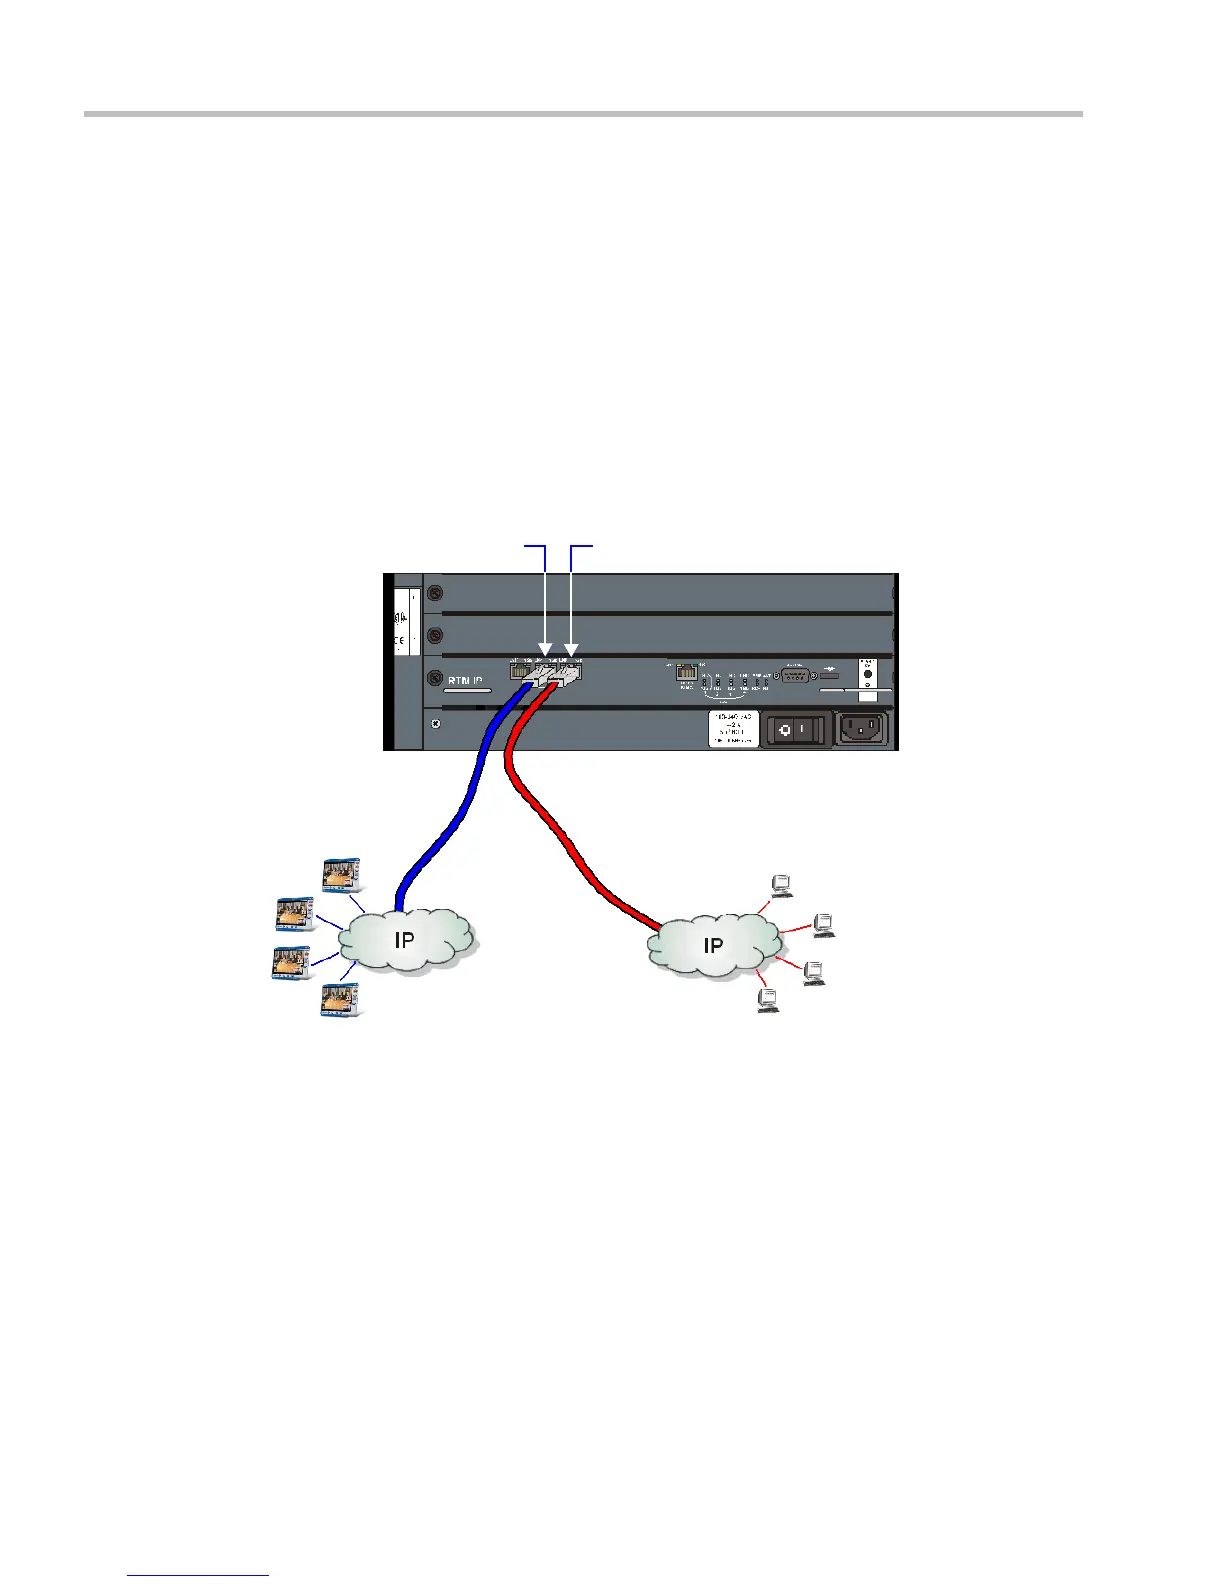
Procedure 7: Enable Network Separation (RMX 2000)
The RMX 2000, prior to the Network Separation procedure, hosts all signaling, management,
and media traffic via the LAN 2 port.
Network Separation is enabled/disabled according to the setting of the
SEPARATE_MANAGEMENT_NETWORK System Flag. When the System Flag is set to
YES, media and signaling traffic between IP endpoints and the RMX is hosted via the LAN
2 port, while RMX management sessions are hosted via the LAN 3 port.
The RMX 1500 and RMX 4000 are designed with separate ports and networks for signaling,
management and media, therefore this flag setting is not relevant. For more information see
"Connecting Cables to the RMX 1500” on page 1-12 and "Connecting Cables to the RMX 4000”
on page 1-20.
Enabling Network Separation
Figure 2 Signaling and Management Network Separation
To enable network separation:
1 On the RMX menu, click Setup > System Configuration.
The System Flags dialog box opens.
2 Locate and double-click on the SEPARATE_MANAGEMENT_NETWORK System
Flag entry.
The Update Flag Name dialog box opens.
3 In the New Value field, enter YES.
4 Click the OK button to close the Update Flag Name dialog box.
5 Click the OK button to close the System Flags dialog box.
6 In the Reset Confirmation dialog box, click No.
IP Endpoints
RMX Web Client / RMX Manager
Management Sessions
LAN 2 Port - Signaling
LAN 3 Port - Management
RMX