Polycom RealPresence Collaboration Server (RMX)1500/2000/4000 Deployment Guide for Maximum Security Environments
1-18 Polycom, Inc.
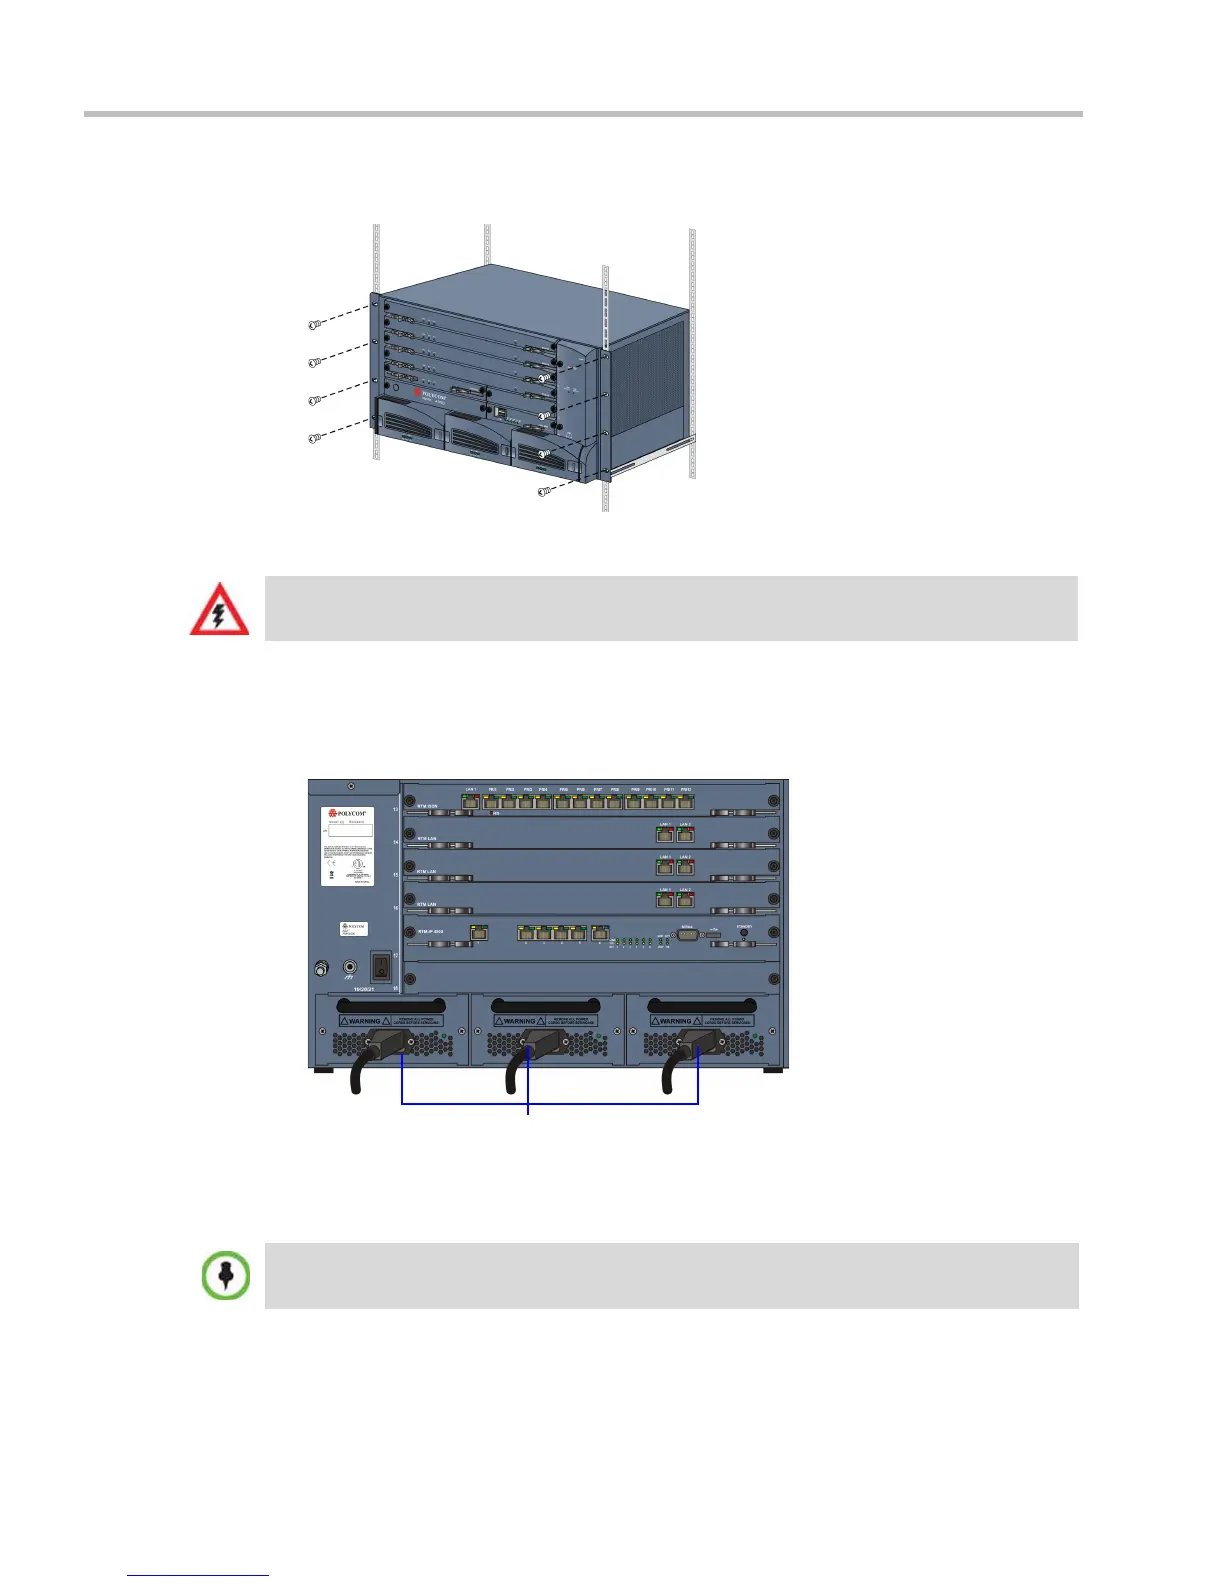
— Fasten the RMX to the rack with screws through the eight holes in the RMX’s front
mounting brackets.
Connecting the RMX 4000 to the Power Sources
Connect the following power cables to the RMX 4000 back panel:
AC Power Supply connections:
1 Insert power cables to each of the three AC Power Entry Modules (PEMs).
DC Power Supply connections:
1 On the DC Power Rail Modules set the two circuit breakers to OFF.
2 Ensure that the cables from the Main that supplies electricity to the DC power units are
OFF or disconnected.
3 Remove the transparent plastic caps on the terminal block.
The size of the protective earthing conductor & cable should be a minimum of 10AWG.
Two types of circuit breakers can be installed on the DC Power Rail Module (PRM). For more
information, see the RealPresence Collaboration Server (RMX) 4000 Hardware Guide.