Polycom RealPresence Collaboration Server (RMX)1500/2000/4000 Deployment Guide for Maximum Security Environments
4-10 Polycom, Inc.
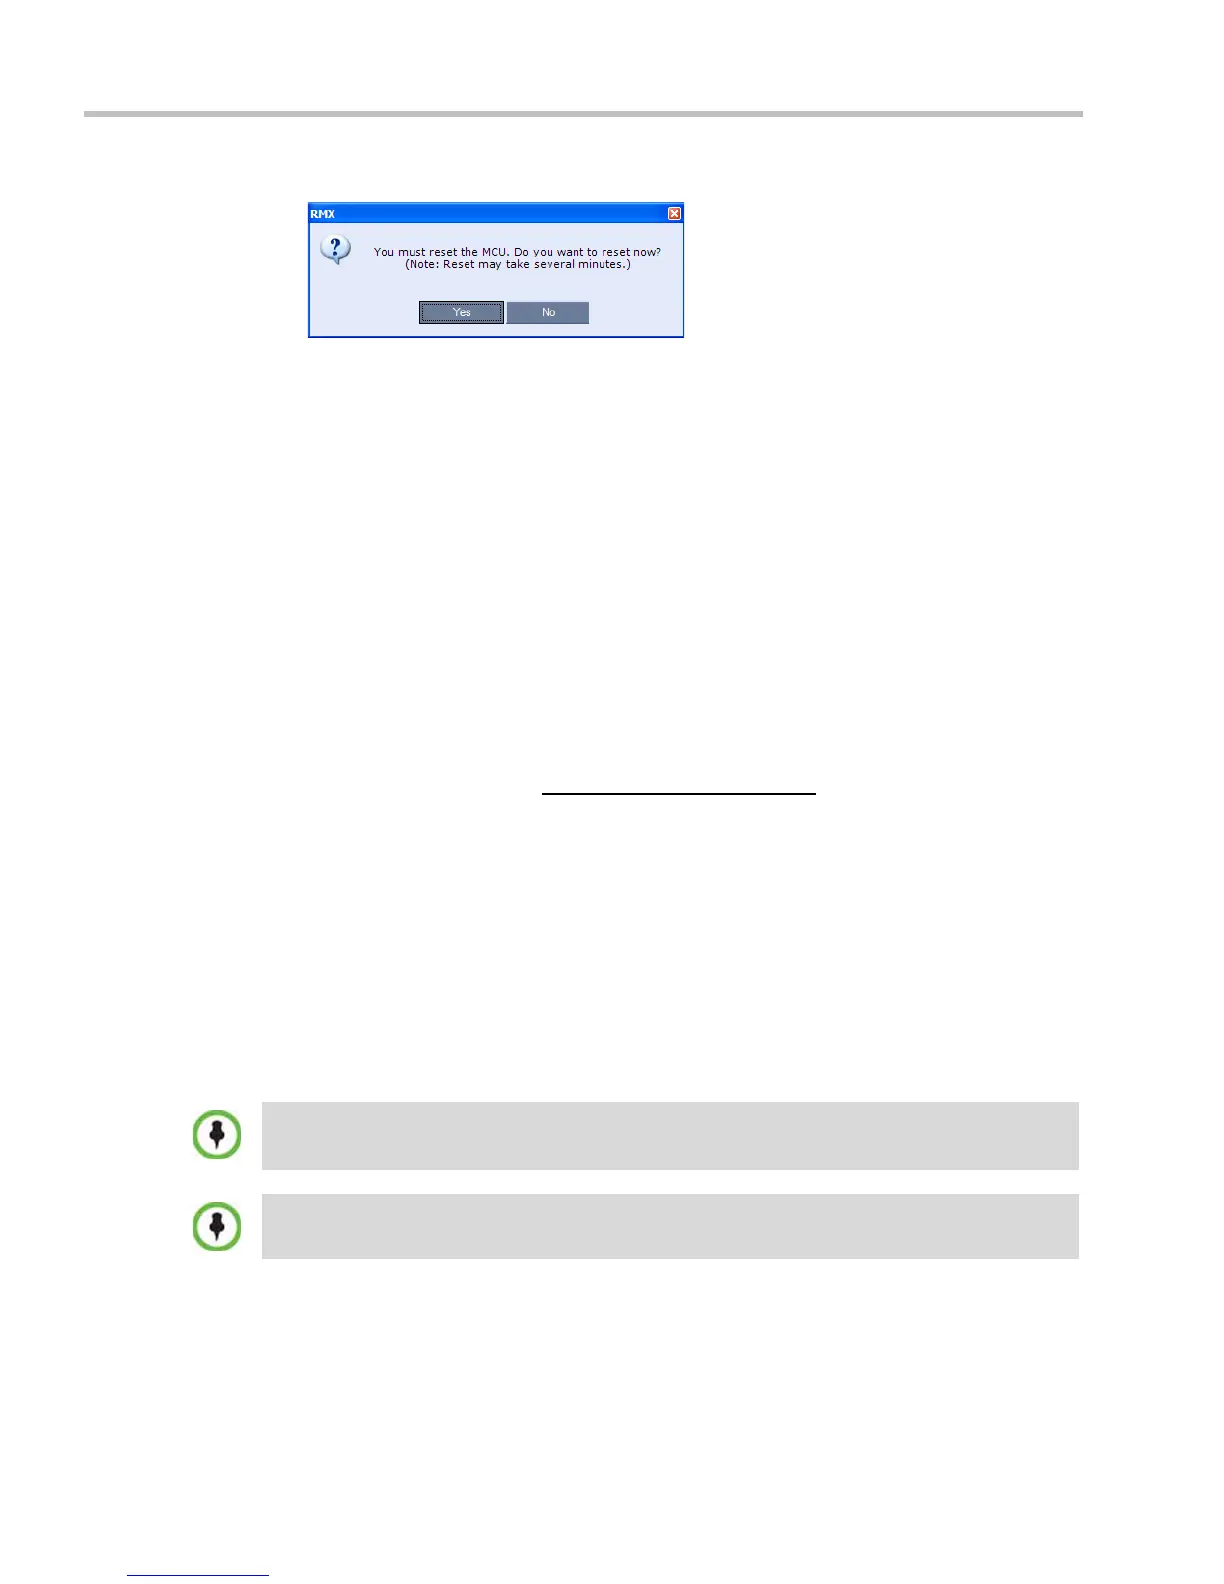
The system prompts with a restart dialog box:
Step 8: Unplug the USB device
>> Remove the USB device from the USB port of the RMX.
Step 9: Restart the RMX
>> In the restart dialog box, click Yes.
Step 10: Restore the System Configuration From the Backup
To restore configuration files:
a On the RMX menu, click Administration > Software Management > Restore
Configuration.
b Browse to the Restore Directory Path where the backed up configuration files are
stored.
c Click the Restore button.
d When the Restore is complete, restart the RMX.
RMX system settings, with the exception of
User data, are restored.
e Restore User data by repeating Step a to Step d of this procedure.
Emergency CRL (Certificate Revocation List) Update
Administrators maintaining RMX systems are required to perform an update of the CRLs
used on the systems within the validity period of the current CRLs.
Should the current CRLs expire; the system will not allow administrators to login and
perform administrative tasks using the RMX Web Client or RMX Manager.
The Emergency CRL Update procedure disables client certificate validation enabling an
administrator to access the system and install an updated CRL file without having to
perform a full system rebuild.
To perform an Emergency CRL Update procedure:
Step 1: Download and save the updated CRL files from the CA Server.
Step 2: Disable Secured Communications Mode.
Step 3: Open the Certification Repository.
This procedure must only be performed on a secured network as the system must disable the client
certificate validation process resulting in management traffic being sent over the network without the
use of SSL encryption.
The RMX must be powered on before starting this procedure.