Chapter 1-First Time Installation and Configuration
Polycom, Inc. 1-27
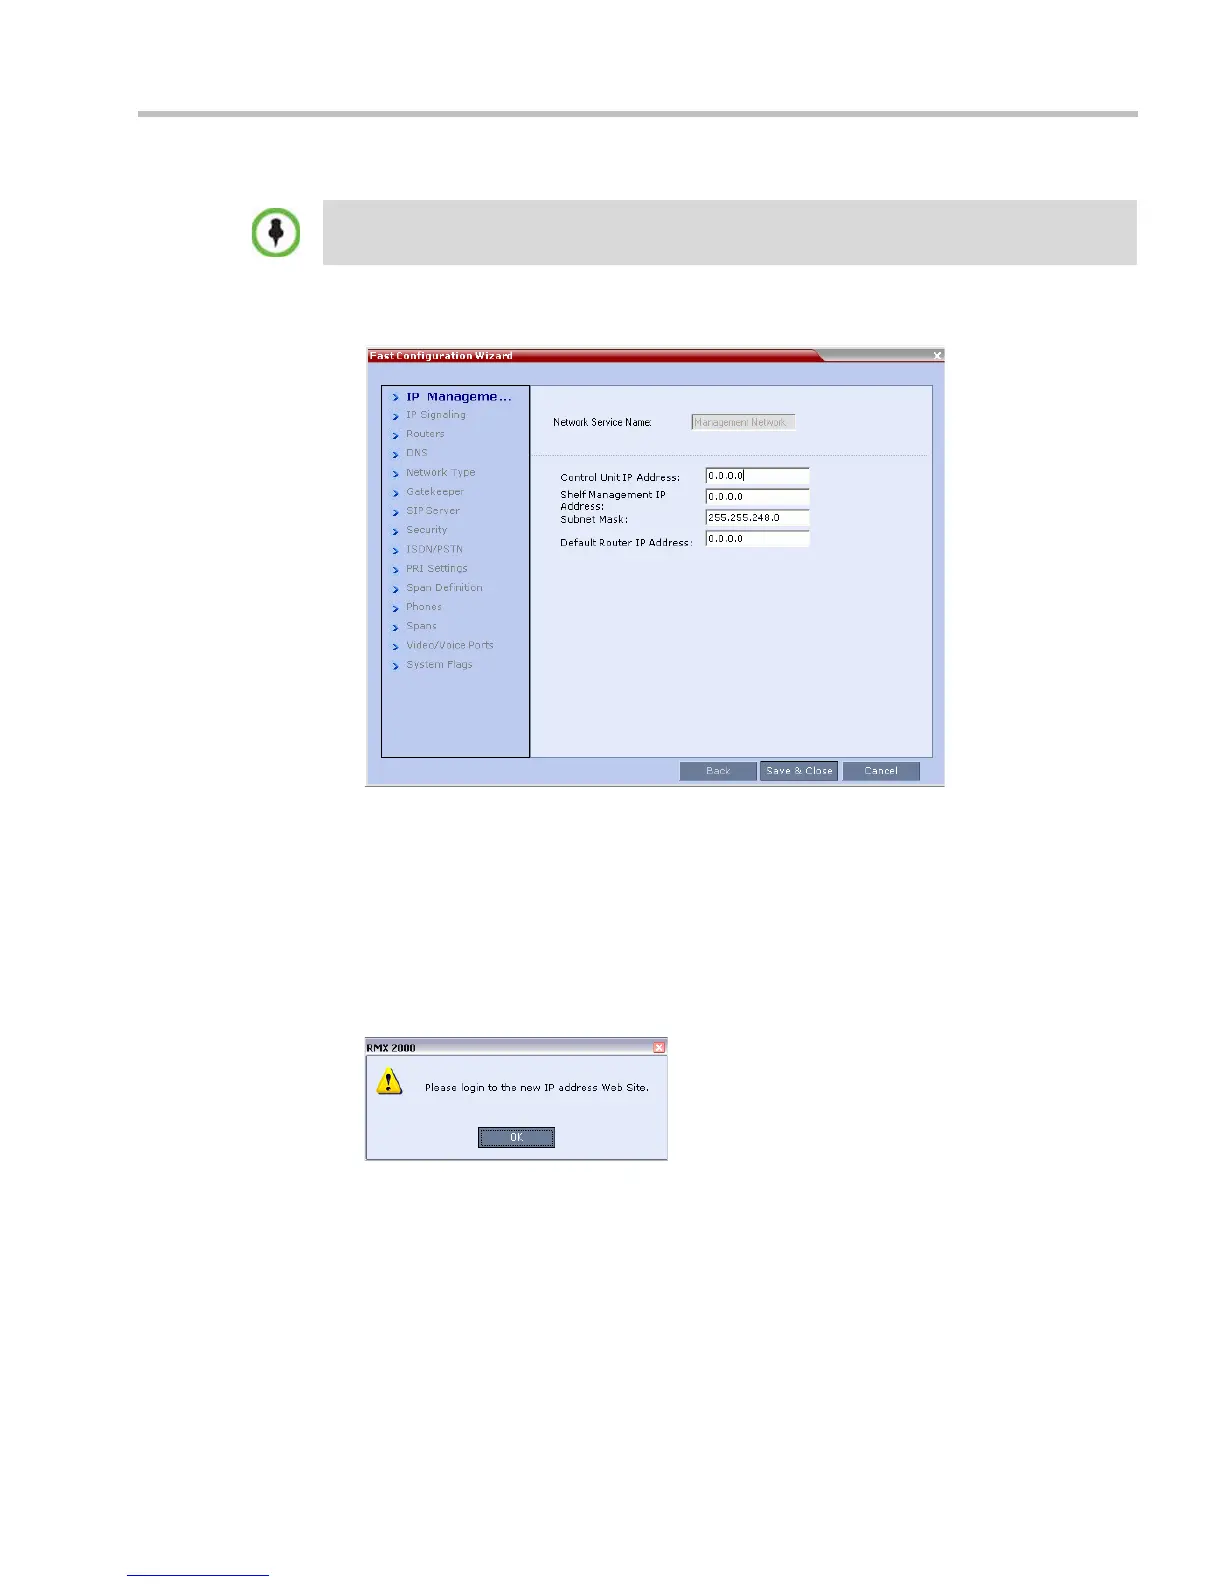
The Fast Configuration Wizard starts.
If this is the First Time Power-up or the Default IP Service has been deleted and the RMX
has been reset, the following dialog box is displayed:
12 Enter the following parameters using the information supplied by your network
administrator:
— Control Unit IP Address
— Shelf Management IP Address
— Control Unit Subnet Mask
— Default Router IP Address
13 Click the Save & Close button.
The system prompts you to sign in with the new Control Unit IP Address.
14 Disconnect the LAN cable between the workstation and the LAN 2 port on the RMX’s
back panel.
15 Connect LAN 2 port on the RMX’s back panel to the local network using a LAN cable.
16 Enter the new Control Unit IP Address in the browser’s address line, using a workstation
on the local network, and press Enter to start the RMX Web Client application.
17 In the RMX Web Client Login screen, enter the default Username (POLYCOM) and
Password (POLYCOM) and click the Login button.
Both IPv4 and IPv6 are supported. For IPv6 addressing information see the RealPresence®
Collaboration Server Administrator’s Guide, "IP Network Services” on page 16-1.