71
• Set Media > Auto Label Map > Number Labels to “2”
• Set Media > Auto Label Map > Select to “Enable”.
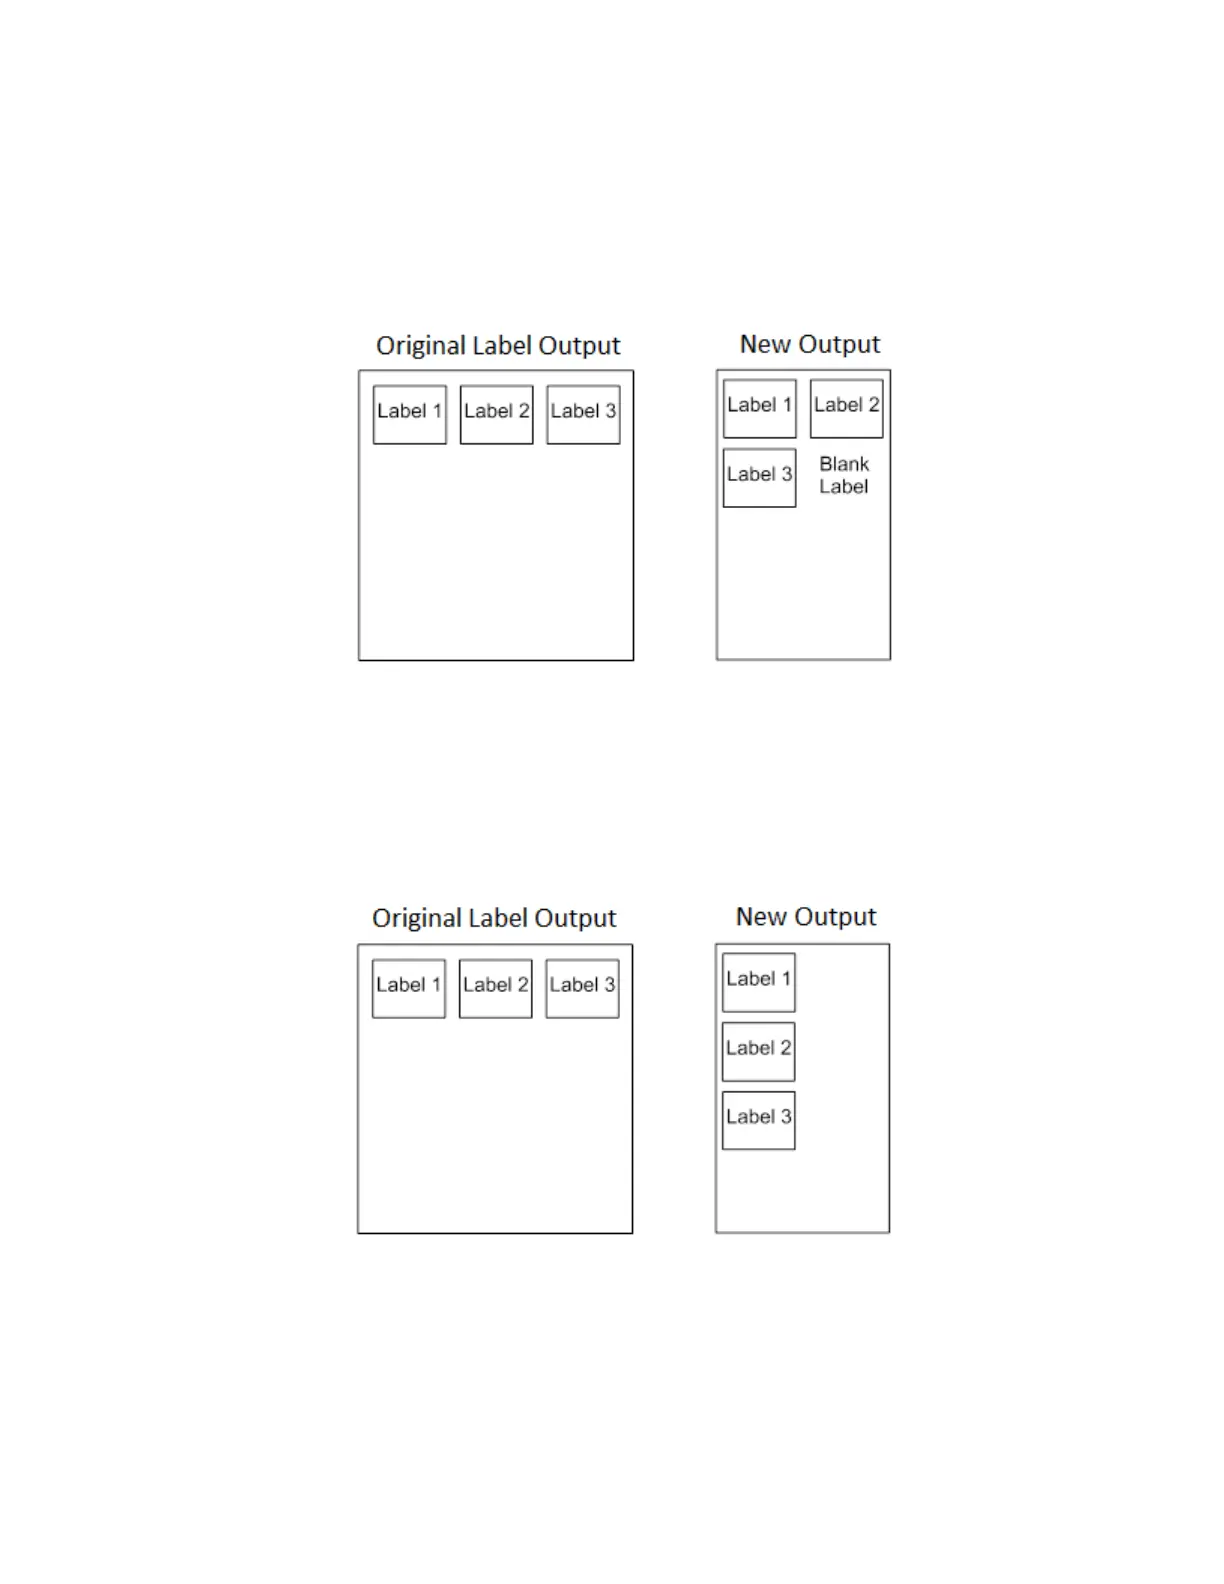
Printer Operation for Solution #1: The printer will print the first two labels at
the same time. These first
two labels will be horizontally adjacent. Once these
labels have been completed, the printer will print the
remaining 2.0” labels along
with a blank 2.0” label. See figure below.
Solution #2 with Menu Settings:
• Set Media > Auto Label Map > Auto Label Width to “2.0” (the width of two labels)
• Set Media > Auto Label Map > Number Labels to “3”
• Set Media > Auto Label Map > Select to “Enable”.
Printer Operation for Solution #2: The printer will print the first 2.0” label by
itself, the second 2.0” label
by itself, and finally, the last 2.0” label by itself. See figure below.
Example 3: Past Maximum File Width
Problem: A file has been constructed with three horizontally adjacent 4.0”
labels. The user now desires to
use this file with a printer that has an 8.0”
physical width. The user should have used a solution similar to
one of the
solutions in the examples above, but the user erroneously enters an Media > Auto Label Map >
Auto Label Width of “12.0” and a Media > Auto Label Map > Number Labels of “3”.