278
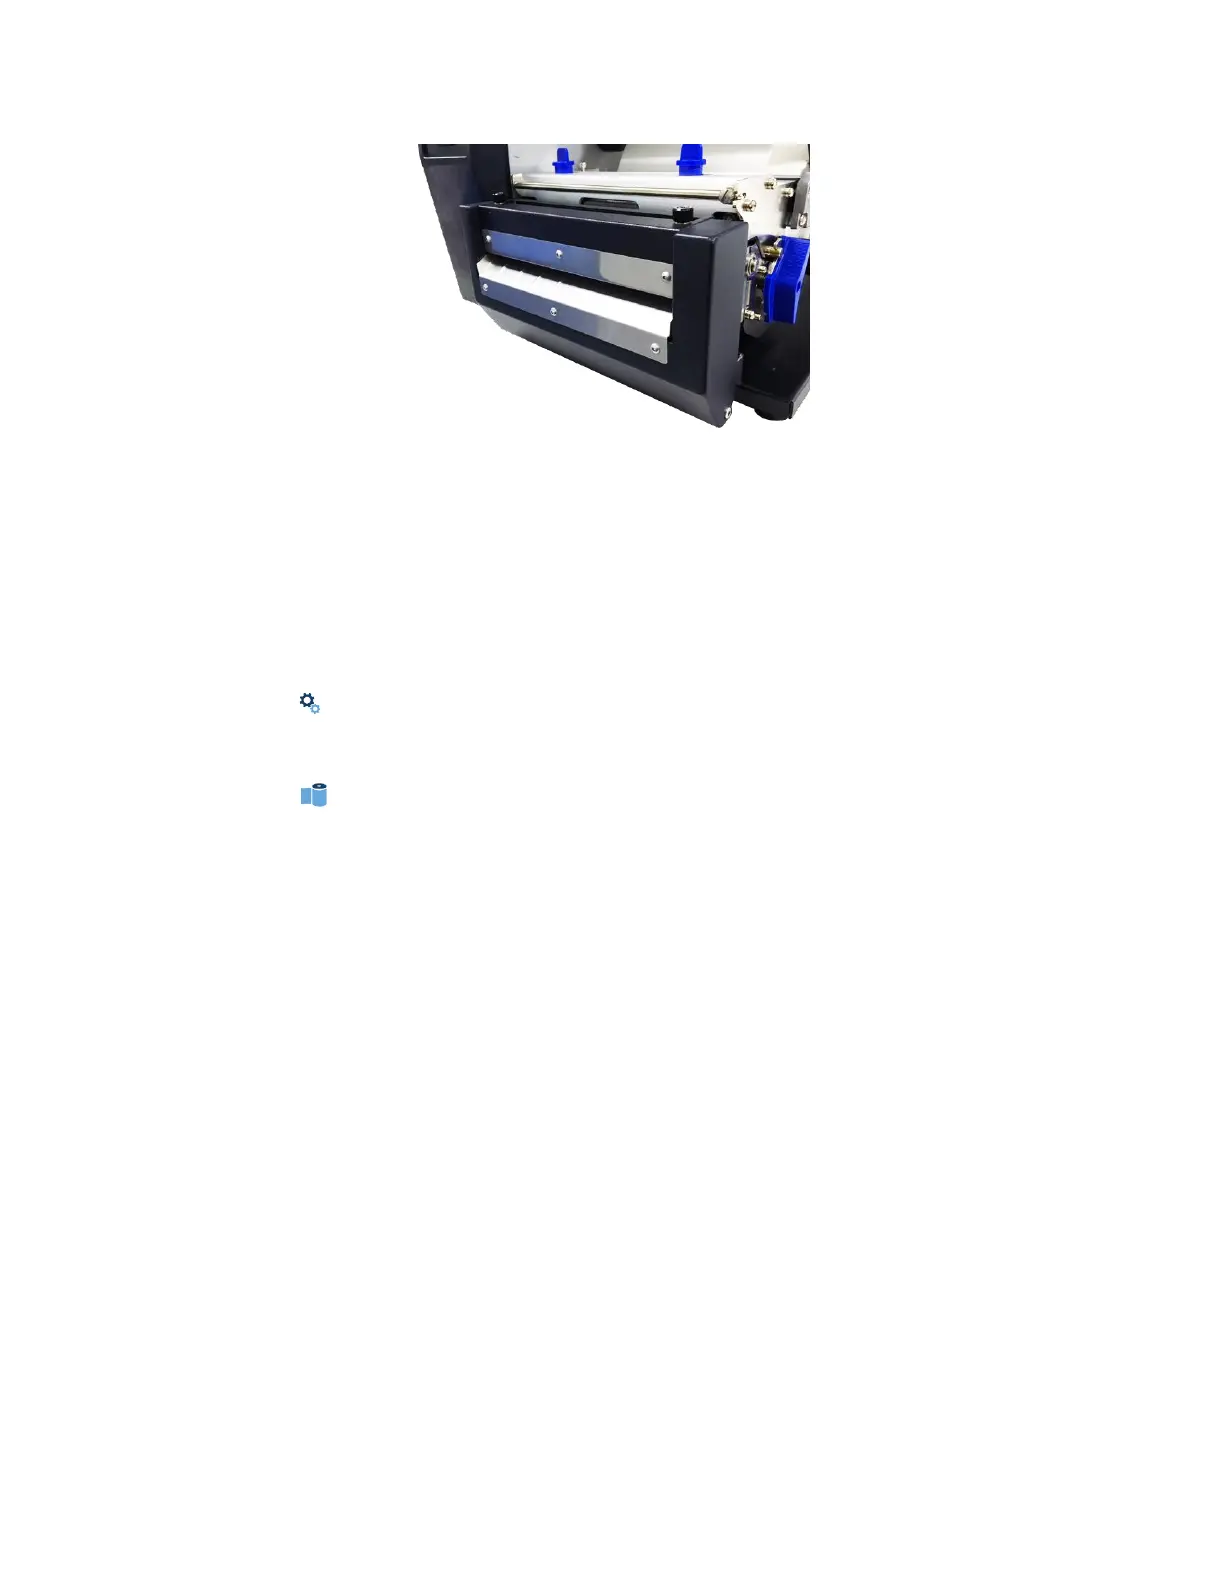
Installing the 6 Inch Cutter Tray (or Bin)
Restoring the Printer to Operation
NOTE: The printer cannot detect the presence of the cutter unless the cutter is in the up (closed)
position and the cutter top cover is installed when
the printer is powered on.
1. Set the printer power switch to | (ON).
2. Press the PAUSE key to place the printer OFFLINE (Home Screen).
3. Find the Settings ICON and press ENTER.
4. Press the up and down arrow keys together until “ENTER SWITCH UNLOCKED”
displays.
5. Find the Media ICON and press ENTER.
6. Go to the “Handling” submenu and press ENTER.
7. Find the “Media Handling” menu and press ENTER to go into Edit Mode.
8. Select the “Cut” option and hit ENTER.
9. Press the PAUSE key to put the printer back ONLINE.
10. Make sure any media sticking out of the platen goes in the cutter entrance
slot.
11. Test the printer cutting operation and print quality by selecting the
Tools > Print Tests > Run Test
menu and printing one of the test patterns.
(Refer to Diagnostics and Troubleshooting page 232.)
12. To save the configuration parameters, refer to Saving a Configuration page 48.
Removing the 6 Inch Media Cutter
1. Set the printer power to O (OFF).
2. Remove the two screws securing
the cutter assembly to the lower support assembly.
3. Unplug the Cutter mini DIN cable connector from the printer receptacle.
4. Remove the media cutter from the printer.
5. Use the two screws that originally held the lower front cover in place to secure the cover to the
lower support assembly.