Order No.
35 MHz: F 8042
40 MHz: F 8043
41 MHz: F 8044
FX-30
The next step is to set up compensation for the pitch-axis
function. Set the compensation value for that function in
such a way that there is no adverse effect on the collective
pitch and roll functions at full travel of the pitch-axis stick.
Repeat both these steps for the situation in which the
throttle stick is in a position corresponding to maximum
motor torque.
The Swashplate set-up menu also provides a means of setting
‘servo speed compensation’. Set the throttle stick to the neu-
tral position, then move the pitch-axis stick as fast as you can.
Adjust the ‘speed’ settings as a percentage value so that this
action has no adverse effect on the collective pitch function.
The values are entered by turning the ‘3-D hot-key’ after mar-
king the appropriate field.
12.14 TIMER SETTINGS (stopwatch)
The Timer menu is used to set up and adjust the electronic
timers provided by the FX-30 transmitter. The timers are dis-
played in two on-screen windows, which means that you have
constant access to two crucial times, for example: the overall
f
light time and the motor run time of an electric-powered
model. The timers can be set up individually for each model.
The selected configuration is automatically loaded when you
switch from one model to another.
For each timer you can select either of two operating modes -
count-down and count-up. If you choose a count-down timer,
you will need to enter a maximum flight time for each model,
e.g. according to the volume of the fueltank or the capacity of
t
he flight battery. As soon as you start the timer, the time
begins counting down, starting from the initial value you have
entered. The residual time is constantly displayed.
In contrast, the count-up timer starts at ‘0’ and displays the
time which has elapsed since you operated the switch. For the
last twenty seconds of the period the transmitter emits an
audible signal every two seconds. Over the last ten seconds of
the programmed time a signal sounds every second. When the
set time is reached, a continuous tone sounds for several
seconds. The timer then continues running, but the display
shows the time with a negative prefix.
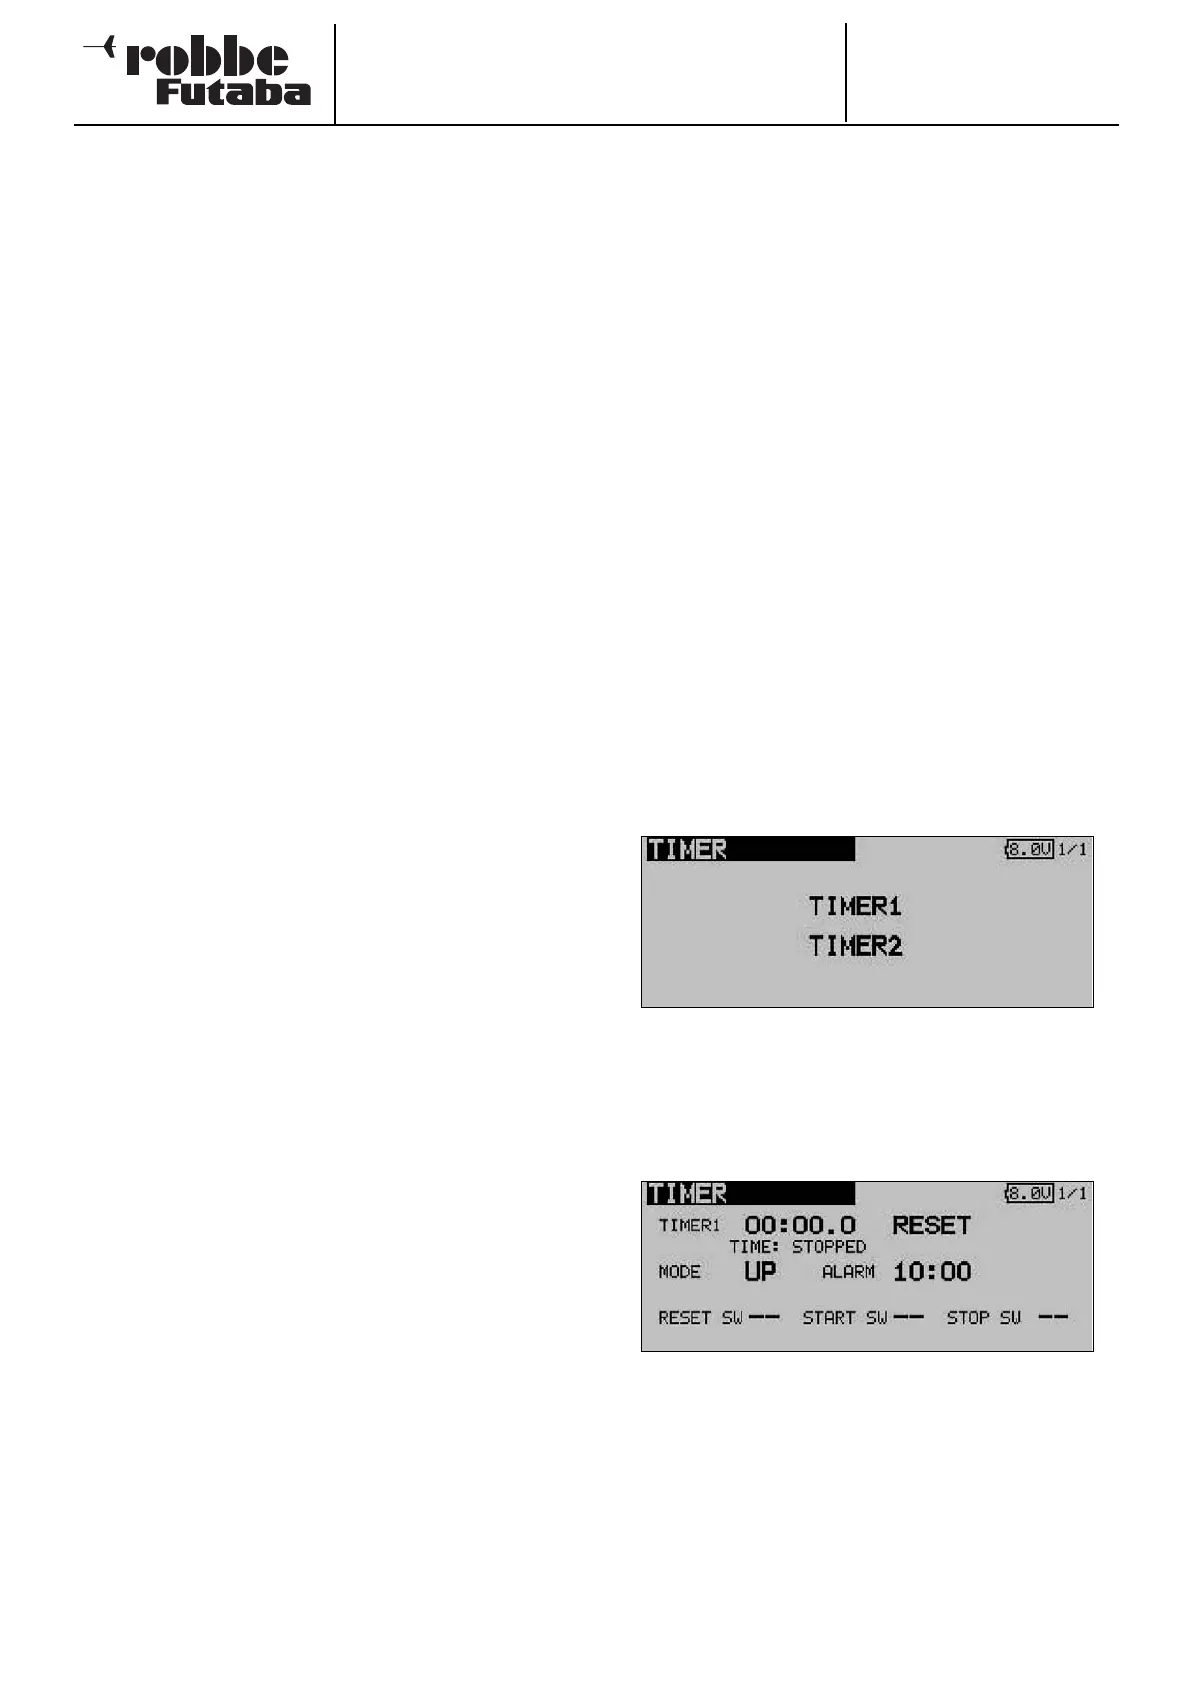
Use the 3-D hot-key to mark the ‘TIMER’ option in the Base
menu, and confirm your choice with EDIT. The screen display
now looks like this:
In this main Timer menu the first step is to select the stop-
watch for which the settings are to be entered. Mark the des-
ired function and confirm with the ‘EDIT’ button. For Timer 1
the screen then looks like this:
• Select mode of operation (count-up / count-down)
First you have to determine whether the activated timer is to
operate as a count-down or count-up stopwatch. To
change this setting, mark the appropriate field and change
it using the ‘3-D hot-key’.
• Setting the count-down time
Mark the ‘10’ and ‘00’ fields in turn in order to set the minu-
tes and seconds values. The settings are entered using the
‘3-D hot-key’.
37