6. SWITCHING THE TRANSMITTER ON / OFF
•
Locate the switch on the transmitter marked “Power”, and
slide it to the right.
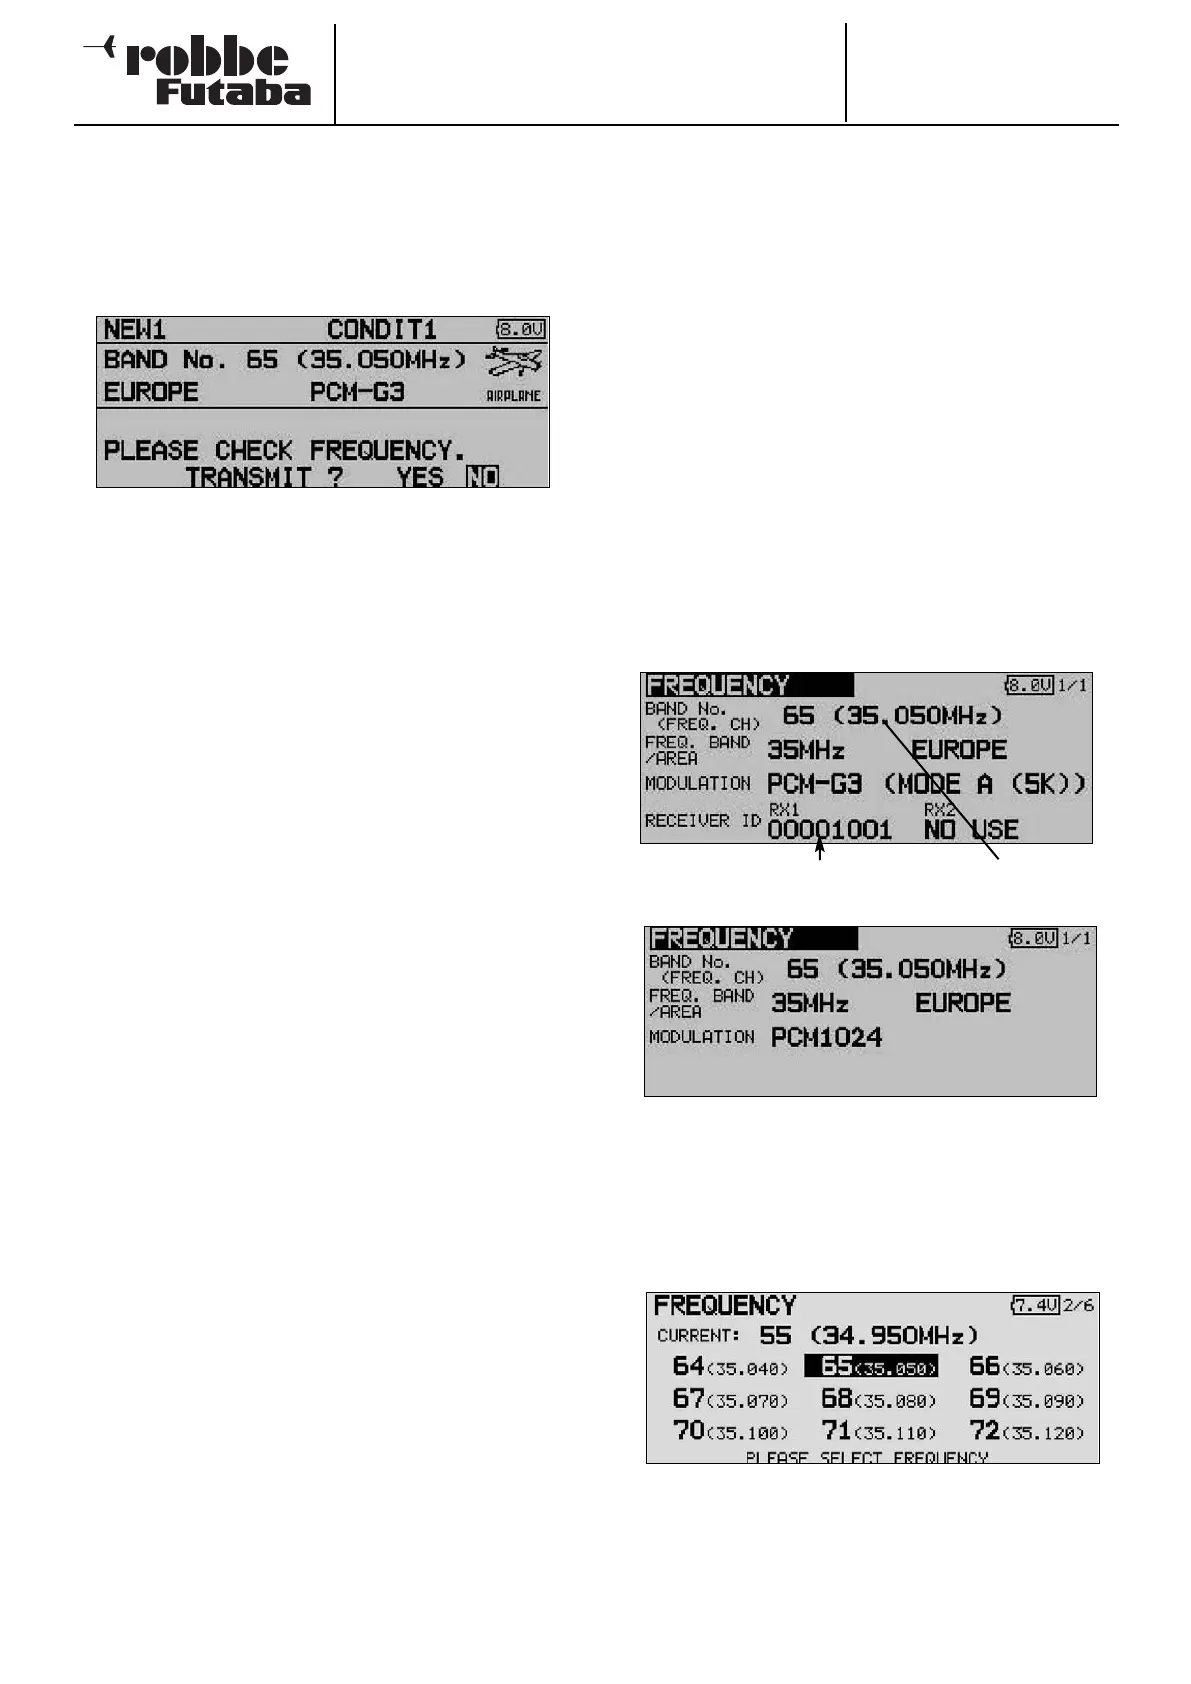
• After the loading and initialisation phase (monitor LED flas-
hes red) the screen displays the spot frequency confirma-
tion field.
• This request to check the spot frequency is displayed
every time you switch the transmitter on.
• If the transmitter is set to the correct channel, and you wish
to transmit an RF signal, select the appropriate answer
with the 3-D hot-key and press the rotary knob (EDIT) to
confirm your choice.
• The green status LED now lights up, indicating that an RF
signal is being broadcast.
• If you select “No” with the 3-D hot-key and confirm your
choice with ‘EDIT’, the display switches to the Start menu,
and no RF signal is transmitted; the green LED goes out.
You can now carry out adjustments without radiating an RF
signal, or change the spot frequency so that the transmit-
ter starts on the correct channel next time you switch it on.
Note:
If an SD card is fitted, this will also prolong the start phase
slightly, as the transmitter must first read all the files on the
card.
Caution:
Never switch the transmitter off during the initialisation phase
(monitor LED flashes red), as this could corrupt the settings.
SWITCHING THE TRANSMITTER OFF
• Move the “Power” switch on the transmitter to the left.
• This action cuts off RF transmission, and causes the data
in the working memory to be written to the transmitter’s
internal memory or the SD card.
Switching the transmitter on again during the power-off / data
storing process could also corrupt the saved data, so the
transmitter ignores your action if you try to do this.
7
. CHANGING THE SPOT FREQUENCY
The system incorporates a DD Synthesizer system which
generates the spot frequencies. The channel is selected at the
transmitter by software.
If you are using a G3 receiver (R 5014 / 5114 DPS), informa-
tion regarding the selected channel is sent to the receiver
using the Wireless Frequency Setting System (WFSS); the
receiver then responds by switching to the same channel. The
n
ew spot frequency is stored in the receiver - even when it is
switched off - until such time as you change the channel again.
To change the transmission frequency, please answer the
‘Transmit ?’ query with ‘NO’ by pressing the ‘EDIT’ button (3-
D hot-key).
Now select the spot frequency field using the 3-D hot-key, and
press the ‘EDIT’ button to confirm your choice.
• At this point you have to check that the set receiver num-
ber (label on the back of the receiver) is entered correctly,
because it is only possible to transmit a spot frequency
(PCM-G3 receiver only) if the appropriate receiver number
(Receiver ID) is transmitted at the same time.
The “Frequency” set-up menu now appears.
• Use the 3-D hot-key to shift the cursor to the spot fre-
quency (FREQ. CH) display, then press the ‘EDIT’ button.
• A new screen appears, listing all the available channels.
Use the 3-D hot-key to mark the desired channel, then
press the ‘EDIT’ button to confirm the security query.
•
The newly set frequency is transmitted to the receiver, and
the monitor LED flashes green.
• During this period you must switch the receiver on, then
off; finally wait about three to five seconds and switch it on
again.
Order No.
35 MHz: F 8042
40 MHz: F 8043
41 MHz: F 8044
FX-30
18
Spot frequency field
Receiver number