Order No.
35 MHz: F 8042
40 MHz: F 8043
41 MHz: F 8044
FX-30
• Erasing flight modes
Use the 3-D hot-key to mark the flight mode in the list
which you wish to erase; the number of the marked flight
mode now flashes. Move the cursor to the ‘Erase’ field,
and press the ‘EDIT’ button to initiate the erase process. A
warning now appears: if you press the ‘EDIT’ button again,
the selected flight mode is deleted. Pressing any other but-
ton interrupts the process.
• Renaming flight modes
Use the 3-D hot-key to mark the flight mode in the list
whose name you would like to change; the number of the
marked flight mode now flashes. Move the 3-D hot-key to
the ‘New Name’ field, and press the ‘EDIT’ button to initia-
te the renaming process.
The menu for selecting letters, numerals and characters
n
ow appears (see also page 29). Use the ‘3-D hot-key’ to
mark the letter to be changed. Select the desired new let-
ter, numeral or symbol from the on-screen list, again using
the 3-D hot-key, then press the ‘EDIT’ button; this action
adopts the new letter etc. Repeat this procedure for all
eight characters in the name.
Once the full name has been entered, the ‘EDIT’ field must
be marked, and the ‘EDIT’ button pressed; this concludes
the renaming of the flight mode.
• Copying flight modes
Use the 3-D hot-key to mark the ‘Copy’ field, the press the
‘EDIT’ button. This brings up the menu for copying indivi-
dual flight modes.
The first step is to determine the source flight mode, i.e.
the mode to be copied, by marking the appropriate field
with the 3-D hot-key and pressing the ‘EDIT’ button. The
flight mode to be copied is now displayed in this field. Mark
the destination field, and press the ‘EDIT’ button again.
You can now choose the flight mode which is to be over-
written.
The flight mode which is to be copied, and the flight mode
to be overwritten, are selected by turning the ‘3-D hot-key’.
When everything has been set correctly, mark the ‘Copy’
field and operate the ‘EDIT’ button to initiate the copy pro-
cess. This action starts the copy process, but it is only car-
ried out when you confirm the security query with ‘Yes’.
The data content of the source flight mode is then copied
to the specified location.
• Changing priorities
Use the 3-D hot-key in the list to mark the flight mode
whose priority you wish to change. The 3-D hot-key can
again be used to shift the marked line (flight mode) up or
down; this action shifts its priority accordingly. Please note
that the last line has the highest priority. Pressing the
‘
EDIT’ button concludes the procedure.
• Setting the delay time
In the list of flight modes, mark the one whose transition
time you wish to alter, then activate the ‘DELAY’ field, and
press the ‘EDIT’ button. The screen changes, and now
looks like this:
Use the 3-D hot-key and mark the channel in the ‘DELAY’
column for which you wish to alter the transition time. The
setting is entered by turning the ‘3-D hot-key’. The adjust-
ment range is 0 to 27 increments. The default setting is
always ‘0’, i.e. there is no programmed delay time as stan-
dard.
Finally you can select the separate / global mode, i.e.
whether the delay time for that channel is to apply only to
the currently active flight mode (Separate) or to all flight
modes (Global). If you select Separate, the set transition
time only applies to the mode in which the setting was
selected.
Note:
If you have set up and activated multiple flight modes, the
corresponding transmitter control curves (AFR) must also
be changed from Global to Separate, to ensure that a dif-
ferent setting takes effect in each flight mode. If the setting
is left at Global, the transmitter control has the same effect
in all flight modes.
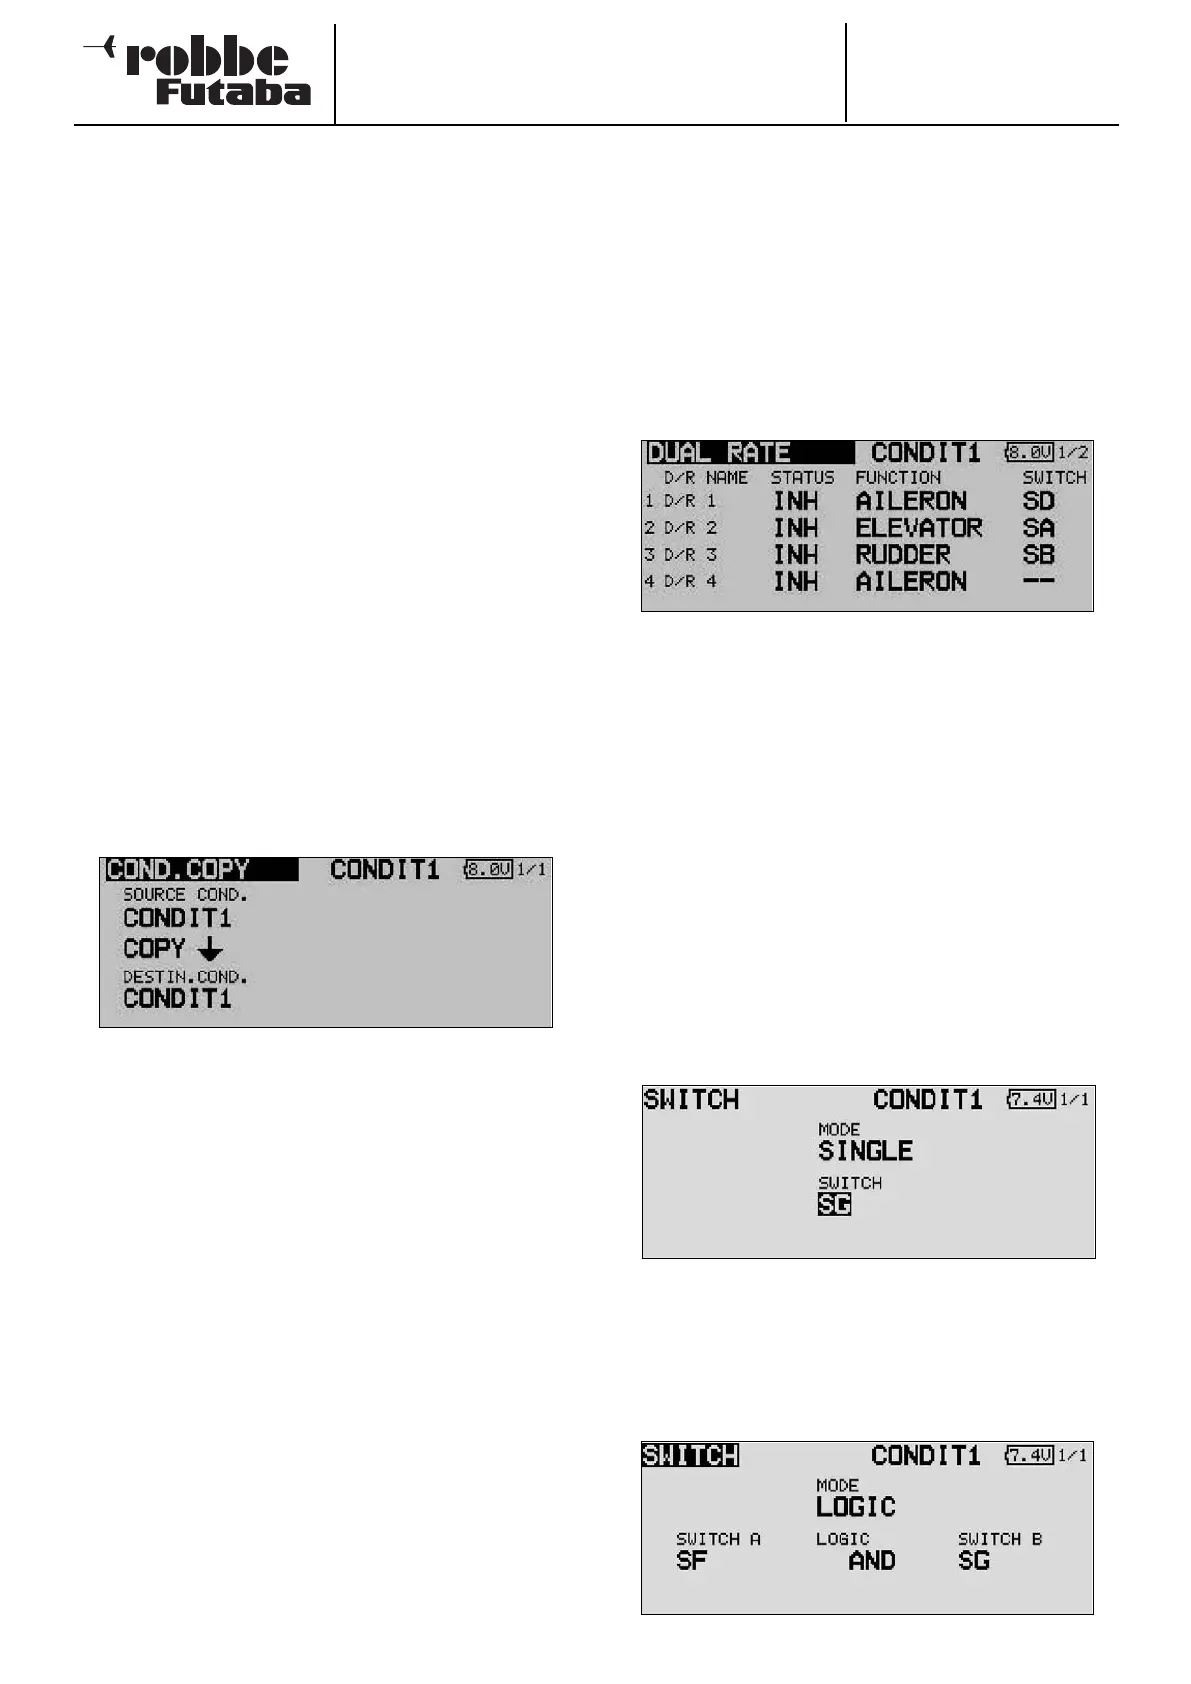
• Switch function SINGLE / LOGIC
It is possible to select either an individual switch (Single) or a
logically linked switched function (Logic) involving two swit-
ches.
In the latter case the following functions are available:
• AND: links switches in series
• OR: links switches in parallel
• Ex-OR: links and connects particular switches
41