160 CHAPTER 4 Setup
J-Link / J-Trace (UM08001) ©
2004-2017 SEGGER Microcontroller GmbH & Co. KG
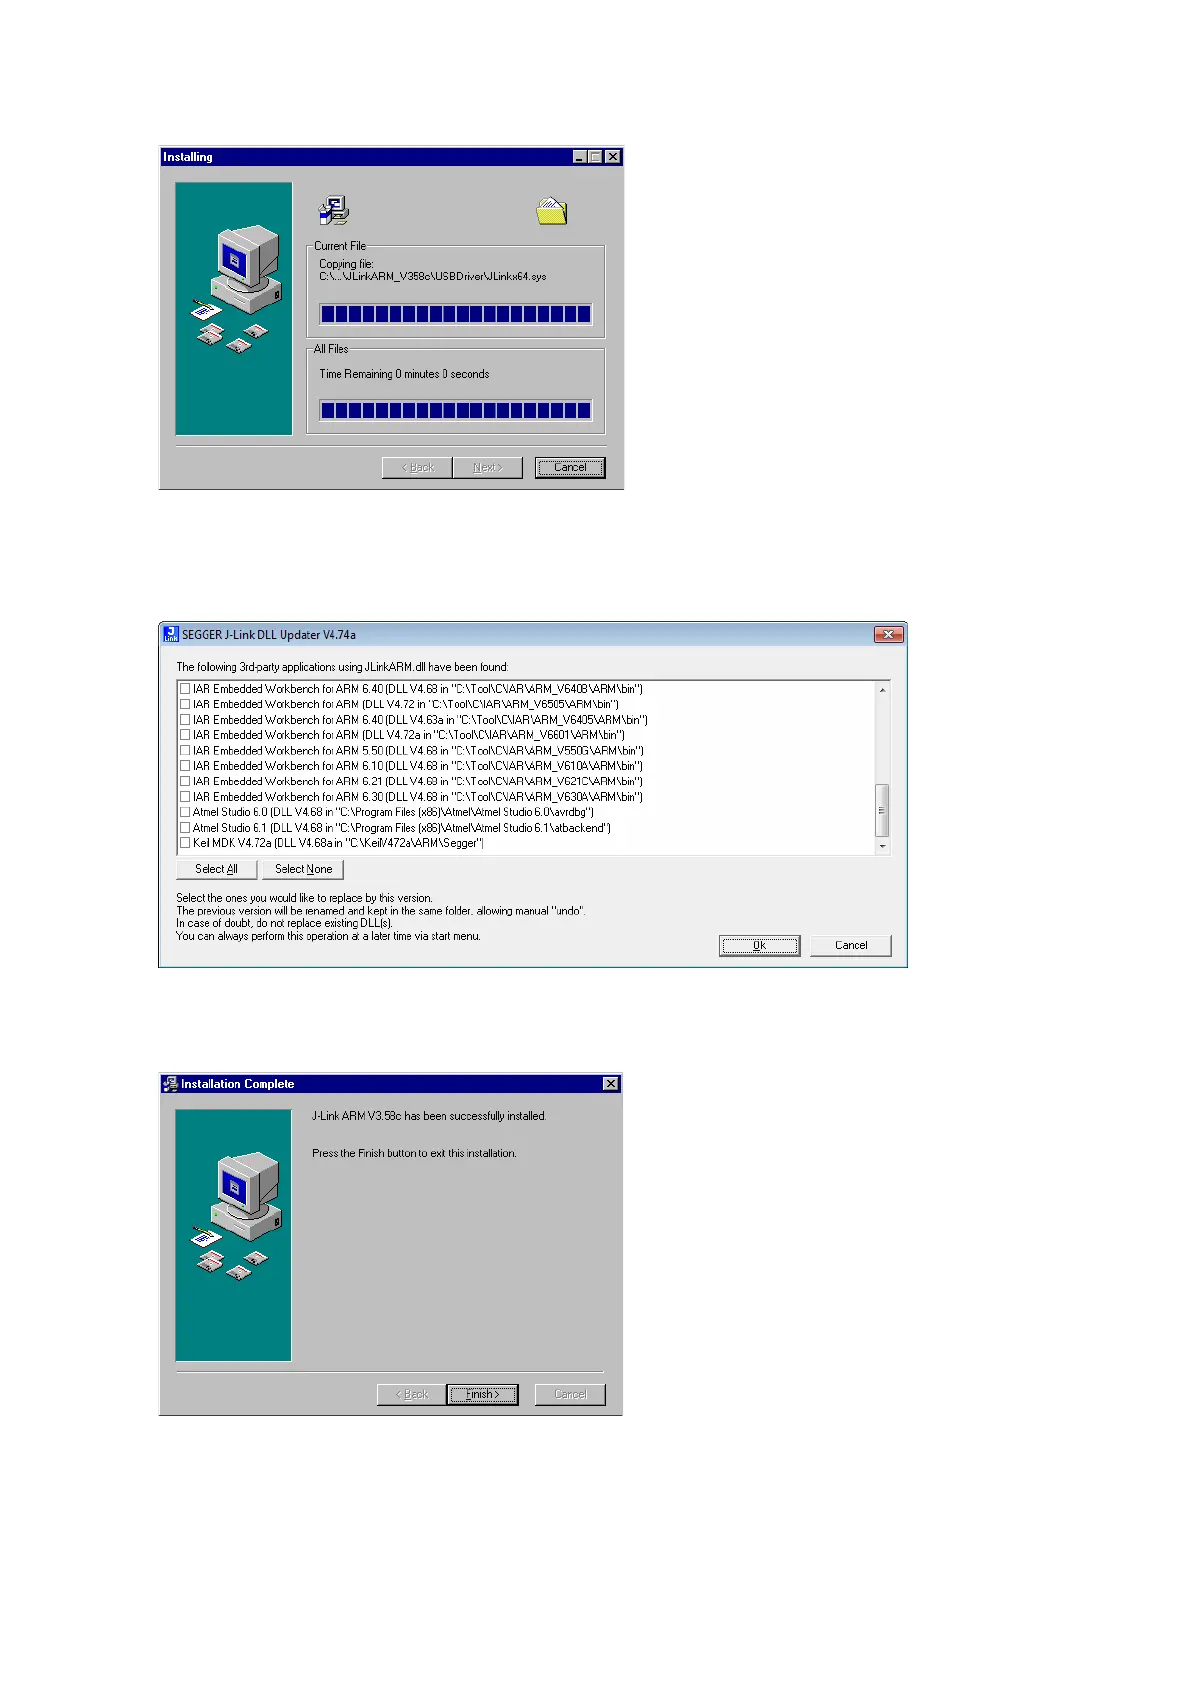
5. The installation process will start.
6. The J-Link DLL Updater pops up, which allows you to update the DLL of an
installed IDE to the DLL verion which is included in the installer. For further infor-
mation about the J-Link DLL updater, please refer to J-Link DLL updater on
page 171.
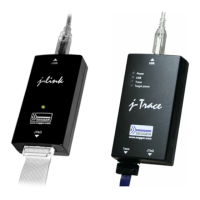
7. The Installation Complete dialog box appears after the copy process. Close the
installation wizard with the Finish > button.
The J-Link software and documentation pack is successfully installed on your PC.
8. Connect your J-Link via USB with your PC. The J-Link will be identified and after
a short period the J-Link LED stops rapidly flashing and stays on permanently.