J-Link / J-Trace (UM08001) © 2004-2017 SEGGER Microcontroller GmbH & Co. KG
315
11.6 Create a new J-Flash SPI project
This chapter contains information about the required steps for the setup of a new J-
Flash SPI project.
11.6.1 Creating a new J-Flash SPI project
Creating a new project for J-Flash is pretty simple. In the following, all necessary
steps to create a project file are explained.
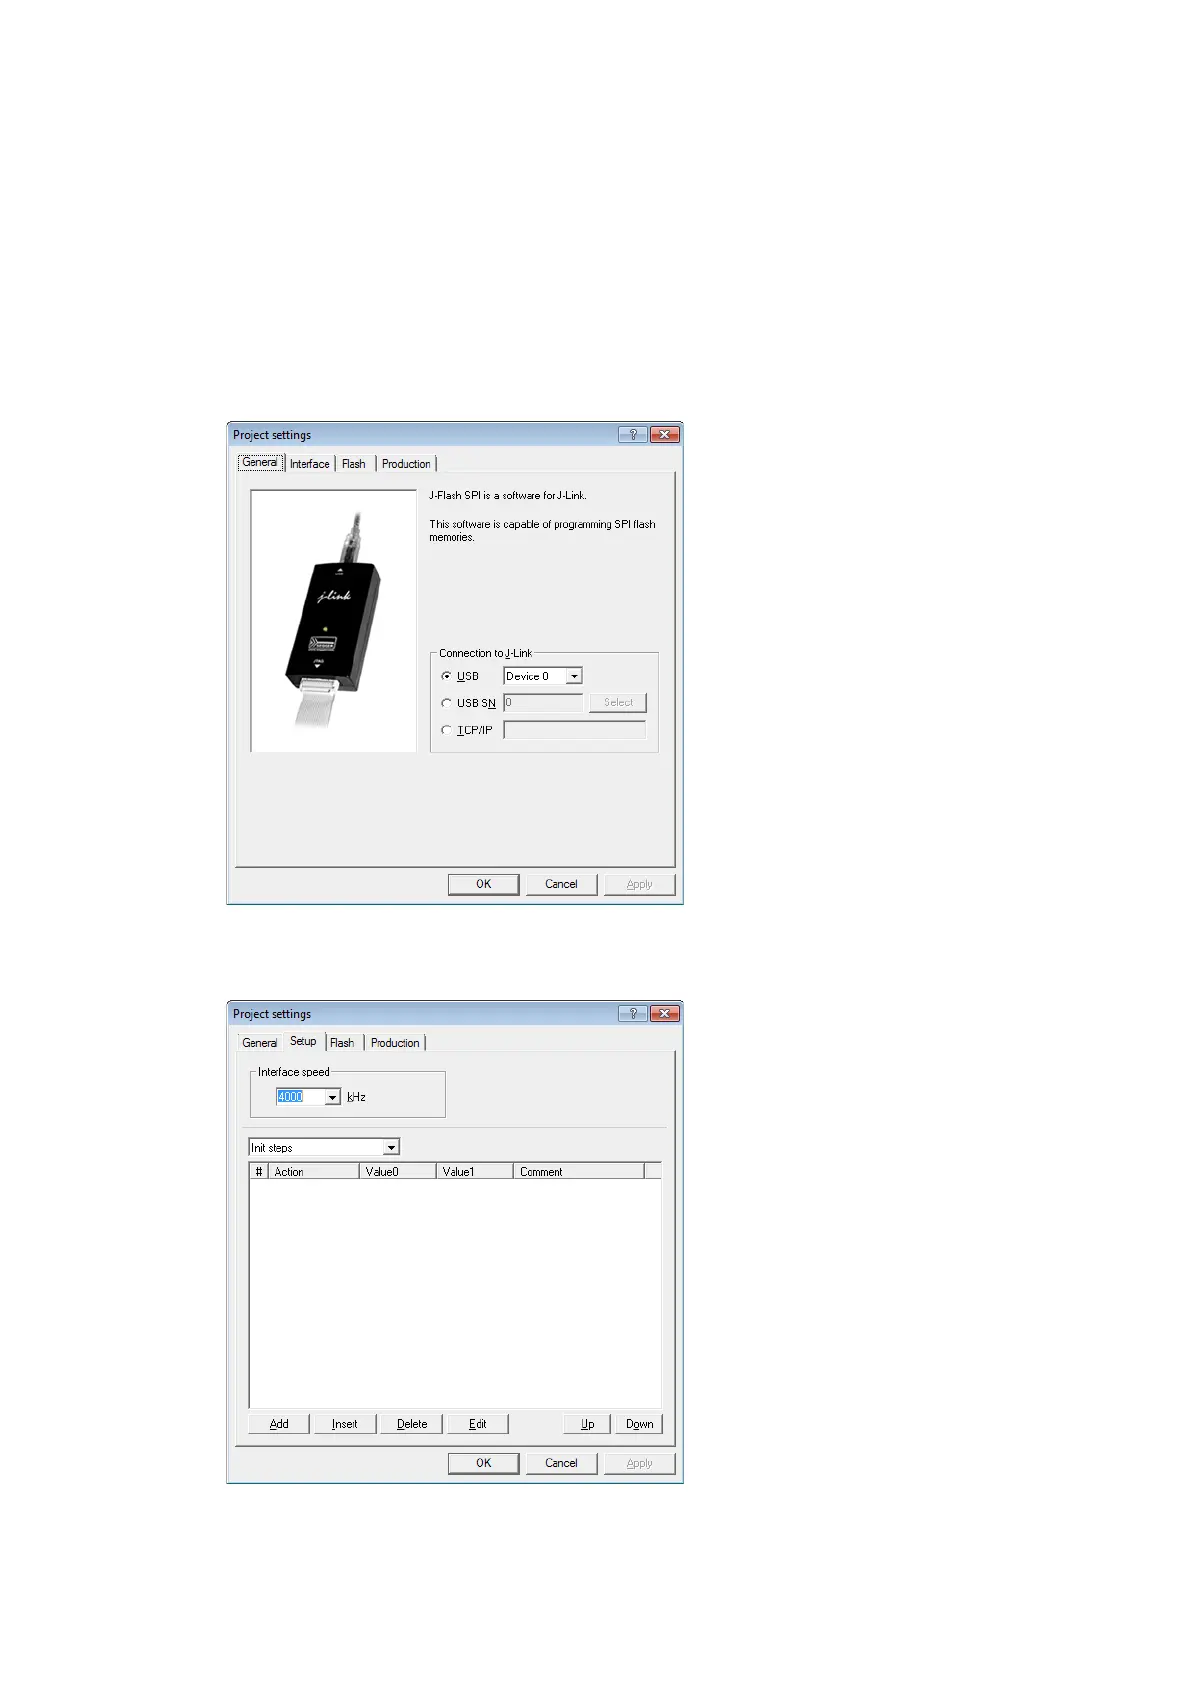
1. Select File -> New Project to create a new project with default settings.
2. Open the Project Settings context menu. Select Options -> Project Settings
to open the Project settings dialog and select the type of connection to J-Link.
3. Define the SPI communication speed. The default settings work without any
problem for most targets, but to achieve the last quantum of performance, man-
ual tuning may be necessary.
4. Open the Flash and either select Automatically detect SPI flash or manually
enter the flash parameters.
5. Save the project (File -> Save Project) and test it.