306 CHAPTER 11 J-Flash SPI
J-Link / J-Trace (UM08001) ©
2004-2017 SEGGER Microcontroller GmbH & Co. KG
11.4 Settings
The following chapter provides an overview of the program settings. Both general
and per project settings are considered.
11.4.1 Project Settings
Project settings are available from the Options menu in the main window or by using
the ALT-F7 keyboard shortcut.
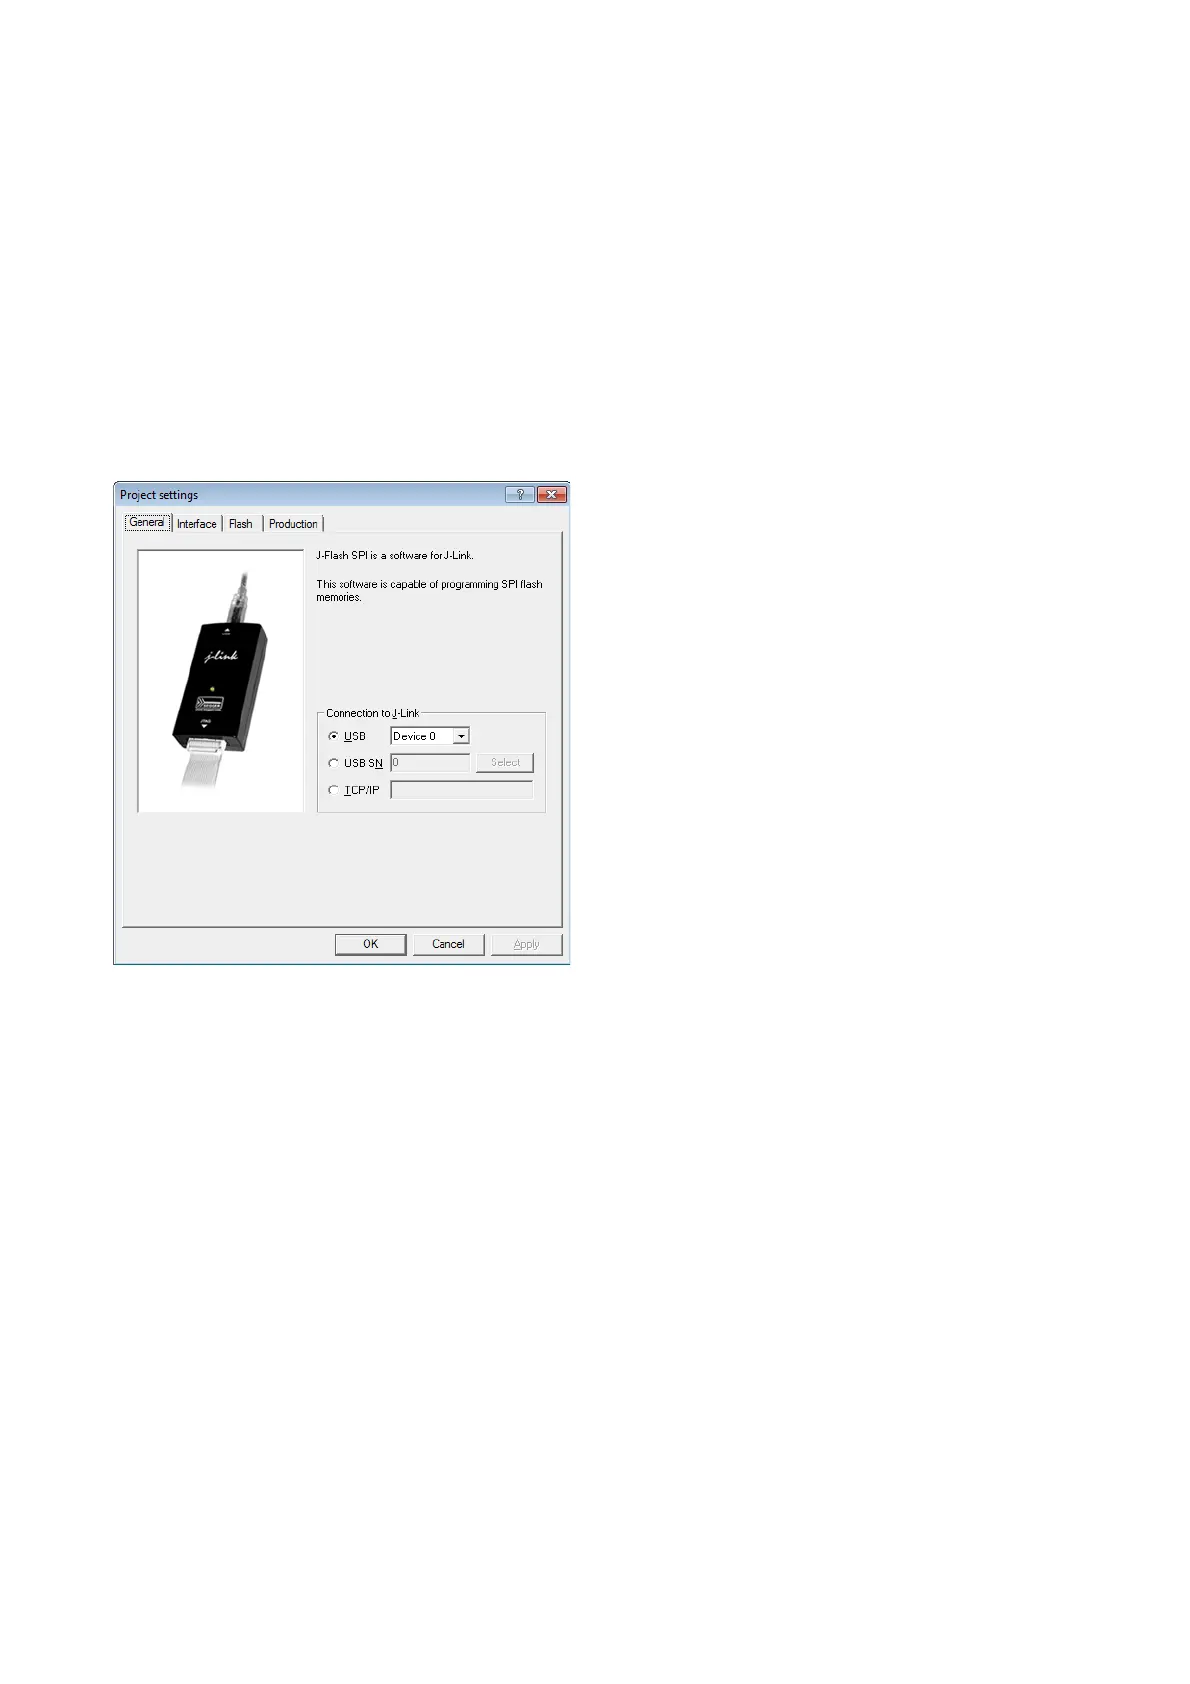
11.4.1.1 General Settings
This dialog is used to choose the connection to J-Link. The J-Link can either be
connected over USB or via TCP/IP to the host system. Refer to the J-Link manual for
more information regarding the operation of J-Link and J-Link TCP/IP Server.
11.4.1.1.1 USB
If this option is checked, J-Flash SPI will connect to J-Link over the USB port. You
may change the device number if you want to connect more than one J-Link to your
PC. The default device number is 0. For more information about how to use multiple
J-Links on one PC, please see also the chapter "Working with J-Link" of the J-Link
User’s Guide.
11.4.1.1.2 TCP/IP
If this option is selected, J-Flash SPI will connect to J-Link via J-Link TCP/IP Server.
You have to specify the hostname of the remote system running the J-Link TCP/IP
Server.